Dollar Tree DIY Mirror
Budget Friendly Dollar Tree DIY Mirror Collage
Hi there, everyone! My name is Laci from LaciJane.com and I’m partnering with Dinah with DIY Inspired on another DIY post, Dollar Tree DIY Mirror! You may remember my other post, DIY Earring Organizer. And today, I’m excited to share a Dollar Tree DIY mirror project with you. Thank you for partnering with me again, Dinah!
I shared this easy, inexpensive, and big money-saving project several years ago on my blog, but I felt like it didn’t get the recognition it truly deserved. To this day, I still love that DIY project. In fact, I plan on re-creating this project whenever I move into my new apartment. This DIY is an easy way to make a very large mirror—on a budget.

Pottery Barn inspired Dollar Tree DIY
This DIY project is so great because it’s so cheap, but still very sturdy, heavy, and great quality. It’s totally a Pottery Barn inspired Dollar Tree DIY—but without the price tag of Pottery Barn. In total, I spent $8 to make this DIY Dollar Tree mirror and nobody would ever suspect that it was made with materials from Dollar Tree.
It’s also very easy to make this DIY mirror. You don’t need many tools and you can accomplish this in less than an hour or so (give or take glue-drying time).
Video: Dollar Tree DIY Mirror
Dollar Tree DIY Mirror Instructions
You can do this project in many ways. I really like the look of the 8×10 simple-framed mirrors. But feel free to get creative and use larger or smaller mirrors with larger/more-defined frames, it’s totally up to you and your style. It doesn’t matter what kind of mirrors you choose; follow these easy steps and you will have a very high-quality mirror — on the cheap.
You’ll first need to measure your space and determine how large you would like your DIY mirror to be. Once you have your measurements, you’ll be able to move onto the next step.
Materials
This materials list contains affiliate links to recommended products.
- 3/4″ Plywood
- 8 mirrors (or however many you’d like to use)
- PL 530 Adhesive
- Level
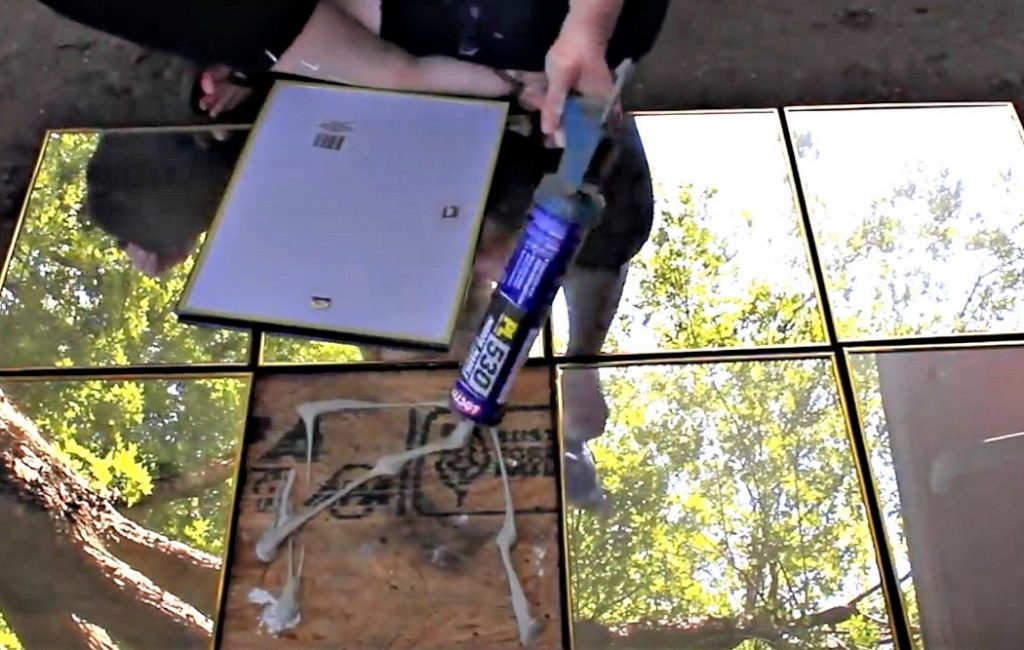
Directions
- Cut your plywood to size (whatever size you would like)
- Lay your mirrors down onto the plywood and make sure you’re happy with how it looks
- Use your level to ensure all your mirrors and perfectly level and straight. Mark your line with a pencil.
- Following the level-line you created, glue your mirrors down onto the plywood with PL530
- Allow it to dry for 24 hours *if you clamp them down, be very careful not too go too tight and use a padded clamp. You don’t want to scratch or break your mirrors. I didn’t clamp mine down, I just let it dry flat on the ground for 24 hours and those mirrors were not coming off. *
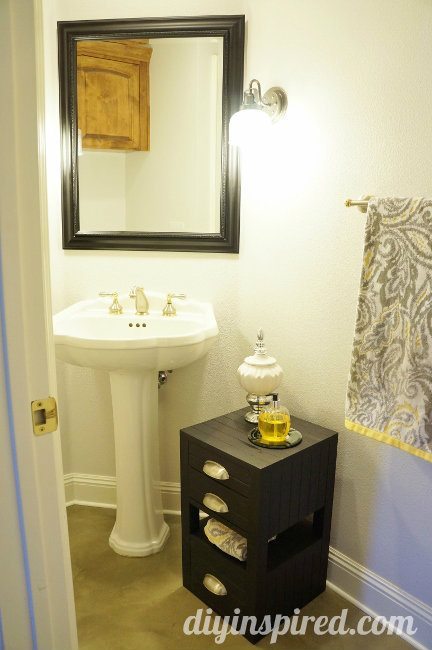
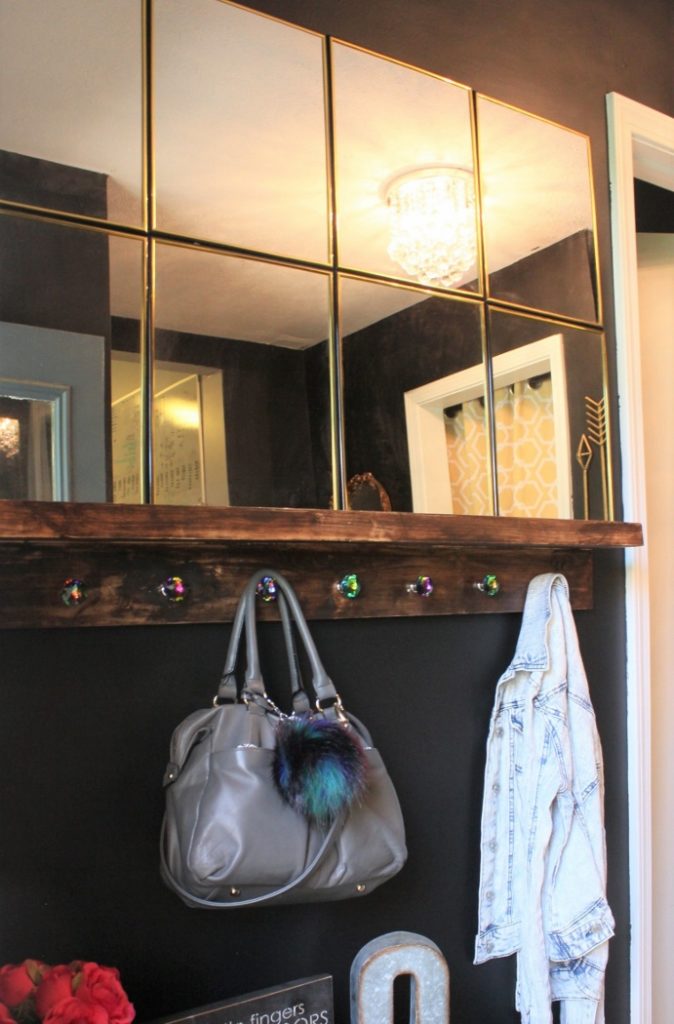
I told you it was super easy! And you won’t believe how durable it is! You can also attach a hanging hardware kit to the back if you’d like to hang it on the wall. I left it as is and set it on a shelf in our foyer. Our foyer is so small, so I knew I wanted to put a mirror here to reflect the natural lighting while making the room feel bigger. I feel like I accomplished that with this easy DIY mirror project, and I hope it inspires you as well! If you like this post, please be sure to share it! I know a lot of people will be inspired by this easy DIY project because mirrors are so expensive, and this project is too easy not to pass up!
So, what are your thoughts on my Dollar Tree DIY Mirror? I hope that you found this tutorial to be easy, inspirational, and the motivation you needed to create something today. Thanks for having me!