• Project Gallery
  • DIY
    • Recycled DIY
    • Upcycled DIY
    • Repurposed DIY
    • Refurbished DIY
    • DIY Furniture
    • Repurposed Furniture
    • Thrift Store Transformations
  • Crafts
    • Wood Crafts
    • Paper Crafts
    • Photo Crafts
    • Kids Craft Ideas
    • Doll Crafts
    • Felt Crafts
    • Stenciling
    • Gift Wrapping
    • Printables
  • Party
    • Birthday Party
    • Baby Shower
    • Bridal Shower
    • Wedding
    • Team Sports
    • Sweets and Treats
    • Cocktail Corner
  • Holidays
    • Father’s Day
    • Fourth of July
    • Back to School
    • Halloween
    • Halloween Costumes
    • Thanksgiving
    • Elf on the Shelf
    • Christmas
    • New Years
    • Valentine’s Day
    • St. Patrick’s Day
    • Easter
    • Earth Day
    • Teacher Appreciation
    • Mother’s Day
  • Home & Garden
    • Storage & Organization
    • Cleaning Tips
    • Gardening
    • Makeovers
    • Kid Stuff Makeovers
    • DIY Tips & Tricks
    • DIY Artwork
    • Curb Appeal
  • Health & Beauty
    • Health & Wellness
    • Bath & Body
  • Nav Social Menu

    • Facebook
    • Instagram
    • Pinterest
    • Twitter
    • YouTube

DIY Inspired

Repurpose, Reinvent

  • About
  • Contact
  • Advertising
  • Featured
  • Disclosure

Crafts Holidays

Heart Clothespin Valentines

heart-clothespin-valentines (2)

My daughter and I have been making clothespin crafts lately {airplane clothespins & caterpillar clothespins}. I had some left over and thought it’d be fun to make heart clothespin valentines.  When you turn a heart sideways it looks like lips so I printed little tags that say “Smooch. Muah. Kiss.” Here is how I made them.
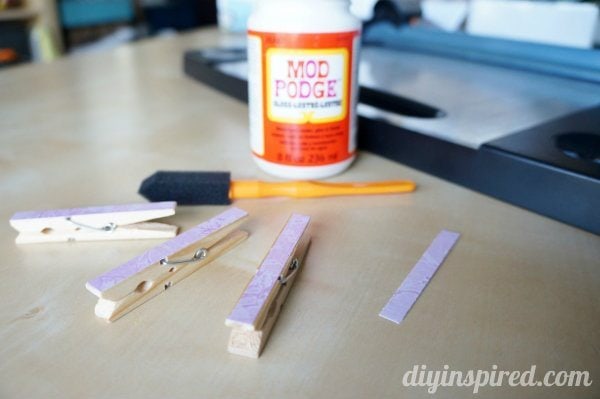
Materials:

  • Clothespins
  • Scrapbook paper
  • Paper cutter or scissors
  • Mod Podge
  • Paint brush
  • Computer and printer

Instructions:

I picked some pretty pink scrapbook paper with a light print, cut them to size with a paper cutter and glued and sealed them with Mod Podge.  This is the bottom of the clothespin. I let them dry completely.

diy-clothespin-heart-valentine

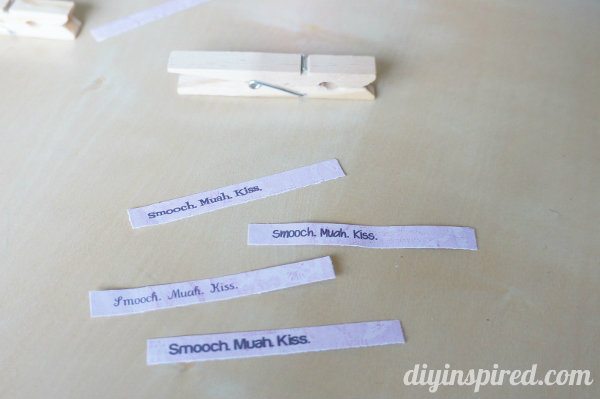
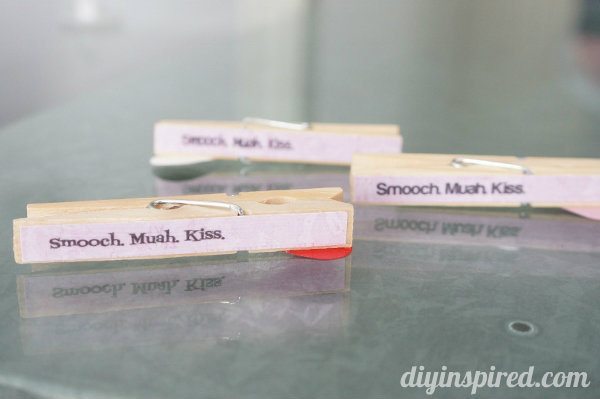
I printed “Smooch. Muah. Kiss.” on it in different fonts on the same pink paper and I cut them out to fit on the clothespins for the top half.

diy-clothespin-heart-valentine (1)

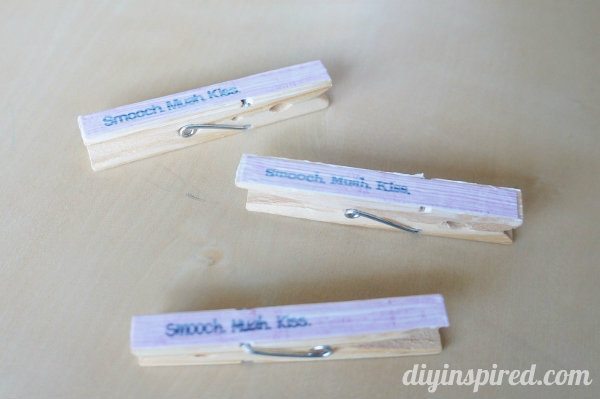
I put Mod Podge directly on the clothes pin, the tag I made on top, and then sealed it with another layer of Mod Podge on top of that. Allow it to dry for about fifteen minutes.

diy-clothespin-heart-valentine (2)

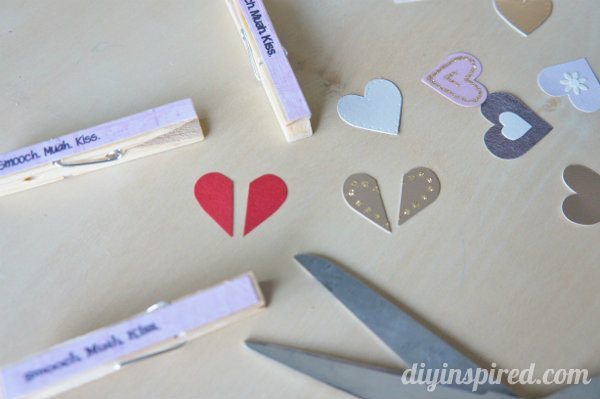
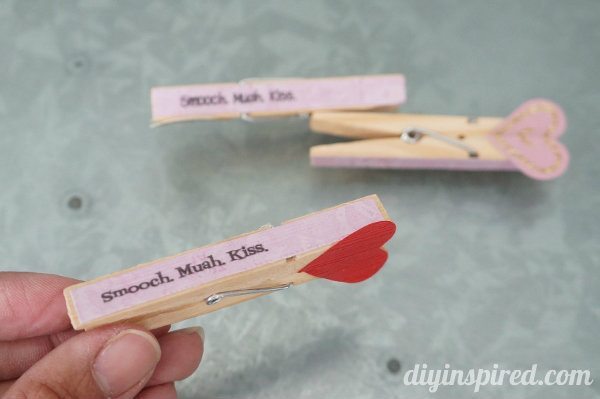
While those were drying I cut out hearts and cut them in half.

diy-clothespin-heart-valentine (3)

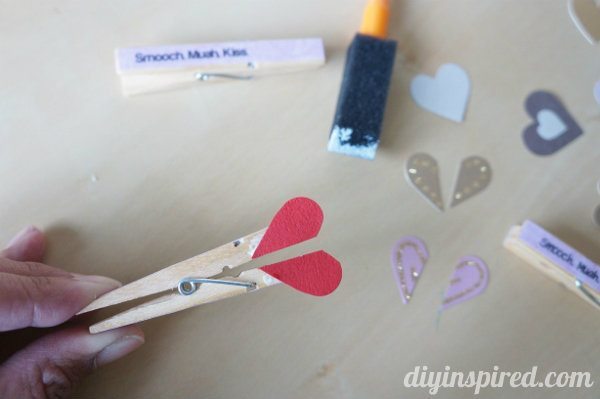
I Mod Podged the heart on the side of the clothespin and sealed it with more Mod Podge on top.

diy-clothespin-heart-valentine (4)

diy-clothespin-heart-valentine (5)

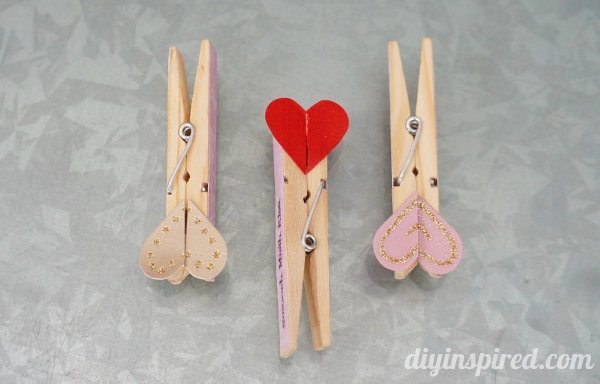
Here are a couple AFTER photos.

heart-clothespin-valentines - Copy

heart-clothespin-valentines (1)

I also made a collage!

heart-clothespin-valentines

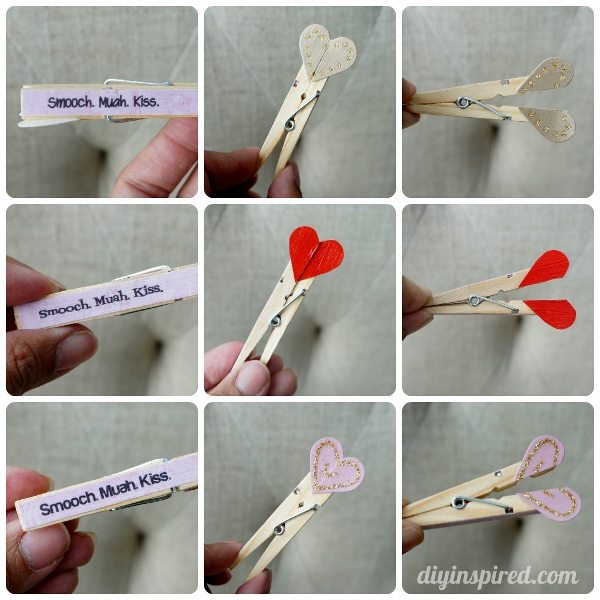
The possibilities are endless with this little craft. You can make different sayings, similar to conversation hearts or make them more personalized.  I thought these would also be cute with lips instead of a heart.

More Valentine’s Day Inspiration:

  • Simple Valentine’s Day Party Ideas
  • Date Night Valentine Card DIY
  • Cookie Lollipops Gift Idea
  • DIY Candy Box Treat Boxes
  • A List of Two Dozen Candy Sayings
  • Duck Tape and Washi Tape Valentine Treat Bags
  • Non-Candy Valentine for School
  • Valentine Front Door Decoration
  • Recycled Paper Towel Roll Valentine Scroll
  • Easy Homemade “Love You” Valentine
  • Valentine’s Day Craft Garland
  • DIY Candy Valentines with Free Printables
  • Share
  • Twitter


Leave a Comment

Join our Community of Crafters!

Stay updated and never miss a thing!

Disclosure and Privacy Policy
Previous Post: « Easy Duck Tape and Washi Tape Treat Bags
Next Post: Border Punch Gift Wrapping Embellishments »

Reader Interactions

Leave a Reply Cancel reply

Your email address will not be published. Required fields are marked *

This site uses Akismet to reduce spam. Learn how your comment data is processed.

Primary Sidebar

Welcome!

DIY Inspired Profile Picture 2015Thank you for visiting! I'm Dinah and I'm honored to have had an exciting career in blogging over the last 11 years. {Read more about me here}

Join our Community of Crafters!

Stay updated and never miss a thing!

Disclosure and Privacy Policy

Stay updated and never miss a thing!

Footer

You might also love these

DIY Classroom Mobile Phone Holder

Classroom Smart Phone Drop Station

How to Make Cotton Stems

DIY Fabric Covered Switchplates

DIY White and Gold Nightstands

Over Ten Years of Do-It-Yourself Inspiration

DIY Paper Flower Party Decor

Accordion Flowers How To

Copyright © 2022 · Divine theme by Restored 316

Copyright © 2005–2022 DIY Inspired. Installed and customized by TCN Design Studio