Make Your Own DIY Toy Storage
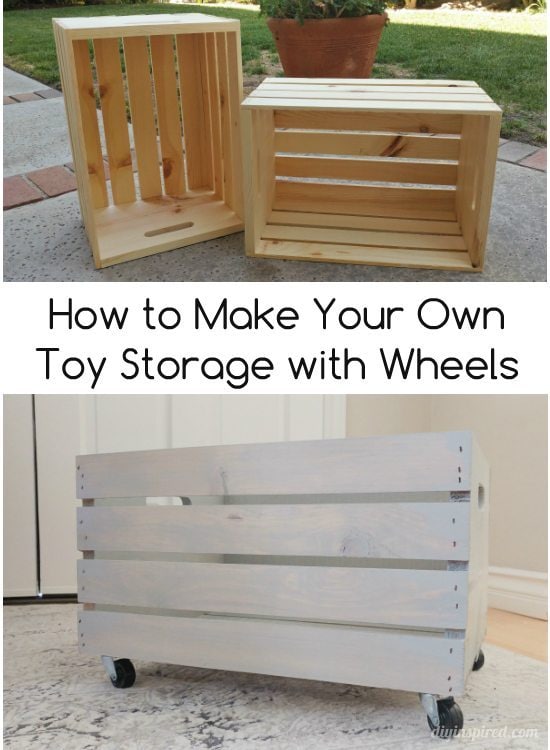
Turn Wooden Crates into DIY Toy Storage
Additional storage for toys is often needed especially in common areas of the house like the living room or family room. In about an hour, you can make your own DIY toy storage solution that matches your home décor and can be moved easily by your kids. We ended up using one of these for toys and the second one for shoes by the front door. Here is how I made it plus some additional tips and uses.
What You Need
Time: One Hour (excluding dry time)
Materials:
This materials list contains affiliate links to products that I recommend.
- 2 Unfinished wooden crates
- Electric sander

- 120, 150, and 180 grit sandpaper
- Bristle paint brush
- 8 oz. Wood stain
- Clean rag
- Clear glaze for wood
- Drill
- 4 small swivel casters
- 32 flat head Philips wood screws #10 x .5in


How to Do It
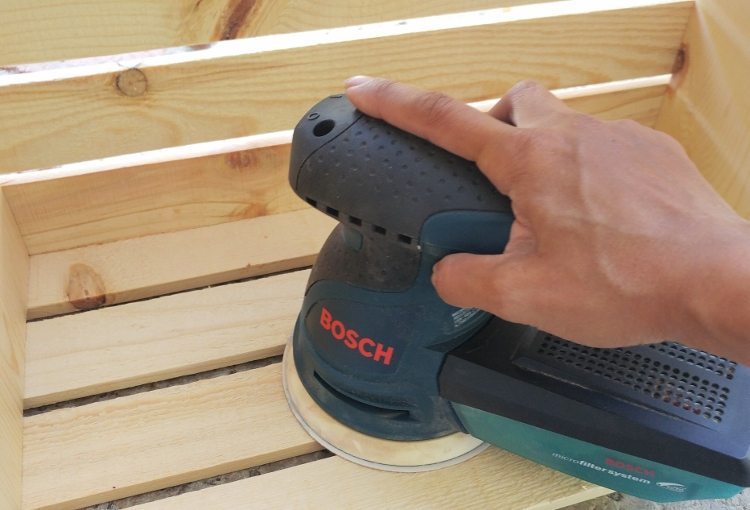
Step 1:
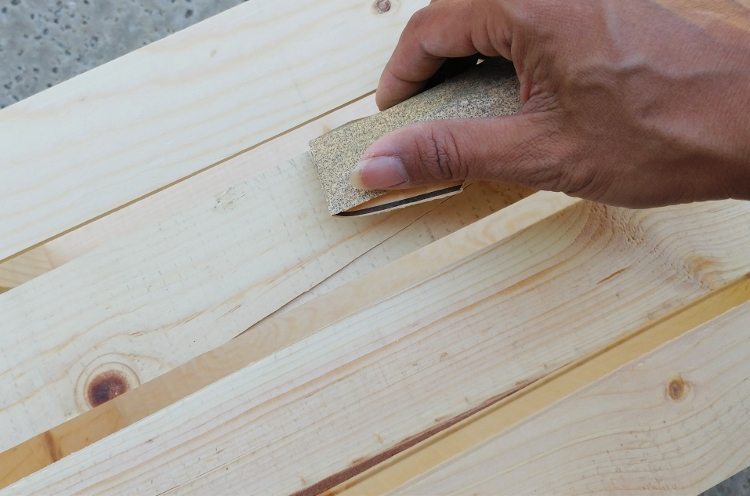
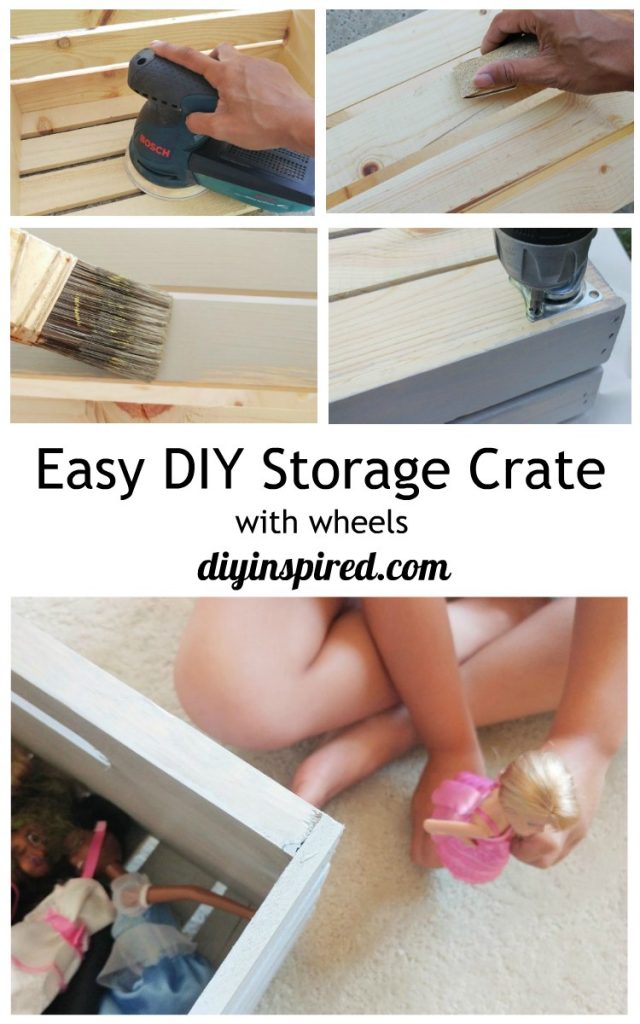
Unfinished wooden crates can be purchase at your local hardware or craft store. First, sand each crate with an electric sander with the grain. Start with 120 grit and move gradually to 180 grit. Be sure to sand both inside and outside of the crate. Sand hard to reach slits and handles by hand.
Sanding well is an important step. You want to avoid splinters, especially when a crate is used so much by little hands!
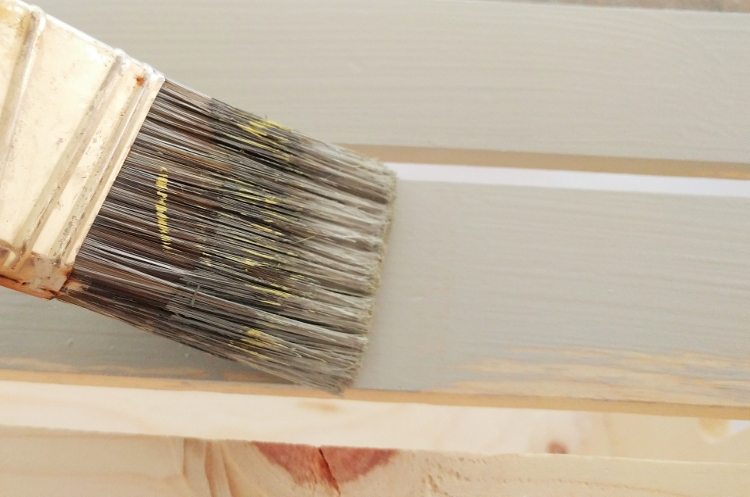
Step 2:
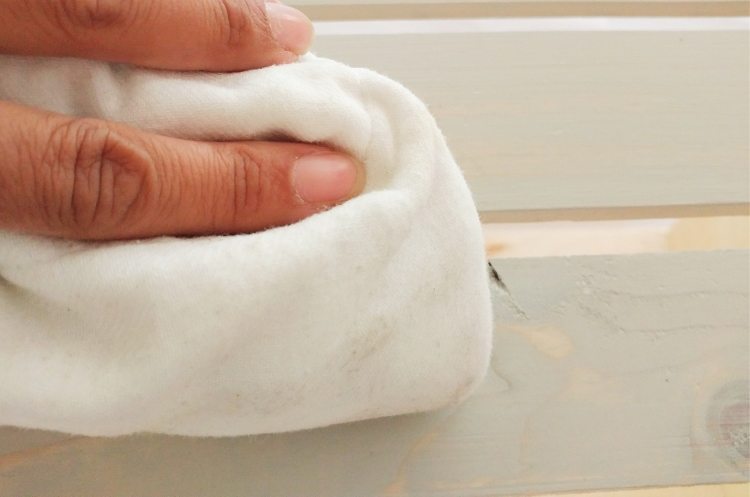
Next, remove any debris and sanding dust and apply one coat of wood stain liberally with a bristle paint brush. Allow it to penetrate for 2-3 minutes and then wipe off the excess stain with a rag in the direction of the wood grain. If desired, polyurethane can be applied one hour after stain application. Allow the wood to dry completely.
Note: Be sure to work in a well ventilated area, especially when working with polyurethane.
Step 3:
Once the wood is dry, apply a clear glaze to protect the wood. If using a spray wood glaze, apply a full wet coat, and then wait 2-3 minutes in between the second and third coats.
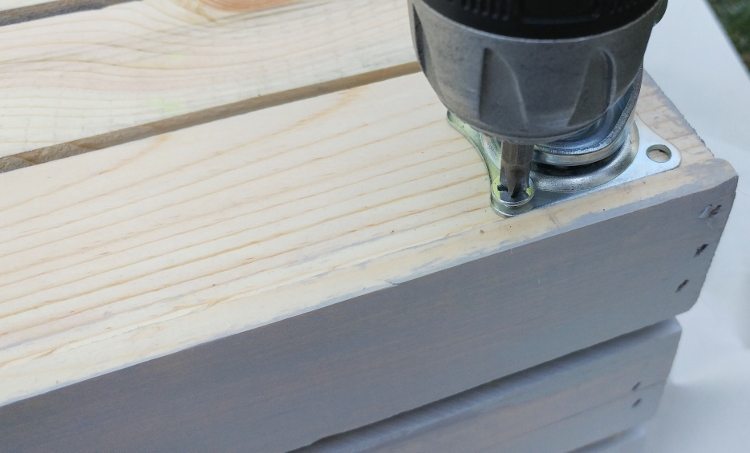
Step 4:
Lastly, attach the casters with a drill on the bottom of each crate. Casters should have a swivel top plate. This will allow the crate to move easily.
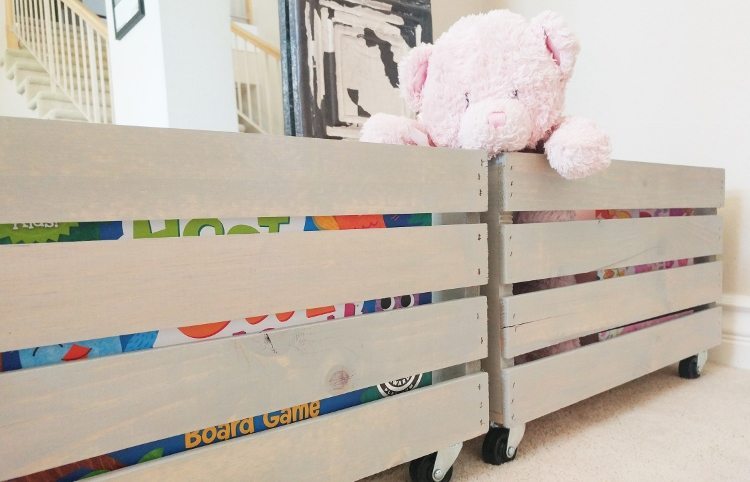
By changing the color stain, you can create toy storage to match the décor for each room.
Consider painting a pattern or design with stencils or painter’s tape. You can also use decoupage medium to add paper or fabric for a different look.
Other Uses
Rolling crates are great not only for a play room, but in other areas as well. For example, keep them under a desk and they can be easily rolled out for instant access. Also, in a closet, it can be tucked away to hide shoes and easily pulled out for each season.
- Office file storage
- Craft room storage
- Garage organization
- Bathroom storage and organization
- Closet organization
Adding partitions inside is also a great idea, depending on what you decide to store inside.
You May Also Like
This article originally appeared on Angie’s List and was improved and re-edited.
Like it? Pin it!
I need to make one of these for my christmas tree! Ys, unfortunately I am already thinking of decor for christmas in my head. LOL
Oh great idea! And don’t worry… I am too!!!
Great idea to add the wheels! It would make it so much easier to scoot the toys into a closet when it’s time to clean up. #HomeMattersParty
Thank you, Nicole!