Photo Bookmark DIY Gift Idea
How to Make a Personalized Photo Bookmark DIY Using Your photos
“Reading gives us someplace to go when we have to stay where we are.” –Mason Cooley
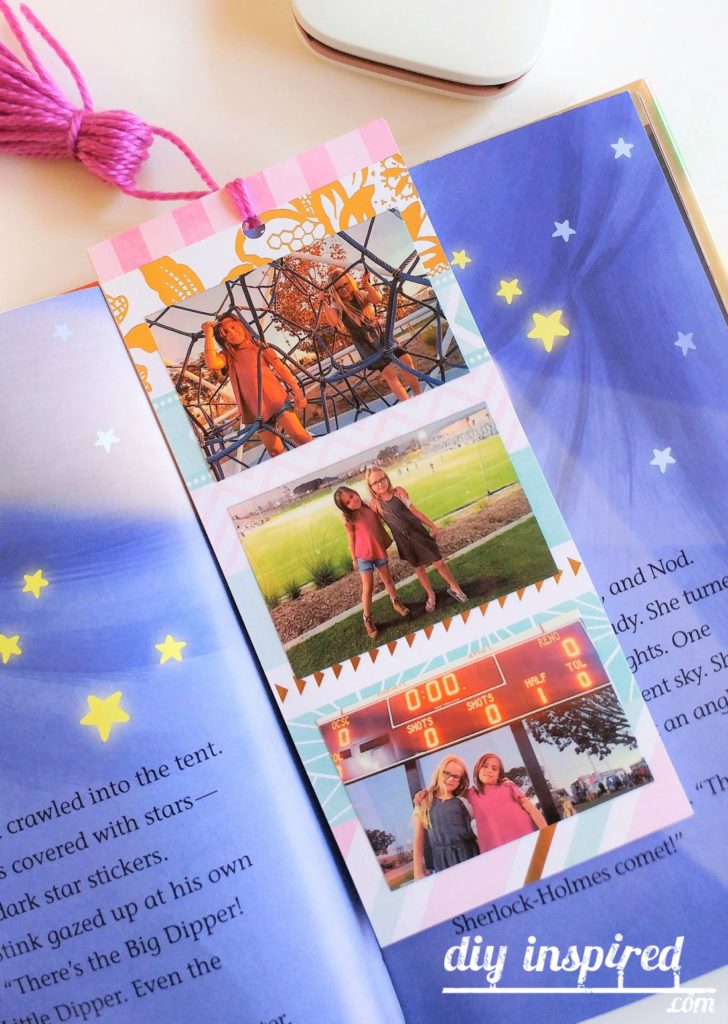
In a world full of technology like digital music, social media, and cell phones I think I will always love the feel of a physical book versus a digital one. I enjoy turning the pages and keeping my mark. Now that my daughter is officially reading chapter books, I thought I’d make a photo bookmark for each of us.
Here is how to make these fun extra-large photo bookmarks.
Time: 30 Minutes
Materials:
- Photos
- Scrapbook Paper
- Paper Cutter
- Glue Stick
- Hole Punch
- Yarn
- Scissors
Photo bookmark Instructions:
I used Sprocket photos that are 2″ X 3″ inches, so you want to trim your paper to a slightly larger size to create a boarder. Alternatively, you can print and cut any type of photo you like. Social media is a great resource to find the perfect ones.
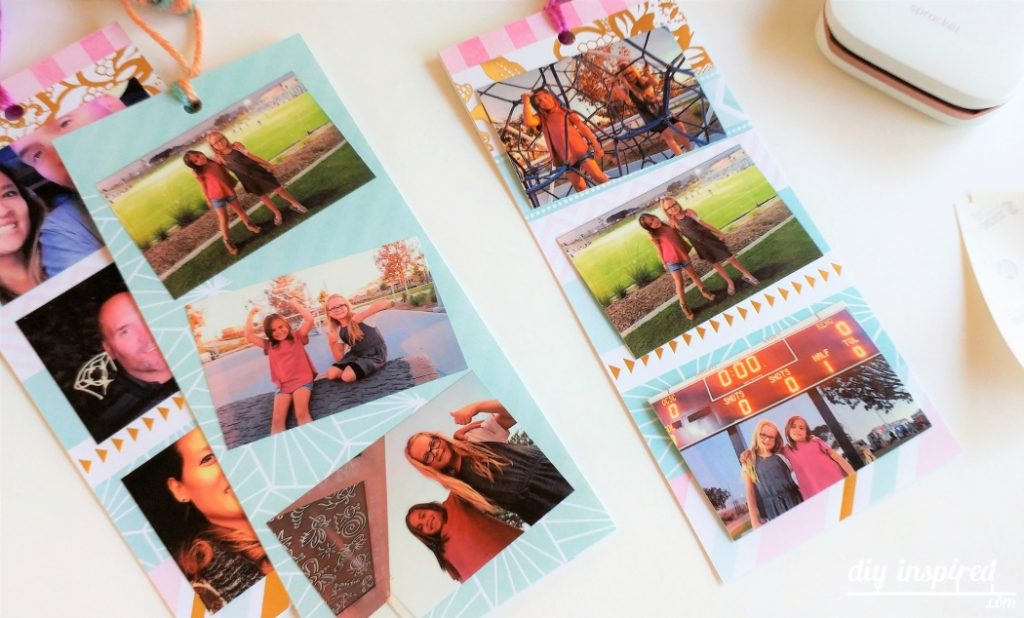
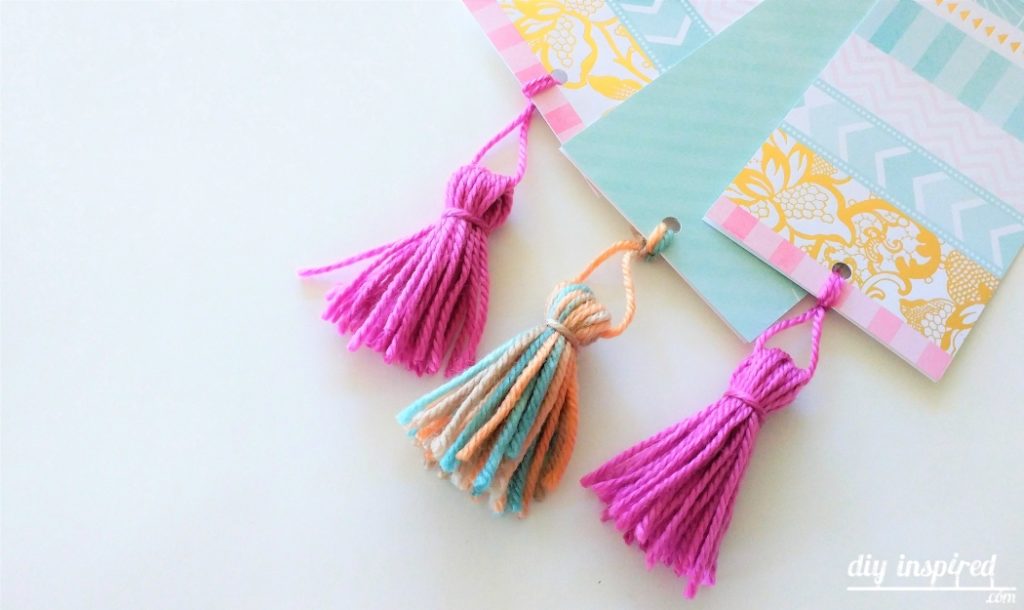
I trimmed these bookmarks to 8” X 3.5”. Cut both the brochure paper and scrapbook paper to create a sturdy bookmark. I got this paper in a scrapbook pad I got from Michael’s. Glue the two pieces together and cut a hole for the tassel using a hole punch.
To make the tassel, wrap yarn around four fingers spread out about 20 times. Cut one looped end keeping the yarn folded. Cut a long piece of yarn for the tassel string and tuck it inside the looped yarn. Tie another piece of yarn around the top looped end to form the tassel. Trim the end of the tassel and tie it onto the bookmark.
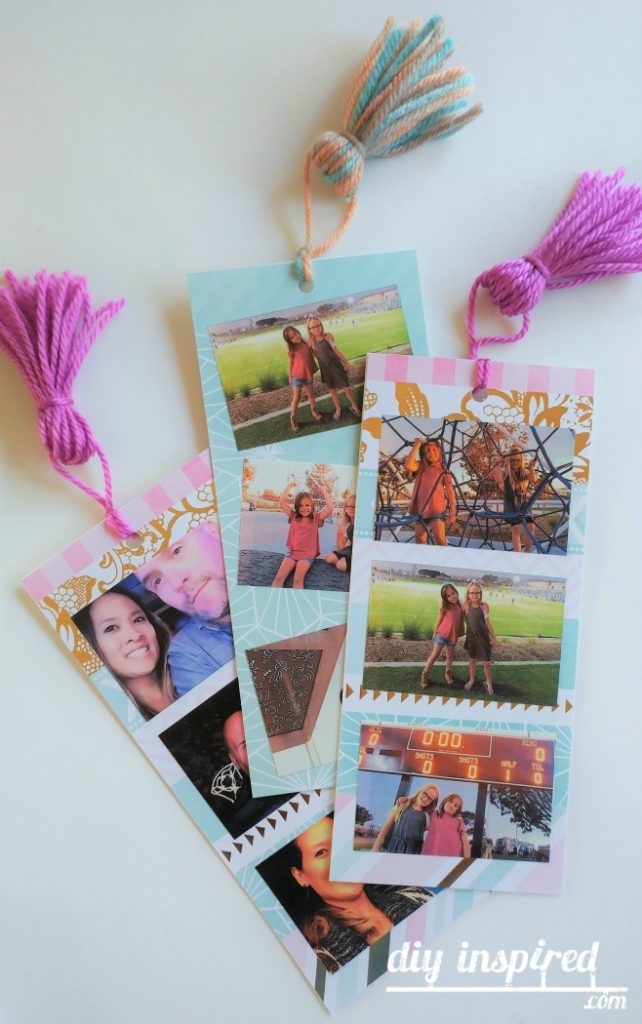
Lastly, print your favorite photos. You may need to crop and resize them. Stick three pictures on the front and back of your bookmark.
DIY Bookmarks Kids Can Make
I don’t think I will ever get used to reading digital books. I love the feel of a bounded book in my hands and turning those pages to find out what happens next in the story. You may have noticed that because of this, I’ve made a lot of DIY bookmarks! Here are a few:
- DIY Felt Pizza Bookmark
- DIY Pug Bookmark
- Printable Definition Bookmarks
- Printable Coloring Bookmarks
- Paint Color Sample Bookmarks
These make great gifts for:
- Teachers
- Grandparents
- Friends
- Parents
- Coaches
Change the patterns and colors of paper to fit a certain holiday like red and green for Christmas stocking stuffers or pastels for an Easter basket.
More DIY Bookmark videos
If you need more inspiration for bookmarks. Here are two video tutorials I did for a fun felt pizza bookmark and for an easy paper pug bookmark that I made for Mia’s friends from school.
How to Make a Felt Pizza Bookmark
How to Make a Paper Pug Bookmark
Hope you like these! I’ll leave you with one more quote.
“Books are a uniquely portable magic.” –Stephen King
This post was originally published in 2017 for HP and has since been updated and improved.
What size do you make the bookmarks. Length and width?
Hi Susan! HP Sprocket photos are 2X3 inches, so you want to trim your paper to a slightly larger size to create a boarder. I trimmed these bookmarks to 8” X 3.5”. Cut both the brochure paper and scrapbook paper to create a sturdy bookmark. Glue the two pieces together and cut a hole for the tassel using a hole punch.