DIY Door Hanger
Do Not Disturb!
One of my best friends asked me if I would make her a door hanger for her office. I love when my friends ask me to do little projects because a) it’s an opportunity for a blog post, b) I love a quick and creative challenge, and c) I love making my friends happy!
She wanted something that looked professional, as it would be used in a Real Estate Office and she wanted it to match the décor. Because I am a DIY geek, I happen to have all these supplies already in my (messy) craft room. I wouldn’t doubt that many of you fellow craft junkies have these items as well. Because of this, I made this project in less than an hour and she was able to pick it up right after work the same day. (BTW, it only took that long because I had to wait for the paint to dry)
This would make a cute gift idea for the busy professionals in your life. The materials needed are:
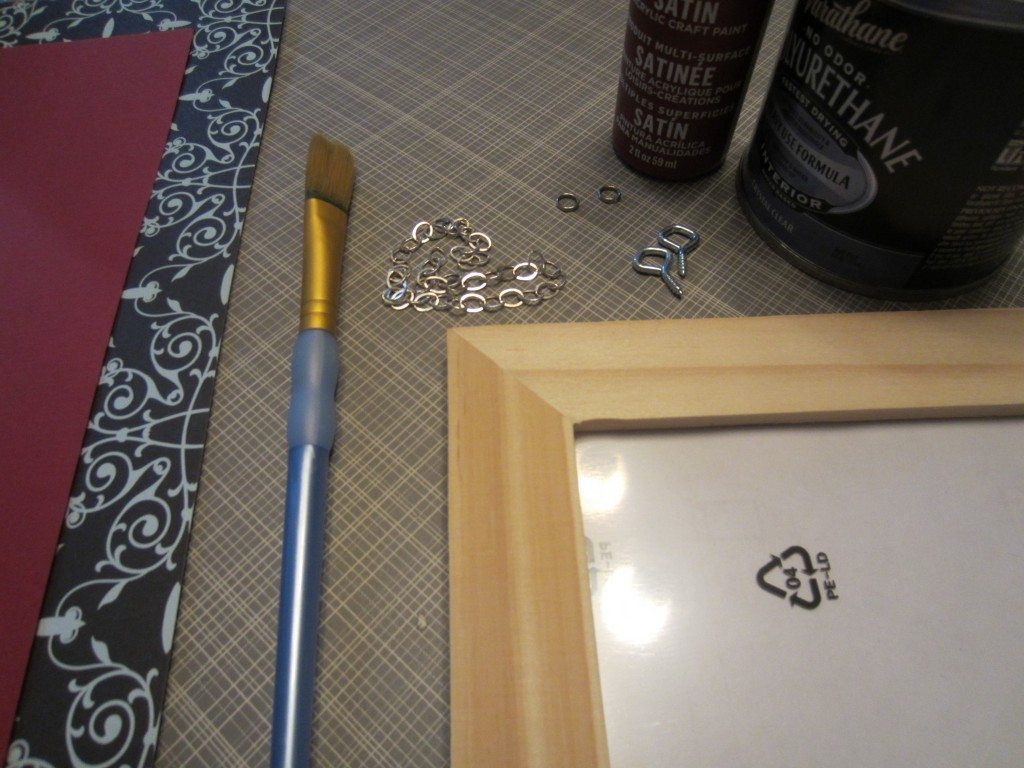
- Wood frame, 4X6 (I got this one at IKEA, 3 frames for $1.99)
- Two Screw Eye Picture Hangers
- Two Split Rings
- Chain (approximately 6 inches)
- Craft Paint
- Paint brush
- Scrapbook Paper
- Paper Cutter
or Scissors
- Computer
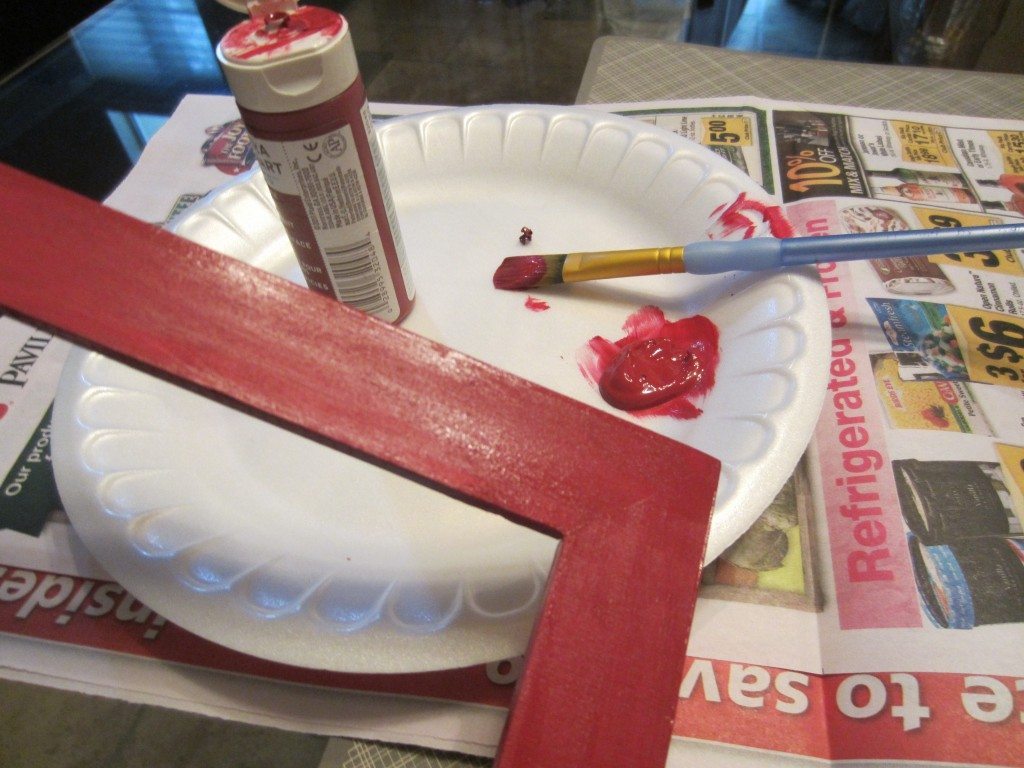
Step One: Remove the backing and paint both front and back of the frame in your choice of color.
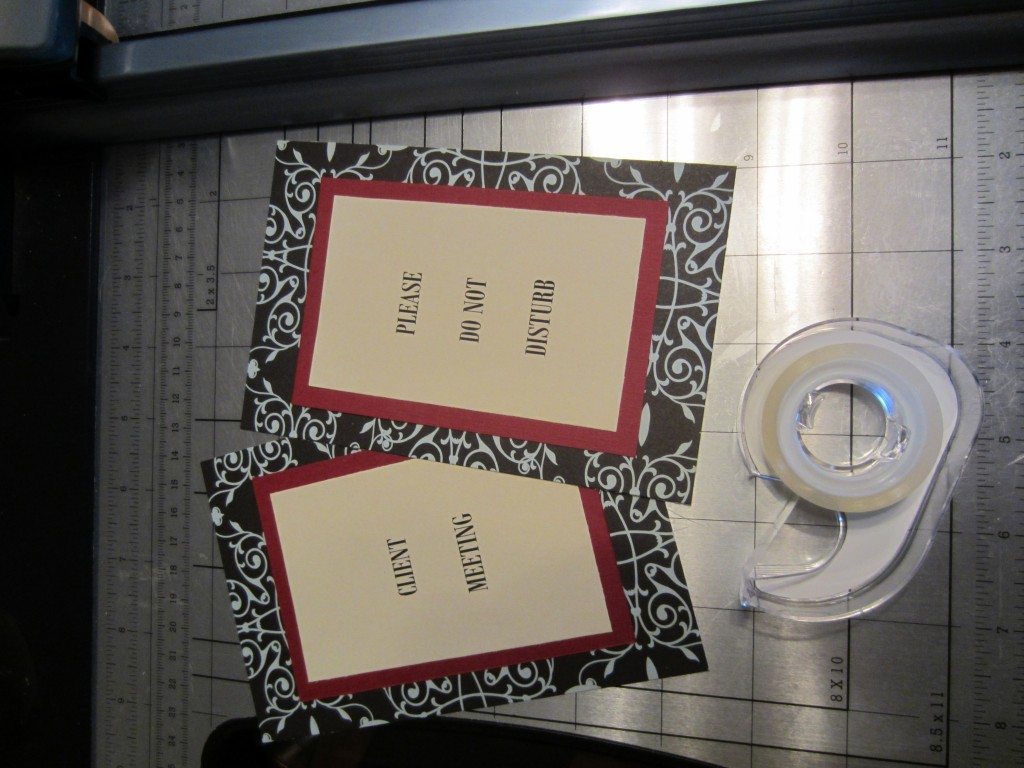
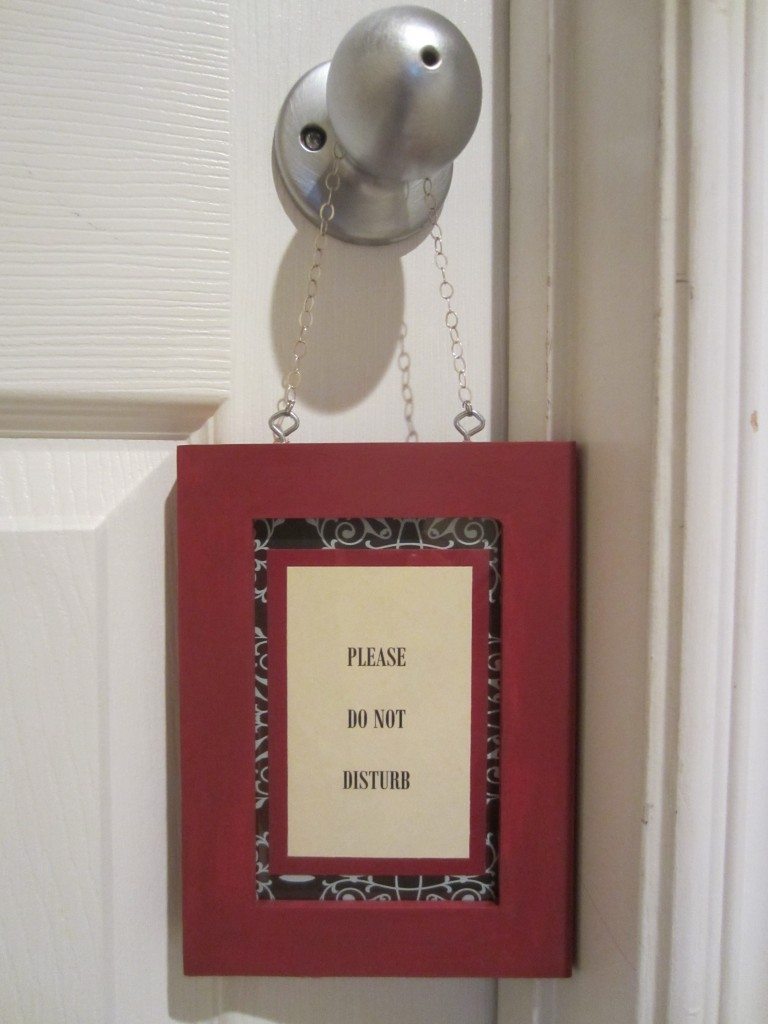
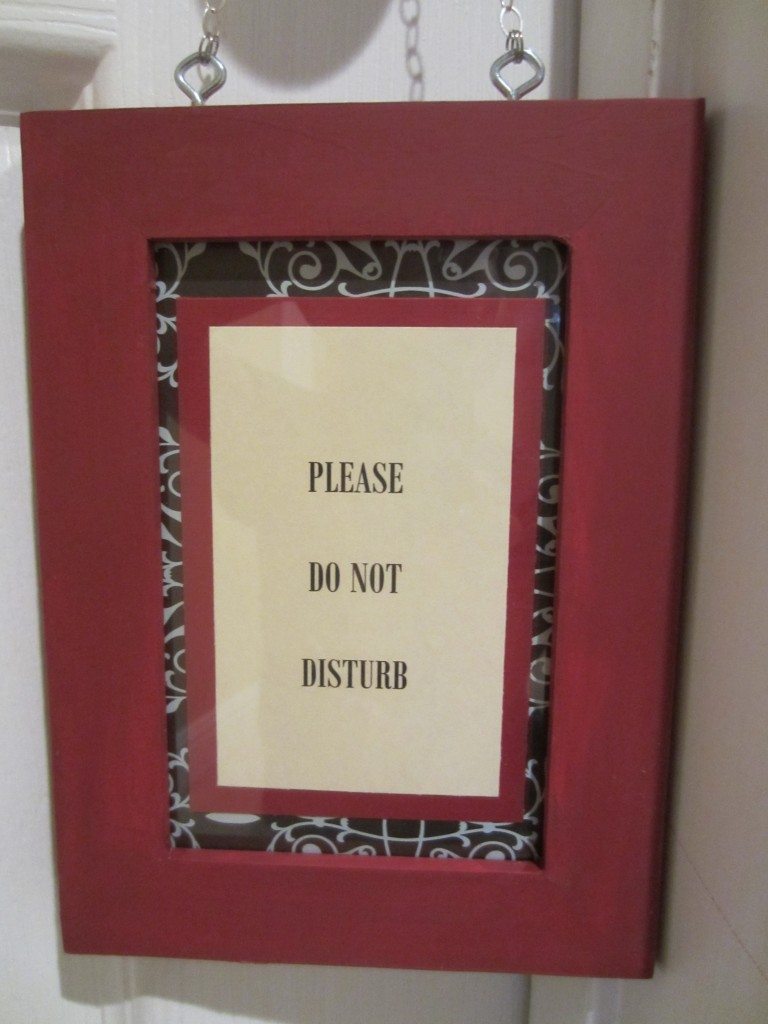
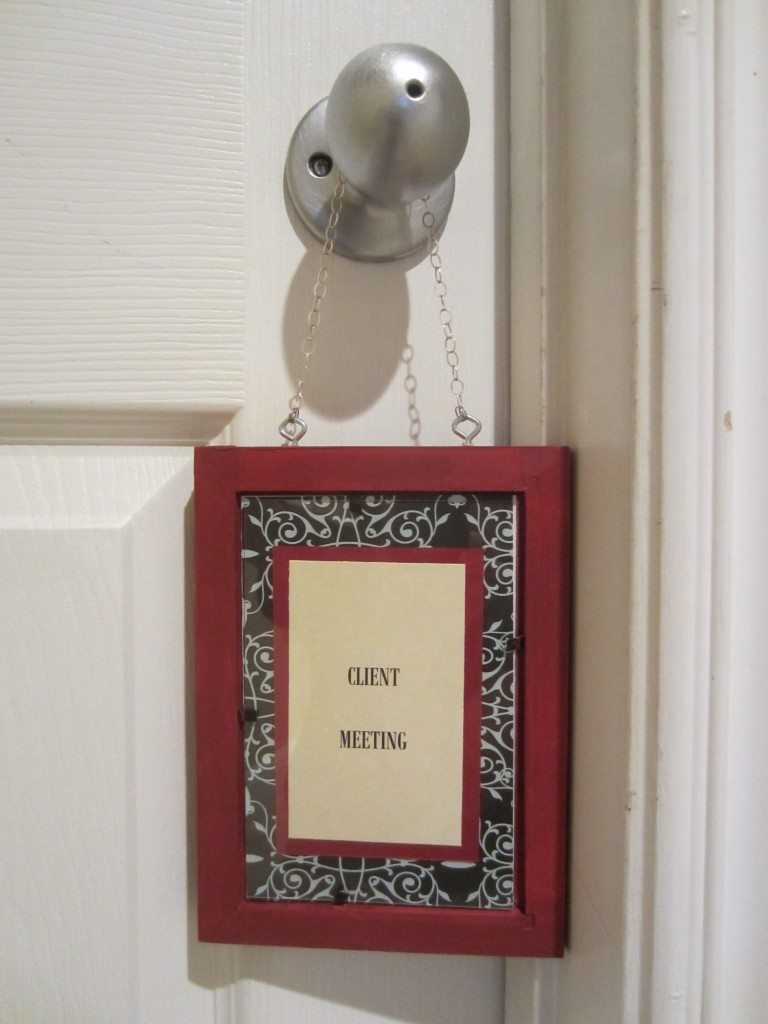
Step Two: While the paint is drying, design, print and cut out your 4X6 sign. I chose to put “Do Not Disturb” on one side and “Client Meeting” on the other. I used two different boarders to complement the frame color.
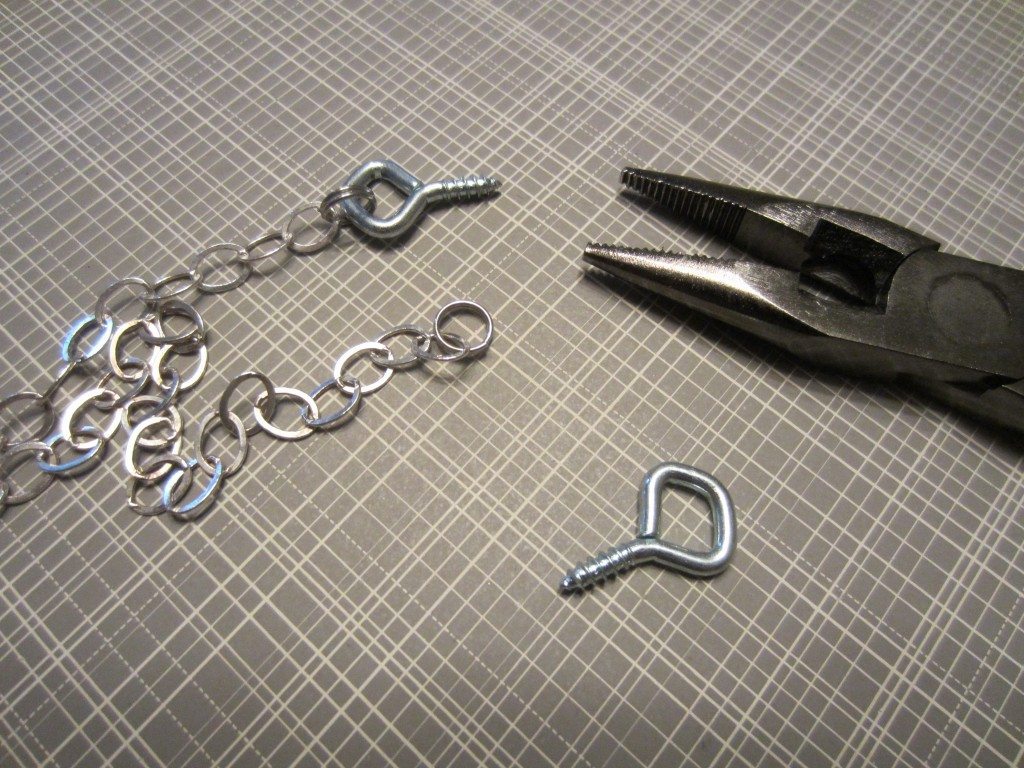
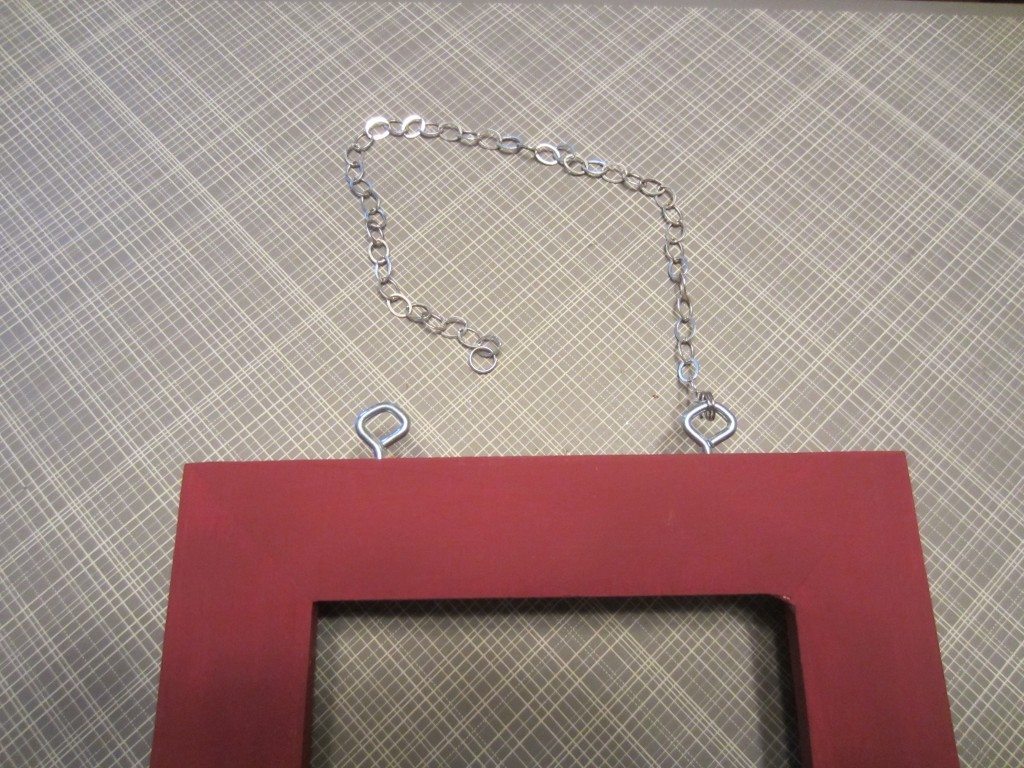
Step Three: Attach the one split ring and screw eye picture hanger to one side of the chain only. Attach the second split ring onto the end of the chain. Do not attach the second screw eye onto the chain yet.
Step Four: When the paint is dry, screw in the picture hanger into the frame that is already attached to the chain. Next, screw in the second screw eye picture hanger into the frame.
Step Five: Attach the second split ring onto the second screw eye. Use pliers to help.
Step Six: Insert your sign into the frame and hang!
Here are a few pictures.
Front
Back

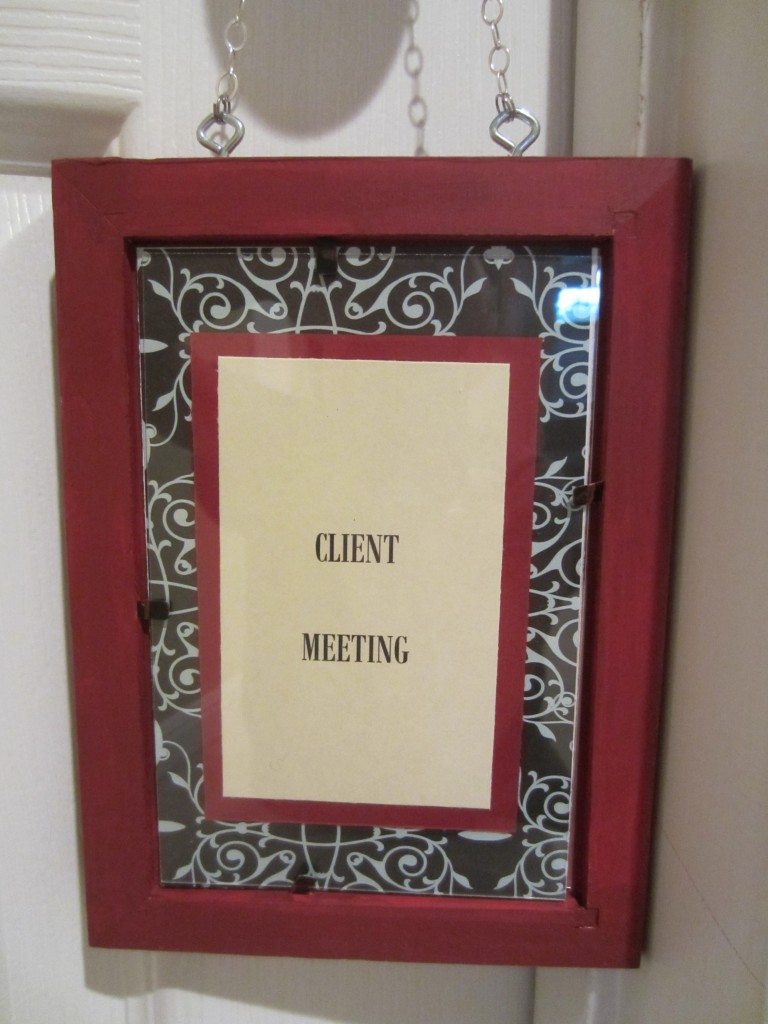


This would be a great gift at the office 🙂
Thank you!
Hi Dinah!
This DIY Door Hanger looks great! Thanks for sharing this tutorial. I’ve created also some ideas after read this about how personalise your front door. I hope you enjoy it: http://www.amatterofstyle.eu/inspire-me/home-decor/easy-diy-door-hangers-personalise-front-door