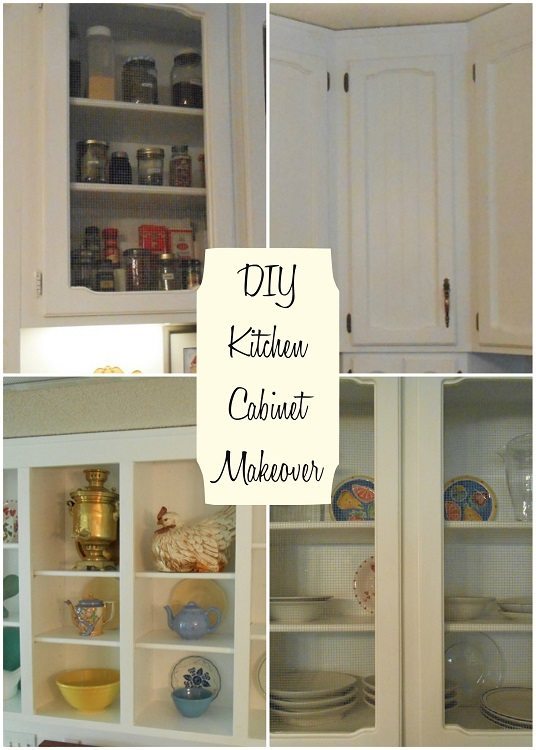
DIY Kitchen Cabinet Makeover
Our kitchen cabinets are changing! The cabinets weren’t exactly “trash” but they certainly weren’t a treasure either. By using wire we already had and lots of labor, ours, we are transforming our kitchen cabinets to reflect our country décor. I have seen cabinets like this in Southern Living, Do It Yourself, Country Sampler, and Cottage Style magazines, but the cost was prohibitive. The way we are doing it is cost effective! So, here is my DIY kitchen cabinet makeover!
The cabinets, circa 1980s, were white with dark hardware.

First, the doors were removed, along with the hardware and the painting of the dark interiors and shelves began.
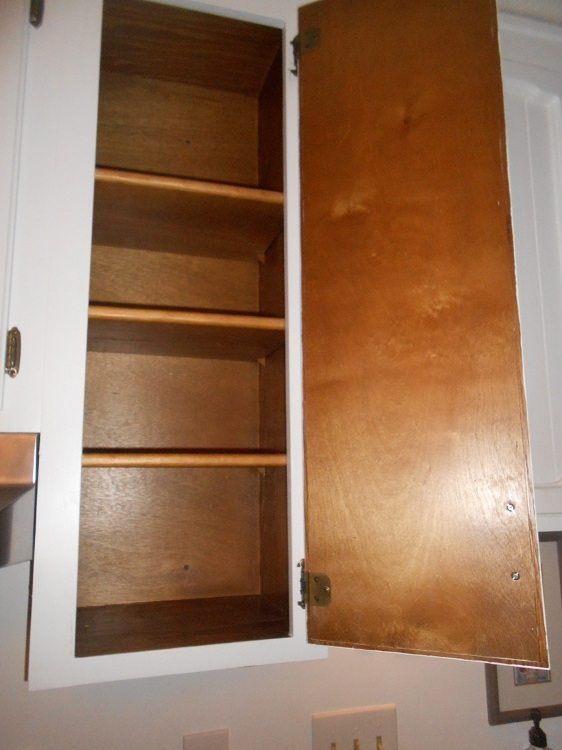
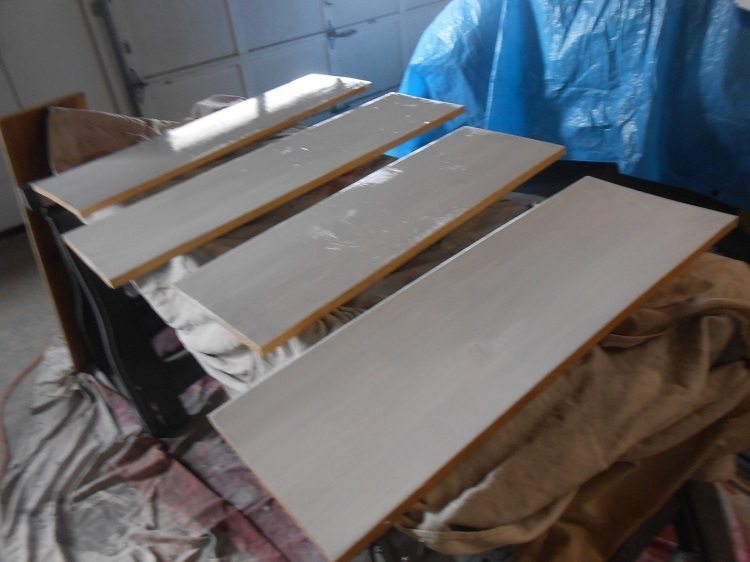
Because the wood was so dark, it took three coats to completely cover it, as you can see here with two coats, it still needs more paint!

Next, the shelving had to be painted too.
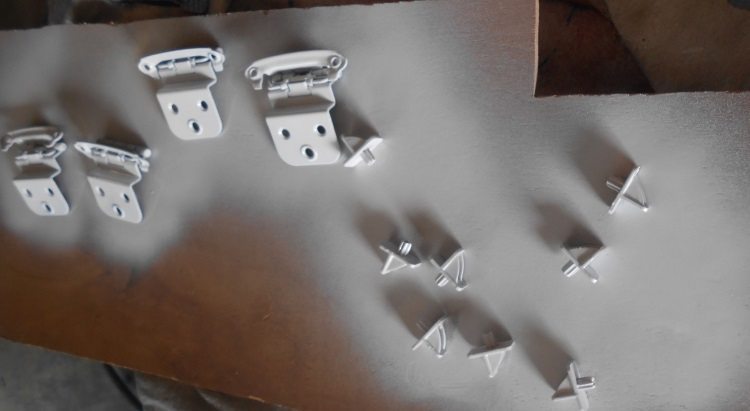
Not wanting to purchase new hinges or plastic shelf holders, I simply spray painted them.
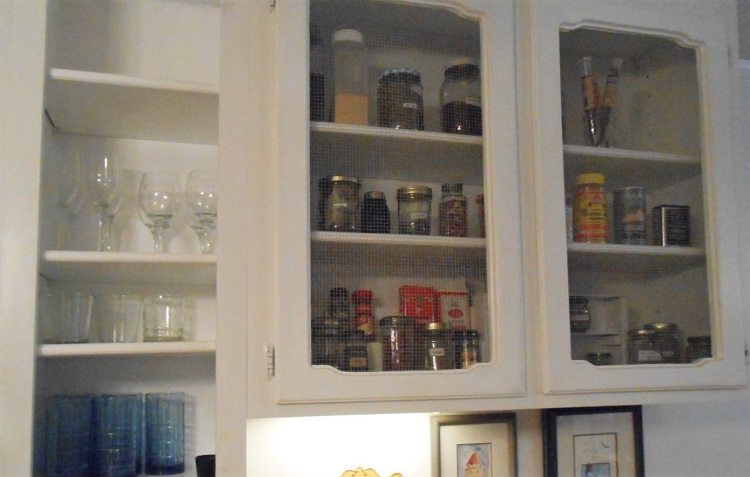
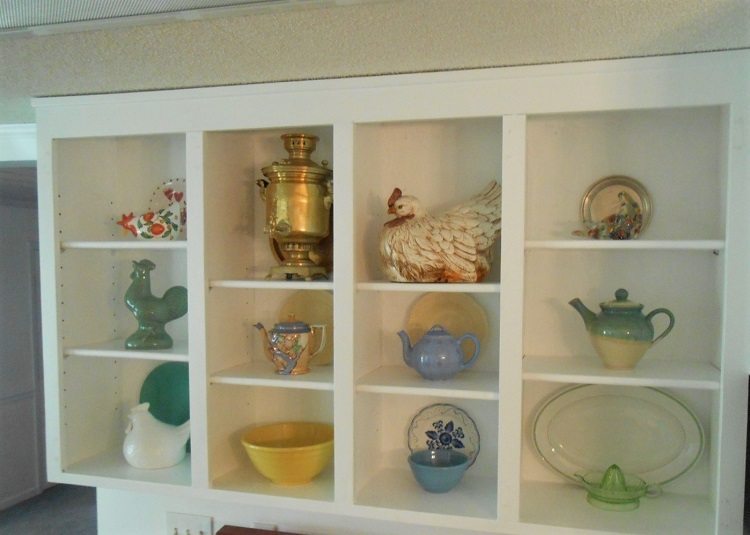
To open up the kitchen, we decided to leave off some of the doors and to add wire to the front of some of the other doors. Here’s a picture of one large area of cabinets before the doors were removed.
And a picture of the same area after the doors were removed and the interiors painted.
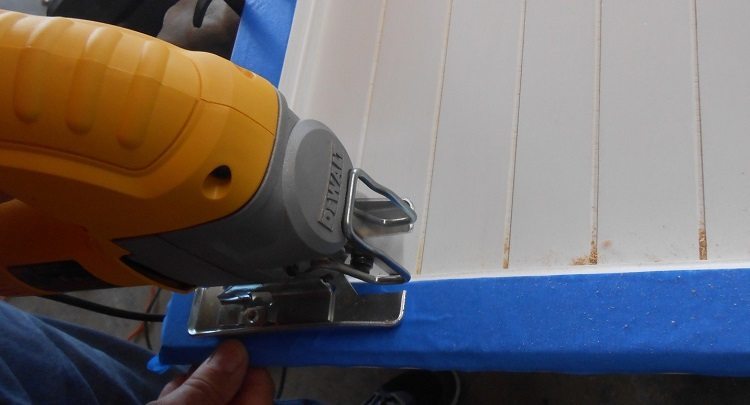
For the cabinets where we were going to use wire, the middle panel of each door had to be removed. Here those middle panels are being jig sawed out.
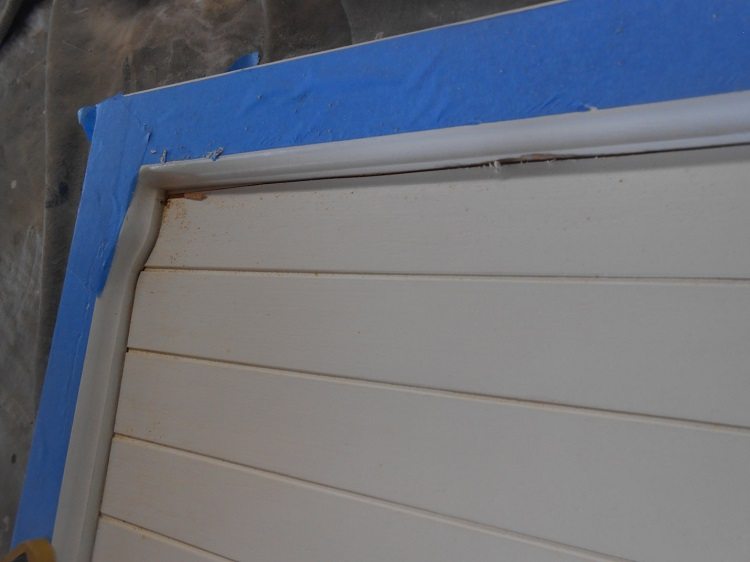
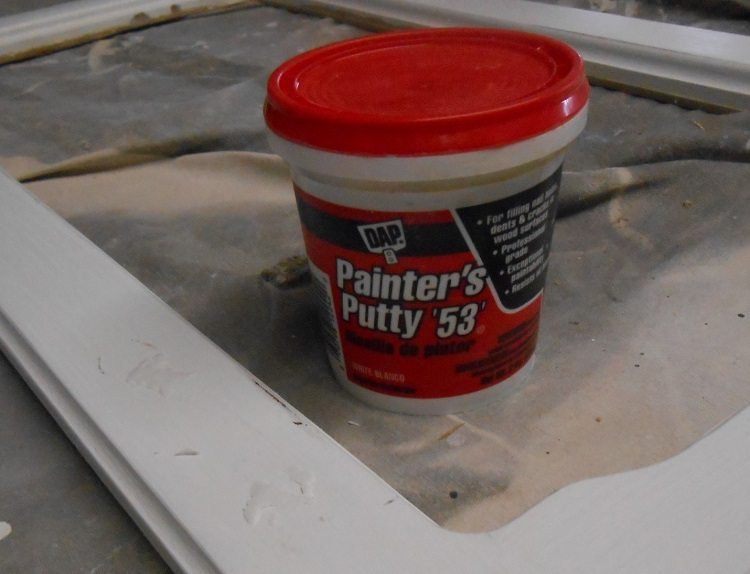
The resulting frames were sanded and painted so the wire could be stapled to the back (inside of the door). Before painting the frames, I puttied them using Painters Putty! It is so easy to work with this product; it dries quickly and most times can be smoothed with your finger. Here’s a picture of the putty ready to be smoothed out.
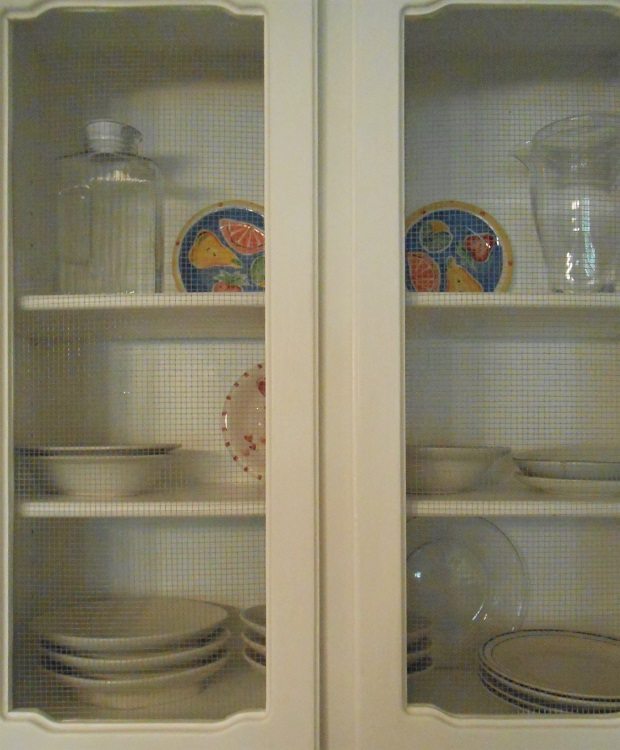
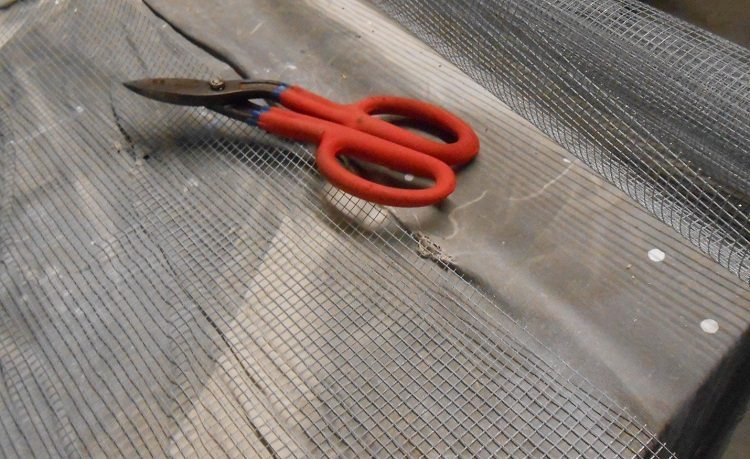
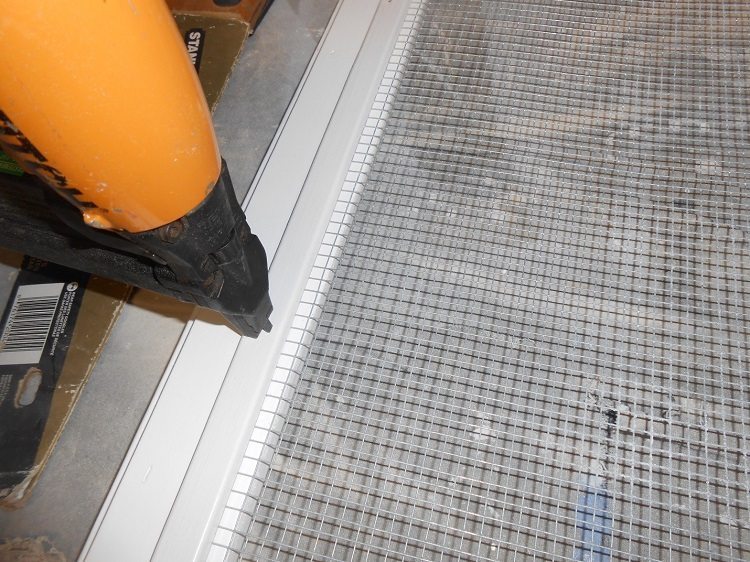
After the putty and paint dried, it was time to cut the wire (called Hardware Cloth – ¼’) about 1” wider than the opening. We used a 3” X 10” roll of the Hardware Cloth. Hint: wear wire cutting gloves when working with wire, they will save time and more importantly save your hands from being cut by the wire.
Once the wire was cut, it was stapled in place with a hand held stapler. We covered the edges of the wire with ¾” wood edging. To attach the edging my husband used a staple gun because the staple had to go through the edging, the wire and into the cabinet door.
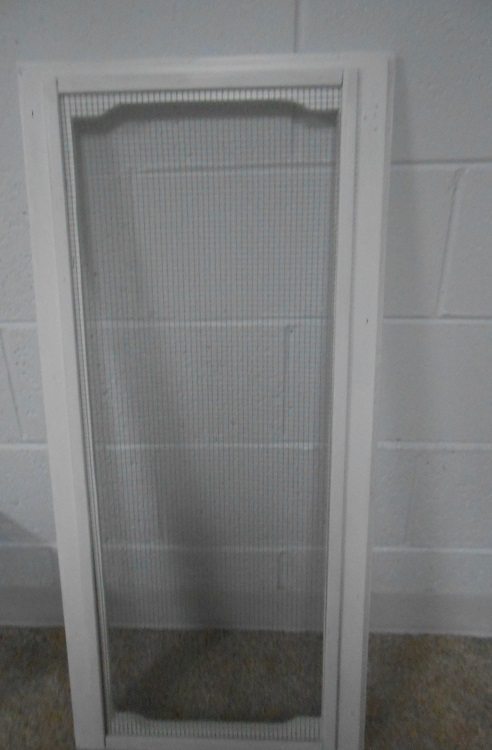
Here’s the finished interior of the door.
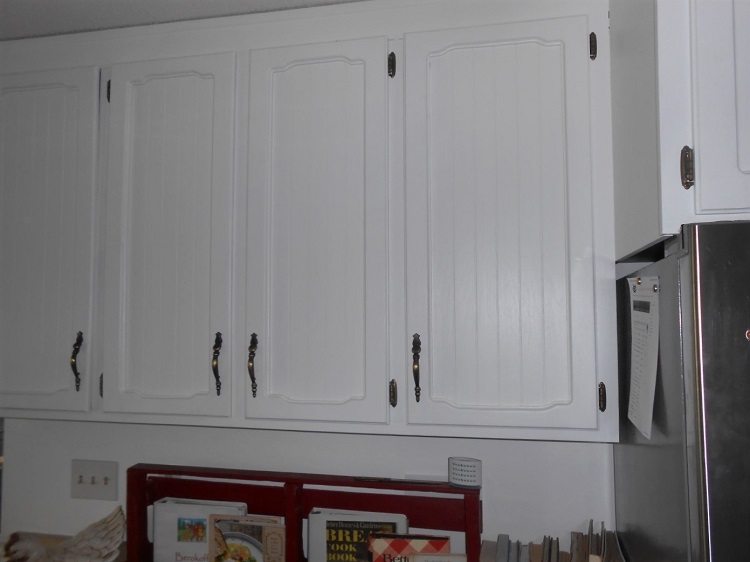
As I mentioned, we are not finished with this project, as we have large kitchen with many cabinets to paint. But, we are finished with the ones with open and/or wire fronts. New handles will be added to all the cabinets once we finish. I think you can get a good idea of how this project is progressing. Our goal of a more open feel is being achieved and once it is finished, we will have our treasured country kitchen!