Easy Way to Hang Pictures with Two Hooks
We had put our house on the market a couple of months ago, and we happen to obtain a new buyer and have found a new home with a closing date just a few days before Christmas. No holiday home tour for me this year, but that’s ok! I have a new beautiful house to decorate and organize for the new year! With unpacking, organizing, and decorating, I wanted to find an easy way to hang pictures with two hooks. I swear… everything on my wall has 2 hooks! Why not one to make my life easier! Anyway, I wanted to share this quick and easy tip that helped me a ton!
Materials:
- Washi Tape
or Painter’s Tape
- Scissors
- Pencil
- Measuring Tape
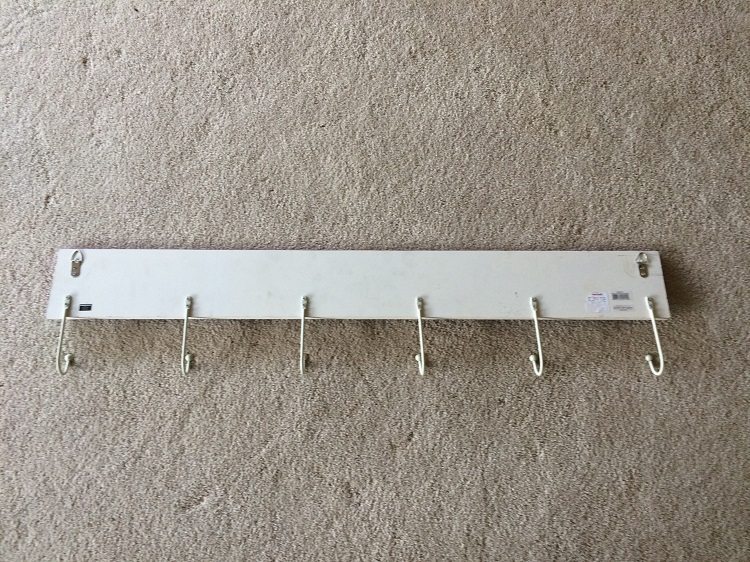
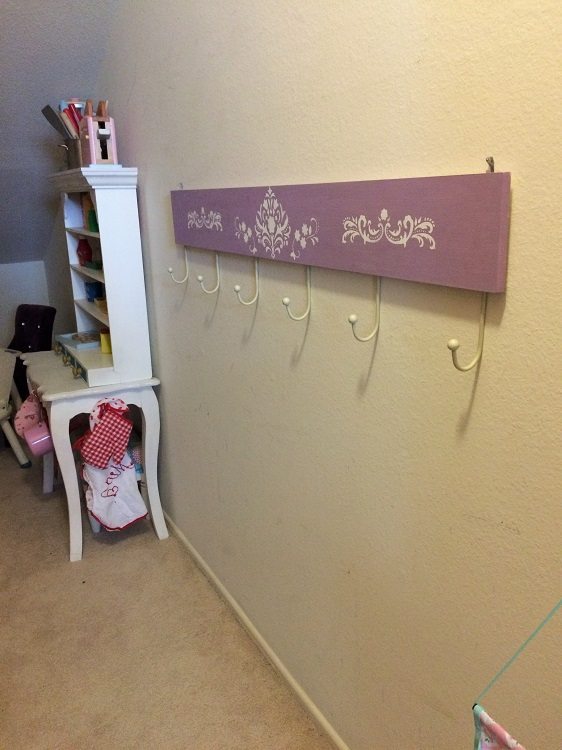
For this example, I am using this stenciled coat rack that I hang in my daughter’s room to. I thought this was a great example, because it is very long and being perfectly straight is a must.
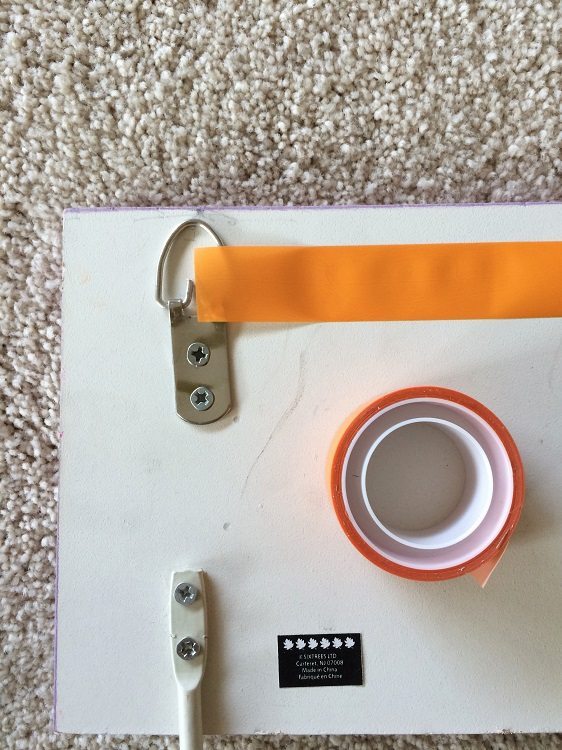
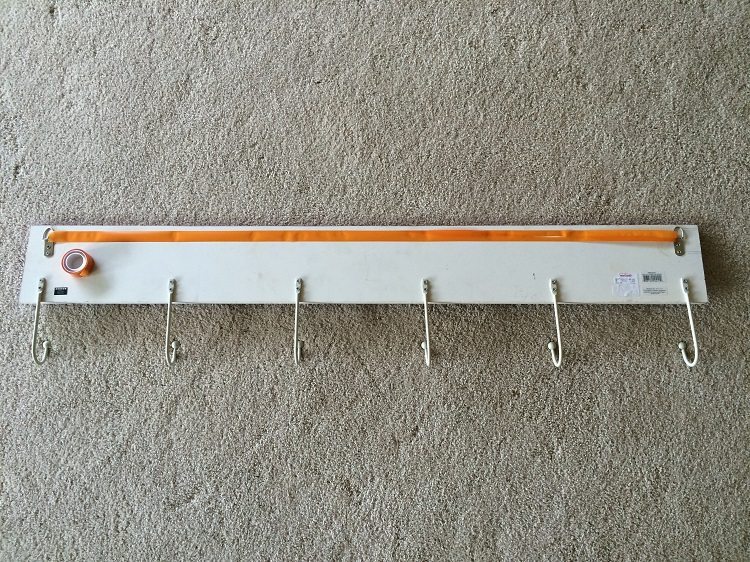
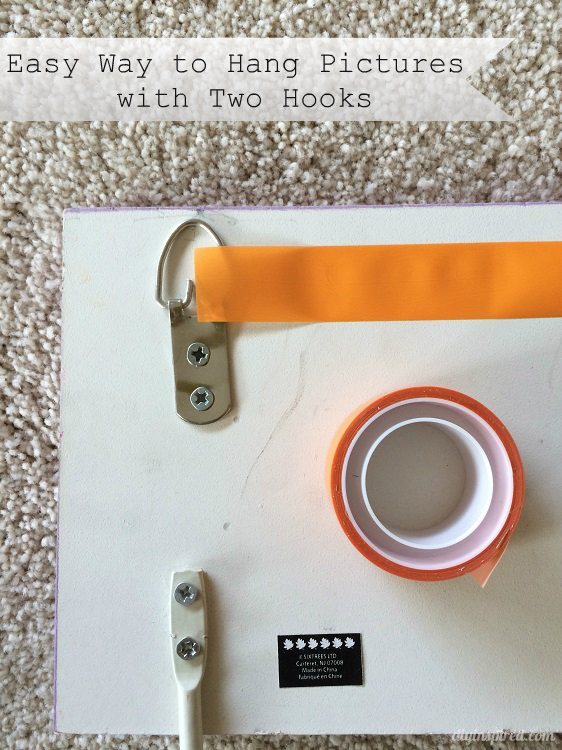
Simply, place the Washi tape in the center of the left hook as shown.
Unroll all the way to the center of the right hook and make a sharp straight cut.
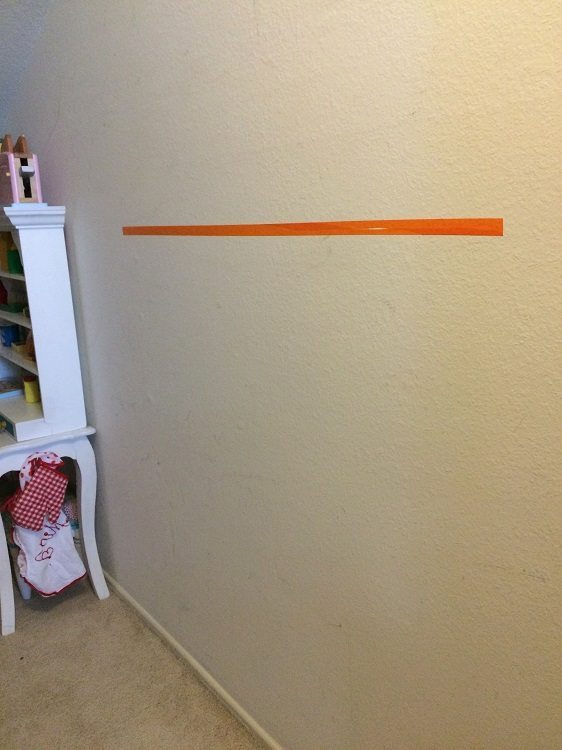
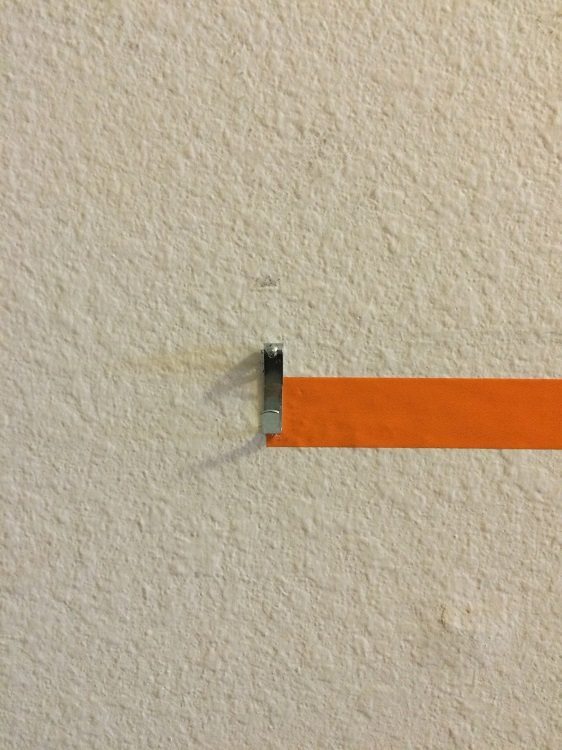
Remove the tape and place it on the wall where you would like it to hang. With measuring tape, measure the two ends from the ceiling or floor to make sure they are straight.
Nail your picture hanger in the center of each end. I leave the Washi tape up because you can’t see it. This way, if I decide to move it, I don’t have to cut a new piece. It works great and surprisingly lasts a long time.
Hang your picture (or coat rack, or whatever)!! Stop by and see my post on the right height to hang shelves!



Thank you so much for this. I have painted several rooms in our home and had not rehung the items on the wall, because of the 2 hangers!!
This looks spot on and I will try it tomorrow!
GREAT! This is a great technique. I just used it again when we recently moved in September to our new home!