How to Seal a Plastic Bag
Learn How to Seal a Plastic Bag with a Hand Torch
This article, How to Seal a Plastic Bag, is sponsored by Bernzomatic. All opinions are 100% my own.
The other day when I was packing my daughter’s school lunch, I realized that I had ran out of both plastic snack bags and sandwich bags. The only thing I had left were gallon bags… and for some reason we had 3 boxes of those!
On my way to school drop off that morning I got to thinking. There had to be a simple DIY hack to seal and fuse plastic together without buying an expensive machine. If I figured this out, I could:
- Make my own storage bags in various sizes.
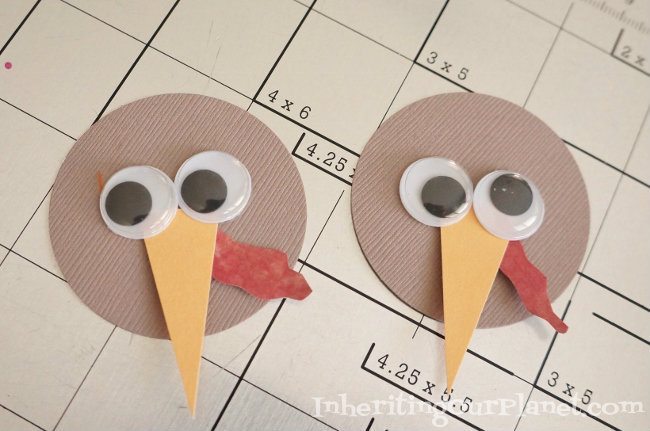
- Use this technique to make party favors.
- Get creative with gift wrapping.
- Seal homemade candy or cookies.
- Make blind bags for the girls!
This is my solution; and you only need a few things.
- Plastic Bags
- Knife
- Cutting Board
- Bernzomatic Butane
- Bernzomatic ST2200T
Watch the Video
Make Your Own Toy Blind Bags
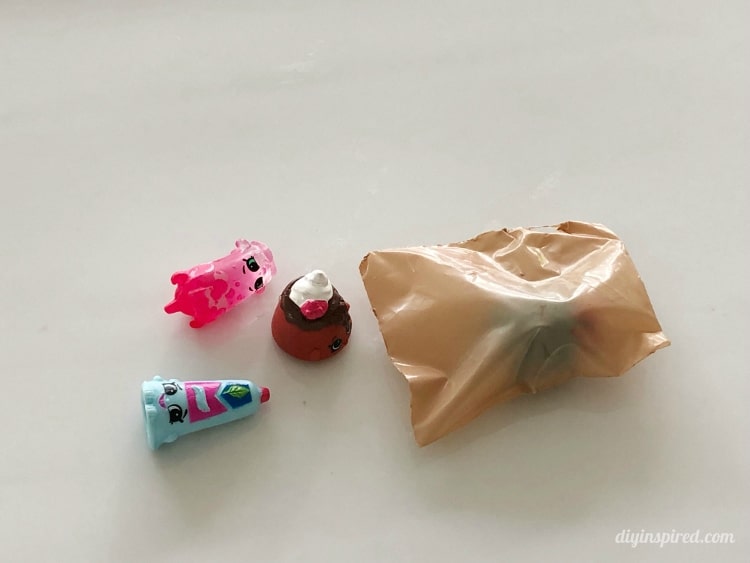
Let’s start with that last bullet point first. If you have a child between the ages of 3-12 you know what a blind bag is; and how excited your child would be if you took the time to do this for them. If you DON’T know what a blind bag is, go to Target and you will find an entire aisle filled with blind bag options from all things Disney to Barbie to Shopkins (the originator of it all).
Warning 1: This DIY should only be done by an adult, as it requires an open flame and sharp knife.
Warning 2: Take heed when sharing with your children that you can now make blind bags. My daughter now wants me to make blind bags for 300 of her favorite Shopkins…
Here’s How to Do It
You need to use plastic that you cannot see thru, hence “blind” bag. Thick grocery bags work well for this. Here in California, these cost you $.10 a piece if you fail to bring in your own bags to the grocery store. Black trash bags will also work.
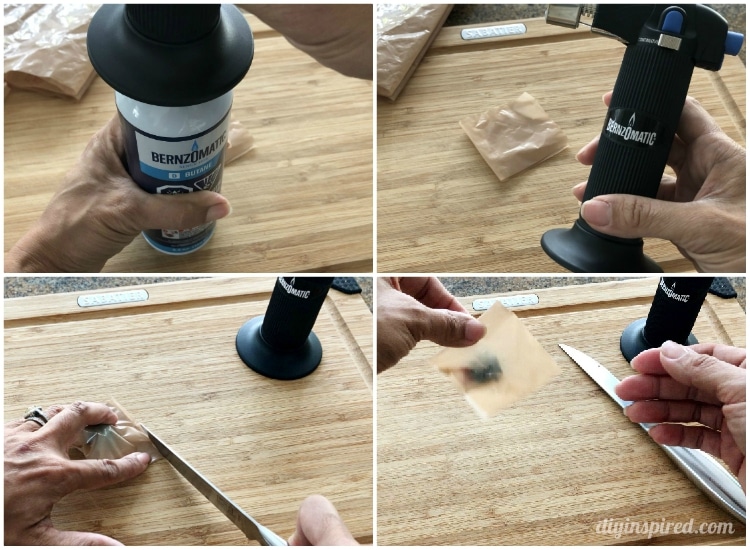
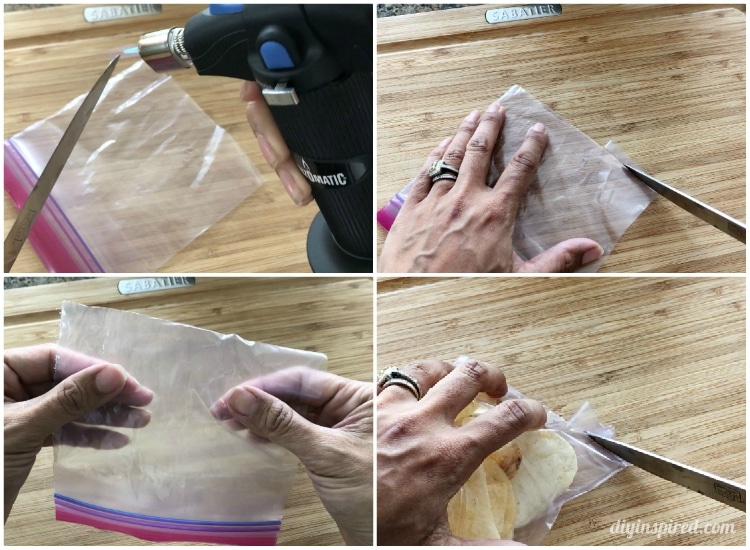
First, cut the bag in a rectangle shape in the desired size. Fill your Bernzomatic ST2200T with butane and ignite it. Heat the tip of your knife, gently moving the flame back and forth. Next, on top of a cutting board seal the edge of the bag by putting slight pressure along each edge, fusing the bag together.
Once you have three sides sealed, insert the toy or candy surprise and then repeat and seal the fourth and final side. Viola; a sealed bag on all four sides.
You may have to do a few trial and error pieces to figure out the correct amount of heat. This will vary depending on the knife and type of plastic you use. The thinner the bag, the less heat you need. Vice versa, the thicker the bag, the longer you need to heat the knife.
Make Your Own Snack Bags or Favor Bags for Parties and Holidays
The same process is used when using gallon locking storage bags are cut into smaller pieces. I found that for these bags, you need more heat. It also works best if you only heat the tip, versus the whole blade.
I turned a gallon storage bag into four small bags.

Removing Plastic from the Knife Blade
You may notice that the blade will have plastic stuck to it. To remove it, heat the leftover plastic with the Bernzomatic ST2200T. Take a second knife and use it to slide down the other blade and remove the heated plastic. The old plastic will fall off very easily. Wash your knives after removing the plastic with soap and water.
You can also use this technique to seal plastic favor bags for parties or during the holidays to give you a clean edge. This works great, especially if you are giving away something edible like cookies, chocolates, or brownies and other sweet treats for Valentine’s Day, Easter, or Christmas.