Planting Amaryllis Bulbs
We received a beautiful amaryllis bulb package from Longfield Gardens not long ago. It had everything we needed to plant amaryllis with a heat pack and all. I was told that it had been given special temperature treatment for optimal blooming performance. Mia and I planted it together and I wanted to share it with you.
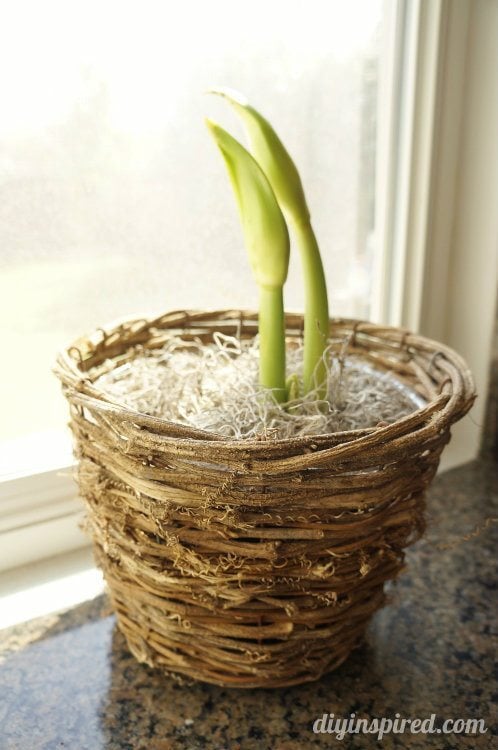
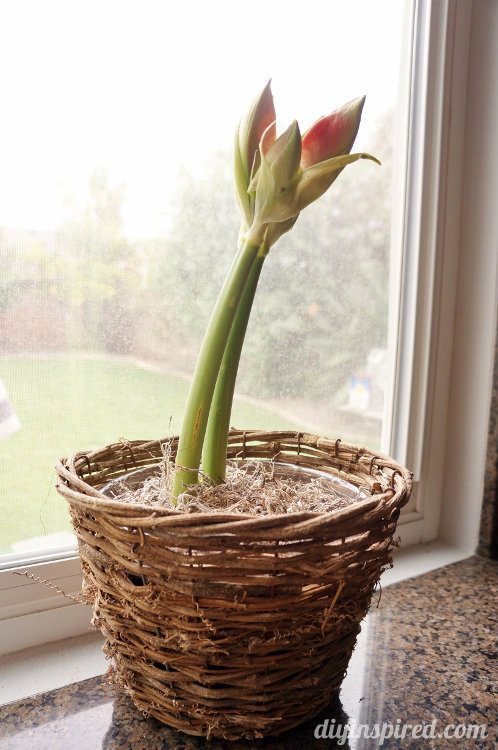
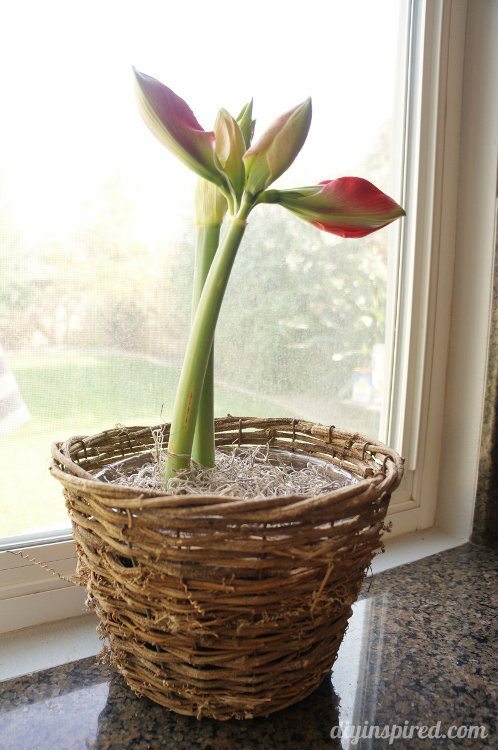
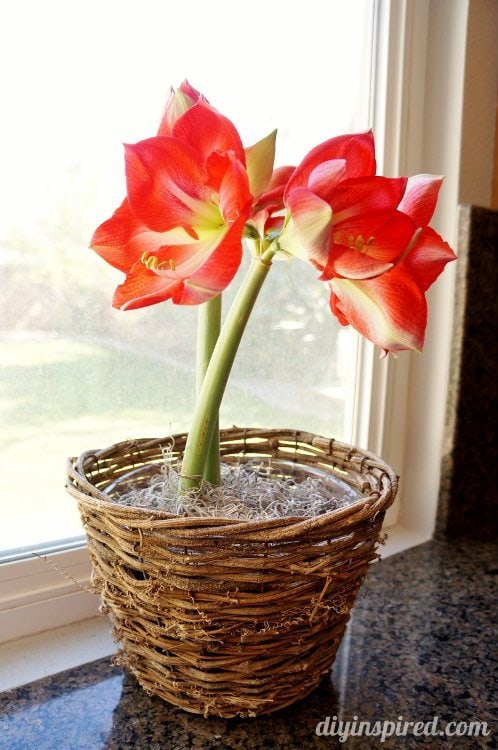
I really wish I took pictures but our hands were dirty from planting it together! So I thought I’d share a few pictures of our plants progression over a short period of time.
The Bulb
The bulb we received was firm to the touch which indicates good health. If you have a bulb that is not firm, it often means it’s rotting or diseased. Our bulb was about 36/38cm which had produced two stems. I am hoping for four blooms per stem.
Planting It
You can plant the bulb in the ground, but we wanted it in a pot. We filled our container partially with soil, placed the bulb in the potting soil, and covered it with more potting soil leaving the tip of the bulb exposed. If you are planting it in the ground, you want 5-6 inches of soil above the bulb. We watered it until the soil was moist.
You can plant amaryllis in rocks for a contemporary look, or in a pot. Amaryllis actually will last a long time as a cut flower is a vase of water as well.
Growing It
We placed ours in a sunny spot by the window in our kitchen and it is growing nicely. Keep it in a place where the temperature is always above 60 degrees Fahrenheit. We water it when the top inch of soil is dry. If your bulb is in ground, you can wait to water it when the top two inches of soil is dry. If the leaves turn yellow, be sure to cut them from the base.
We are looking forward to watching it bloom! Mia loves looking at it every day.


Oh my goodness, that’s beautiful! Ashlyn would love doing that!
Thanks, Tara! It’s so fun watching it grow, She would love it!