Spring Centerpiece with Stenciled Burlap
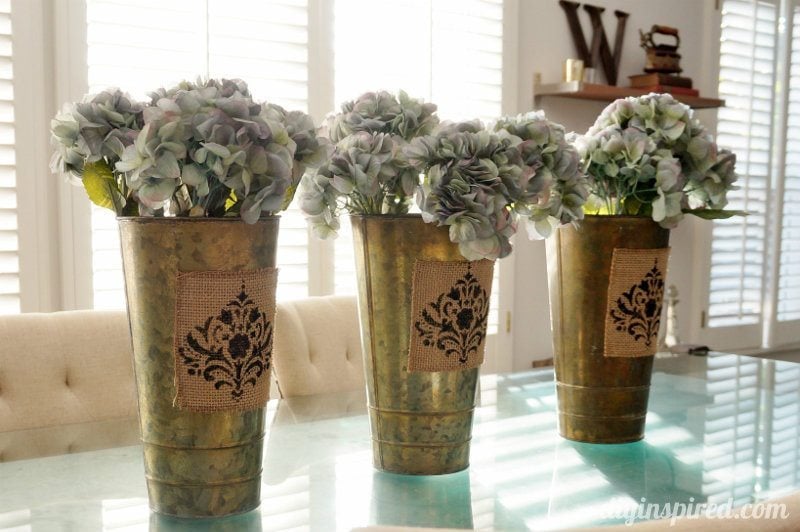
I had the honor of sharing this project, how to make a spring centerpiece with stenciled burlap, on the Darice Blog and today I wanted to re-share it with you here on DIY Inspired! Now that spring well underway, this fun and easy project will help brighten up your dining room table! I have a particularly LARGE dining table, so I made three. Of course you can always just make one or two!
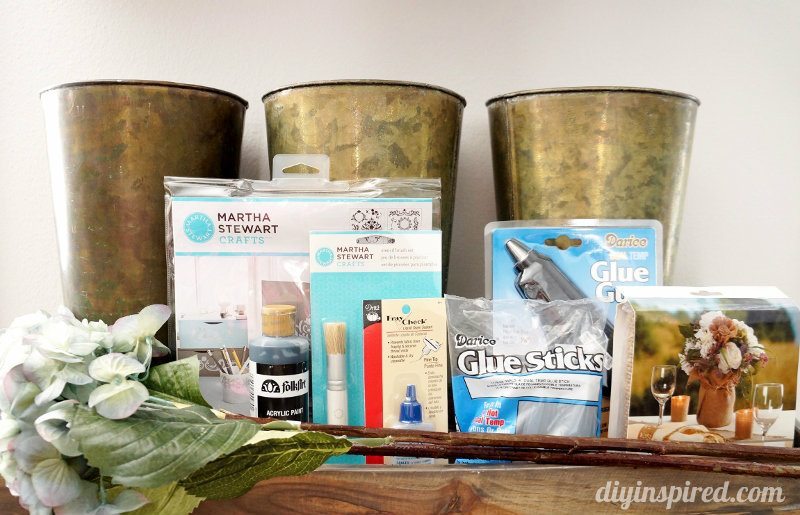
Darice Supply List:
- 3 Metal Planters
- Martha Stewart Crafts Flourish Stencil
- Martha Stewart Crafts Stencil Brush Set
- Licorice FolkArt Acrylic Paint
- David Tutera Natural Burlap in Brown

- Dual Temp Glue Gun and Glue Sticks
- Blue Grandiose Hydrangeas
- Dritz Fray Check


Instructions:
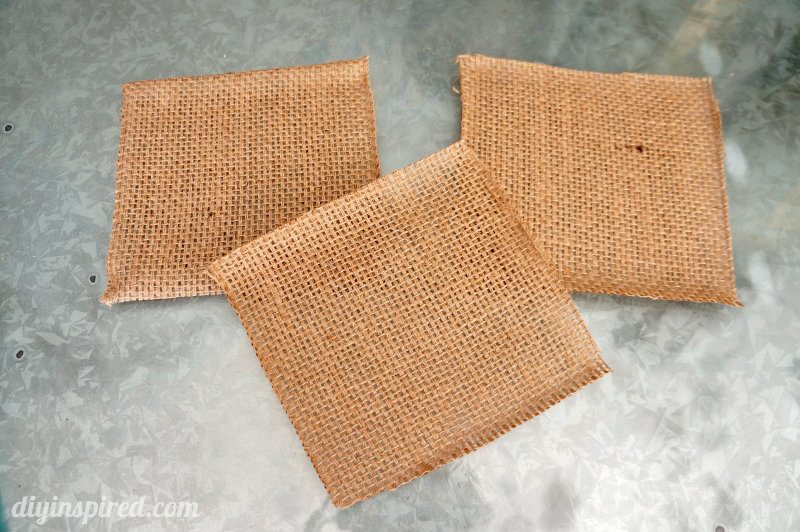
Step One
Measure and cut the David Tutera Natural Burlap in three six by six pieces.
Step Two
Apply Dritz Fray Check on all four sides of each piece of burlap and allow it to dry for approximately 15 minutes.

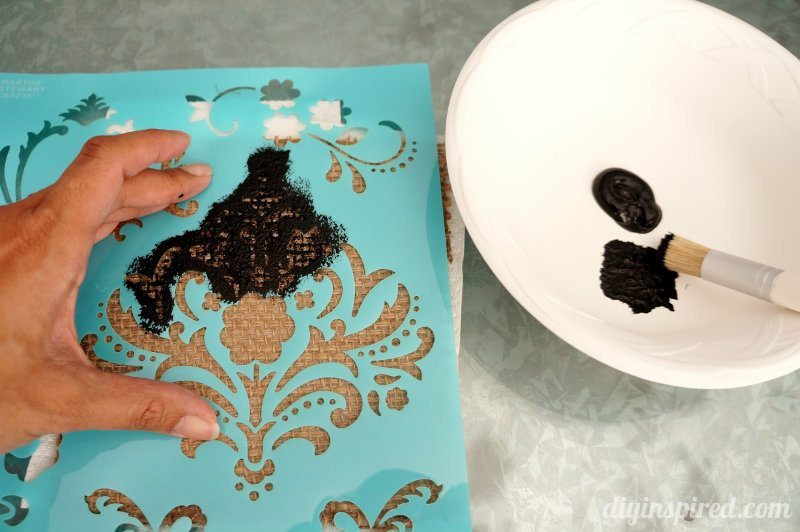
Step Three
Once the Dritz Fray Check is dry, center the stencil onto one burlap square. Make sure to protect your work surface. Generously apply some paint onto the tip of the stencil brush and dab off any excess paint. Apply the paint onto the stencil in an up and down motion. Remove the stencil and wash it thoroughly. Make sure to rinse and clean the stencil in between stenciling each piece. Repeat this step for the other two burlap squares.
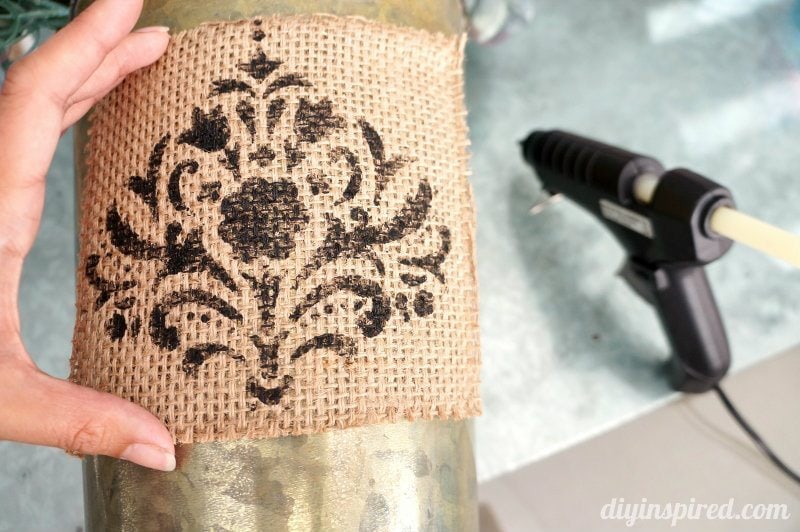
Step Four
Once your burlap pieces are stenciled and dry (approximately 15 minute dry time), hot glue them onto your metal planters.
Step Five
Lastly, arrange four Blue Grandiose Hydrangeas or any flower of your choice in each of your metal planters. I personally like the look of fake hydrangeas. I use them all the time! Like here and here and here!
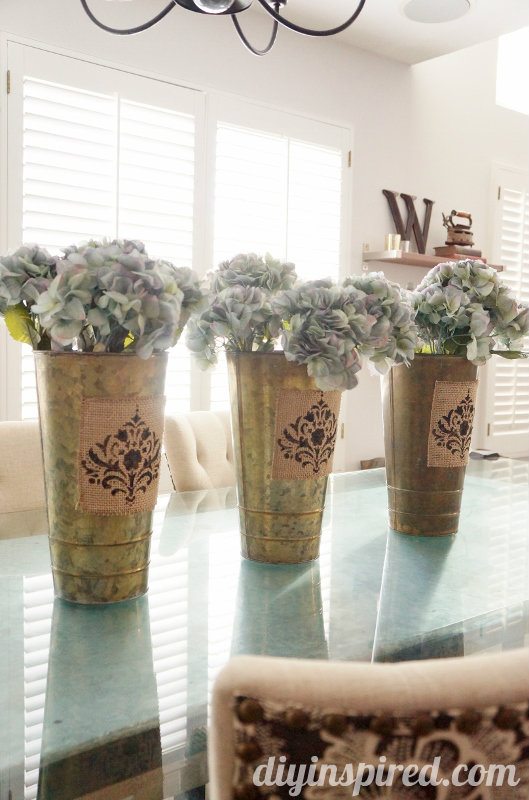
In five easy steps you will have a beautiful personalized spring dining room centerpiece. These three metal planters were perfect for my eight foot dining room table. You can personalize them with a monogram as well. These also make fun gifts too, especially for Mother’s Day!
Check out this short video with four tips for crafting with burlap!
Try these other DIY decorating ideas:
Feeling Crafty? You may also like: