Tips for Painting a Wall from Dark to Light
DIY Tips and Tricks: Tips for Painting a Wall from Dark to Light
I am so honored to be sponsored by 3M DIY today! As you may know, I spend so much time in my craft room. It’s painted a beautiful dark blue, which I love, however I felt that it was too dark with all four walls painted blue. I decided to paint one of the walls a bright white to help enhance the natural light. Here are my Tips for Painting a Wall from Dark to Light.
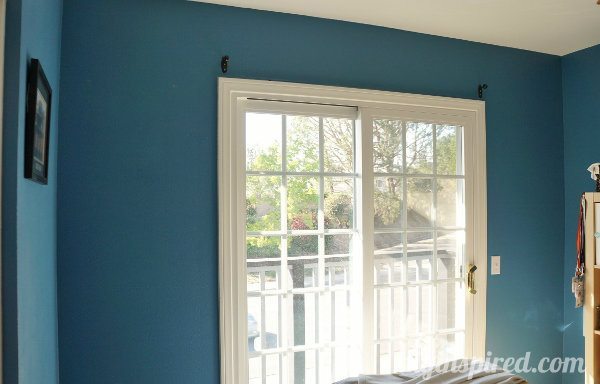
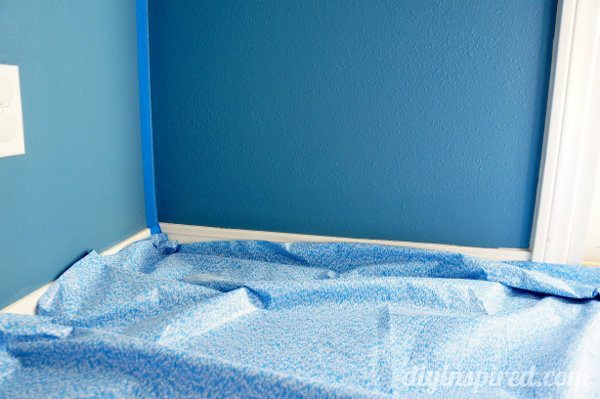
Here is a photo of my craft room wall before.
Materials:
- 3M Safe Release Painter’s Tape
- Angled Paint Brush
- Roller Brush
- Paint tray
- 3M Sandpaper
- Scotch Blue Non-Slip Drop
- Primer
- Paint
- Screwdriver
Instructions:
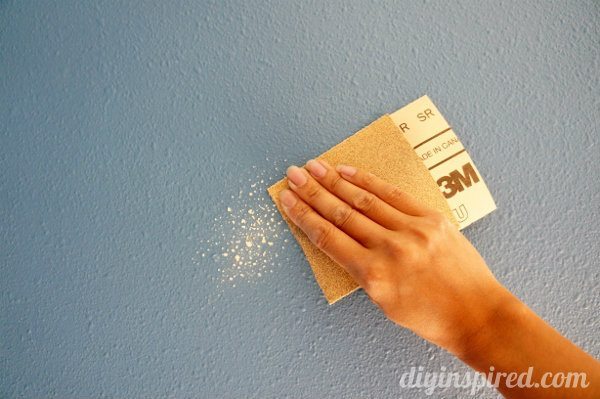
Prepare your surface. First remove all hardware. Using sand paper, sand any bumps or blemishes.
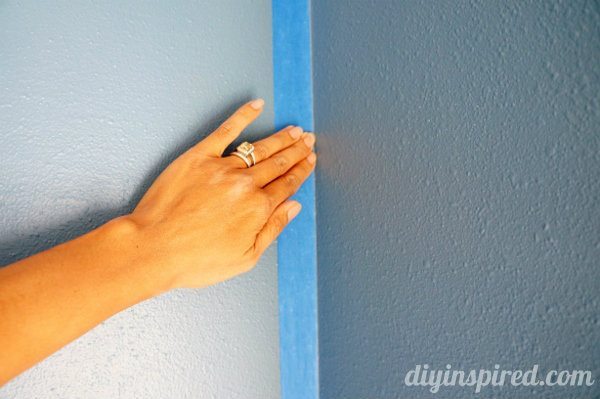
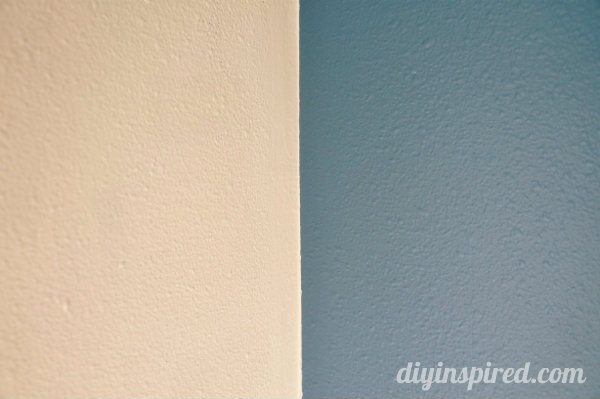
3M offers a variety of Painter’s tape to help you with any DIY Project. I chose to use the Safe-Release tape. After you apply your tape to the area that you would like protected, use your fingers to press down and smooth over the tape to prevent bleeding.
Protect your floor with a drop cloth. I have the Scotch Blue Heavy Duty Non-Slip Drop that is durable, light weight, and easy to clean so that you can reuse it.
Once you have prepared your wall and workspace, you are ready to paint. I chose an interior latex high hiding primer. It’s great for changing drastic dark colors to lighter colors.
Be sure to check out my article for when and how to use primer for DIY painting projects and furniture makeovers.

Using an angled paint brush, I started by priming the edges first as shown. An angled brush will help maintain smooth lines.
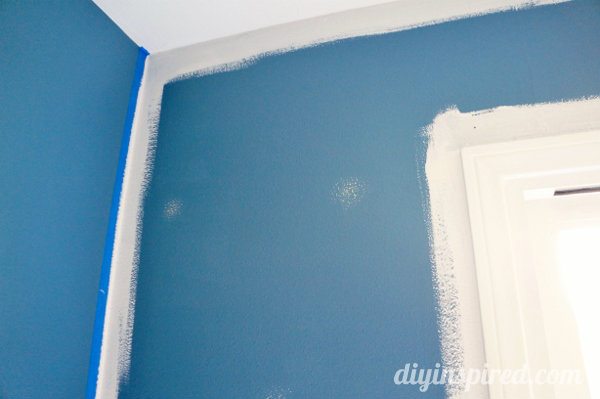
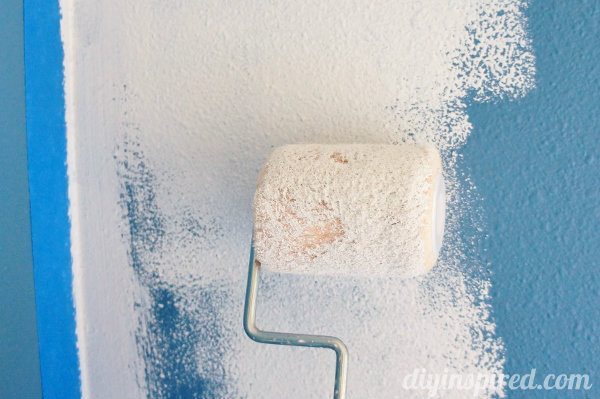
Next, I primed the rest of the wall using a short roller brush. Depending on the area you are painting, you may opt for a longer roller.
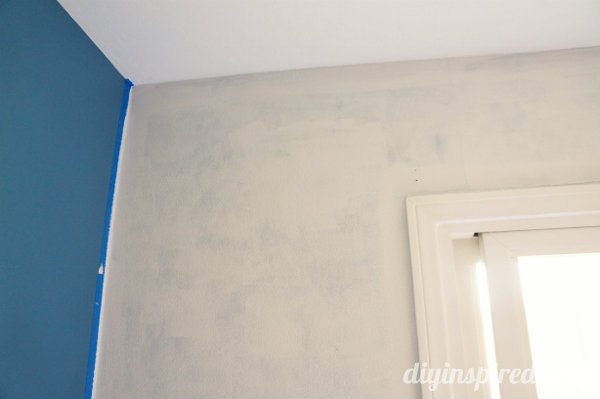
I primed the entire area in two coats, allowing it to dry for two hours in between coats. This is a photo of my second coat.
Next, Paint your wall with the desired lighter color. I chose a bright white. I was able to only use one coat of paint. Once the paint is dry, remove the painter’s tape. Look at how clean my lines were!
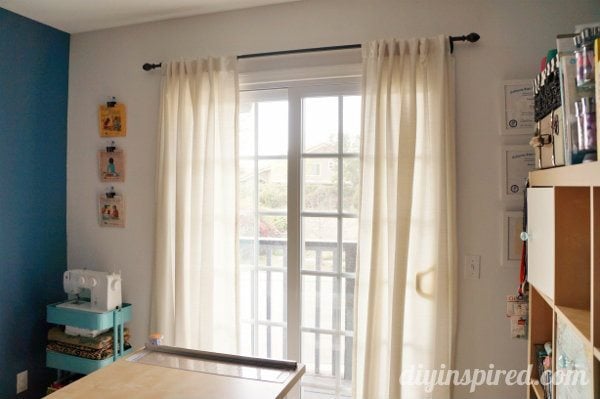
Here is another AFTER photo! I love how it turned out. The natural light in my craft room is so much better.
I am proud to be a 3M- sponsored blogger, and, as part of my responsibilities, I get the opportunity to evaluate new products from 3M DIY. Opinions are my own and additional product used in the project were selected by me. You can also visit 3M DIY on Pinterest, Twitter, and Facebook!