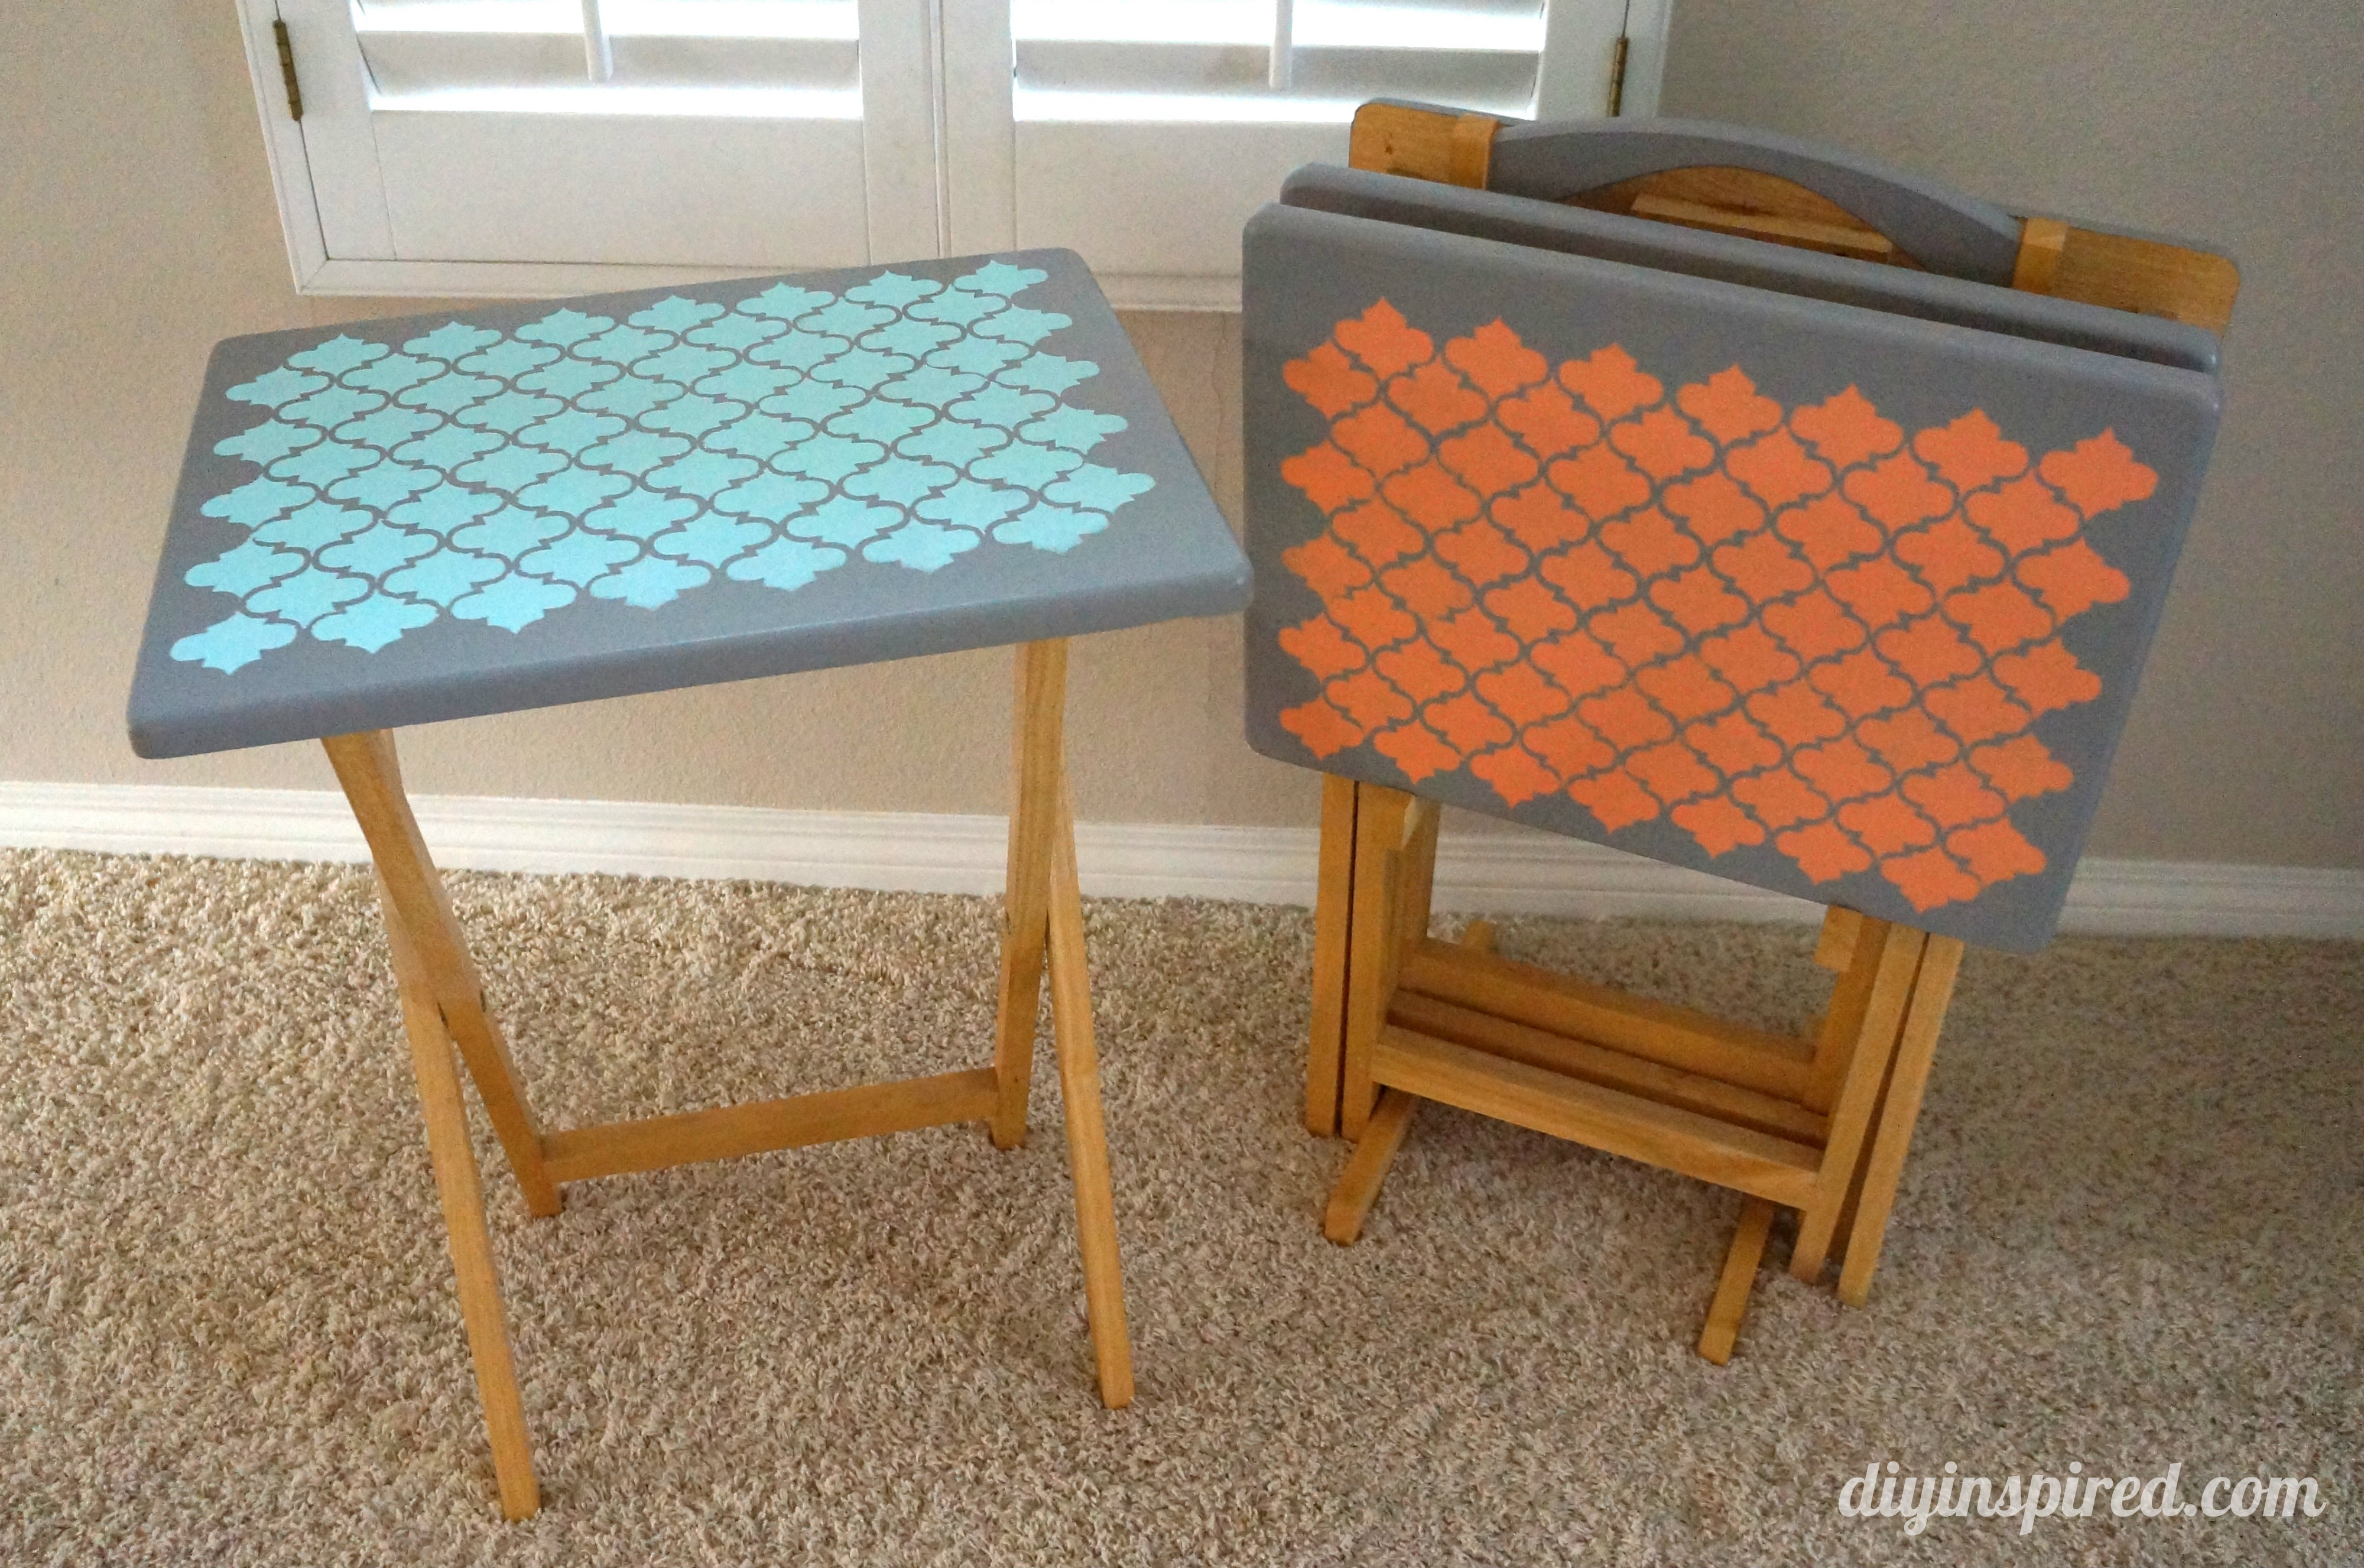
TV Tray Table Upcycle
I have no idea how long I have owned these TV trays, but I would venture to say over 15 years. They have probably been hiding away in a closet for ten of those years. I think every home has these (kind of like the Monopoly board game), but I’m not sure how often they are used. I personally, have forgotten about them because they were tucked away, and they were tucked away because they didn’t match my furniture and home décor. So, instead of selling them at a garage sale I’m planning on having in a couple weeks, I thought I’d do a TV Tray Upcycle instead and do a trash to treasure project.
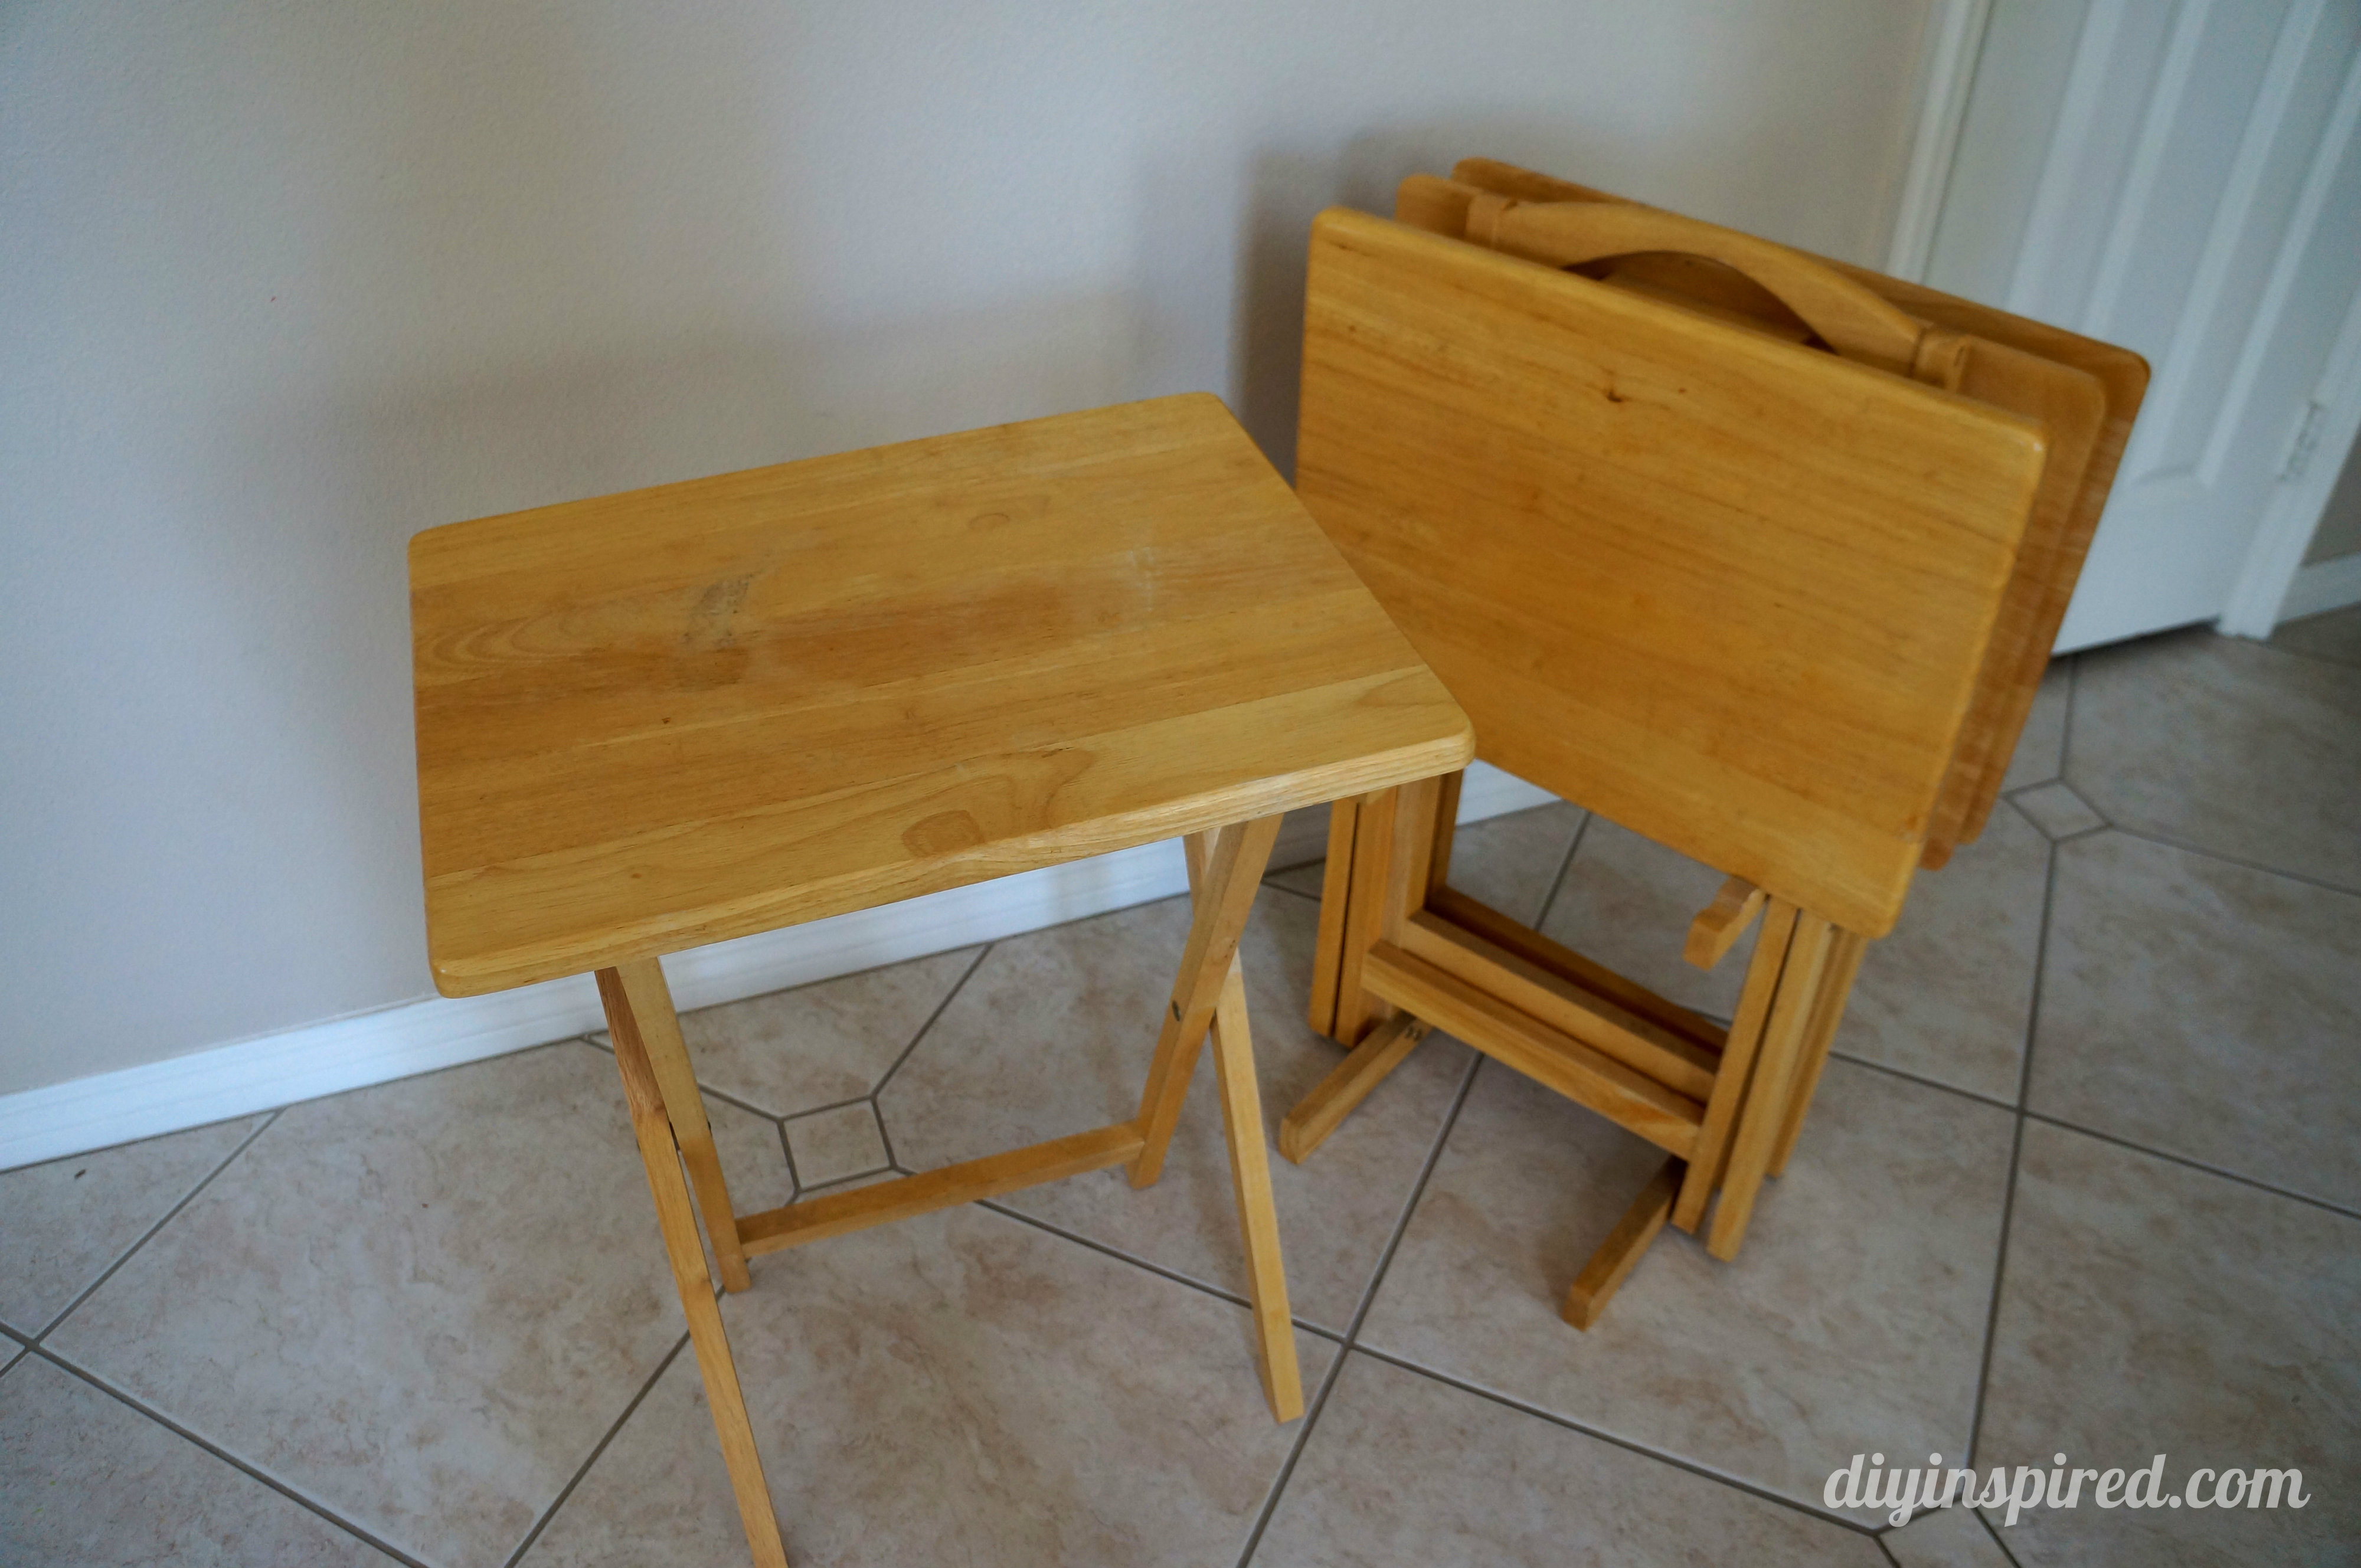
Here is the before photo.
Materials:
- Wooden TV Tray Tables

- Household Cleaner
- Paint (2 or more colors)
- Stencil(s)
- Spouncer Stencil Brush


Step One:
Clean your tray tables. Mine were dusty! If there are tough stains, you can lightly sand them with 150-grit sand paper.
Step Two:
Paint your base color and allow it to dry. I chose to just paint the top because I like the contrast of the light wood on the bottom. I think it makes it look more interesting.

Step Three:
Apply your stencils with paint and a spouncer stencil brush. A spouncer makes your life easier, and reduces or even eliminates bleeding. I have a ton of stenciling tips on my Burlap Stenciled placemat post.
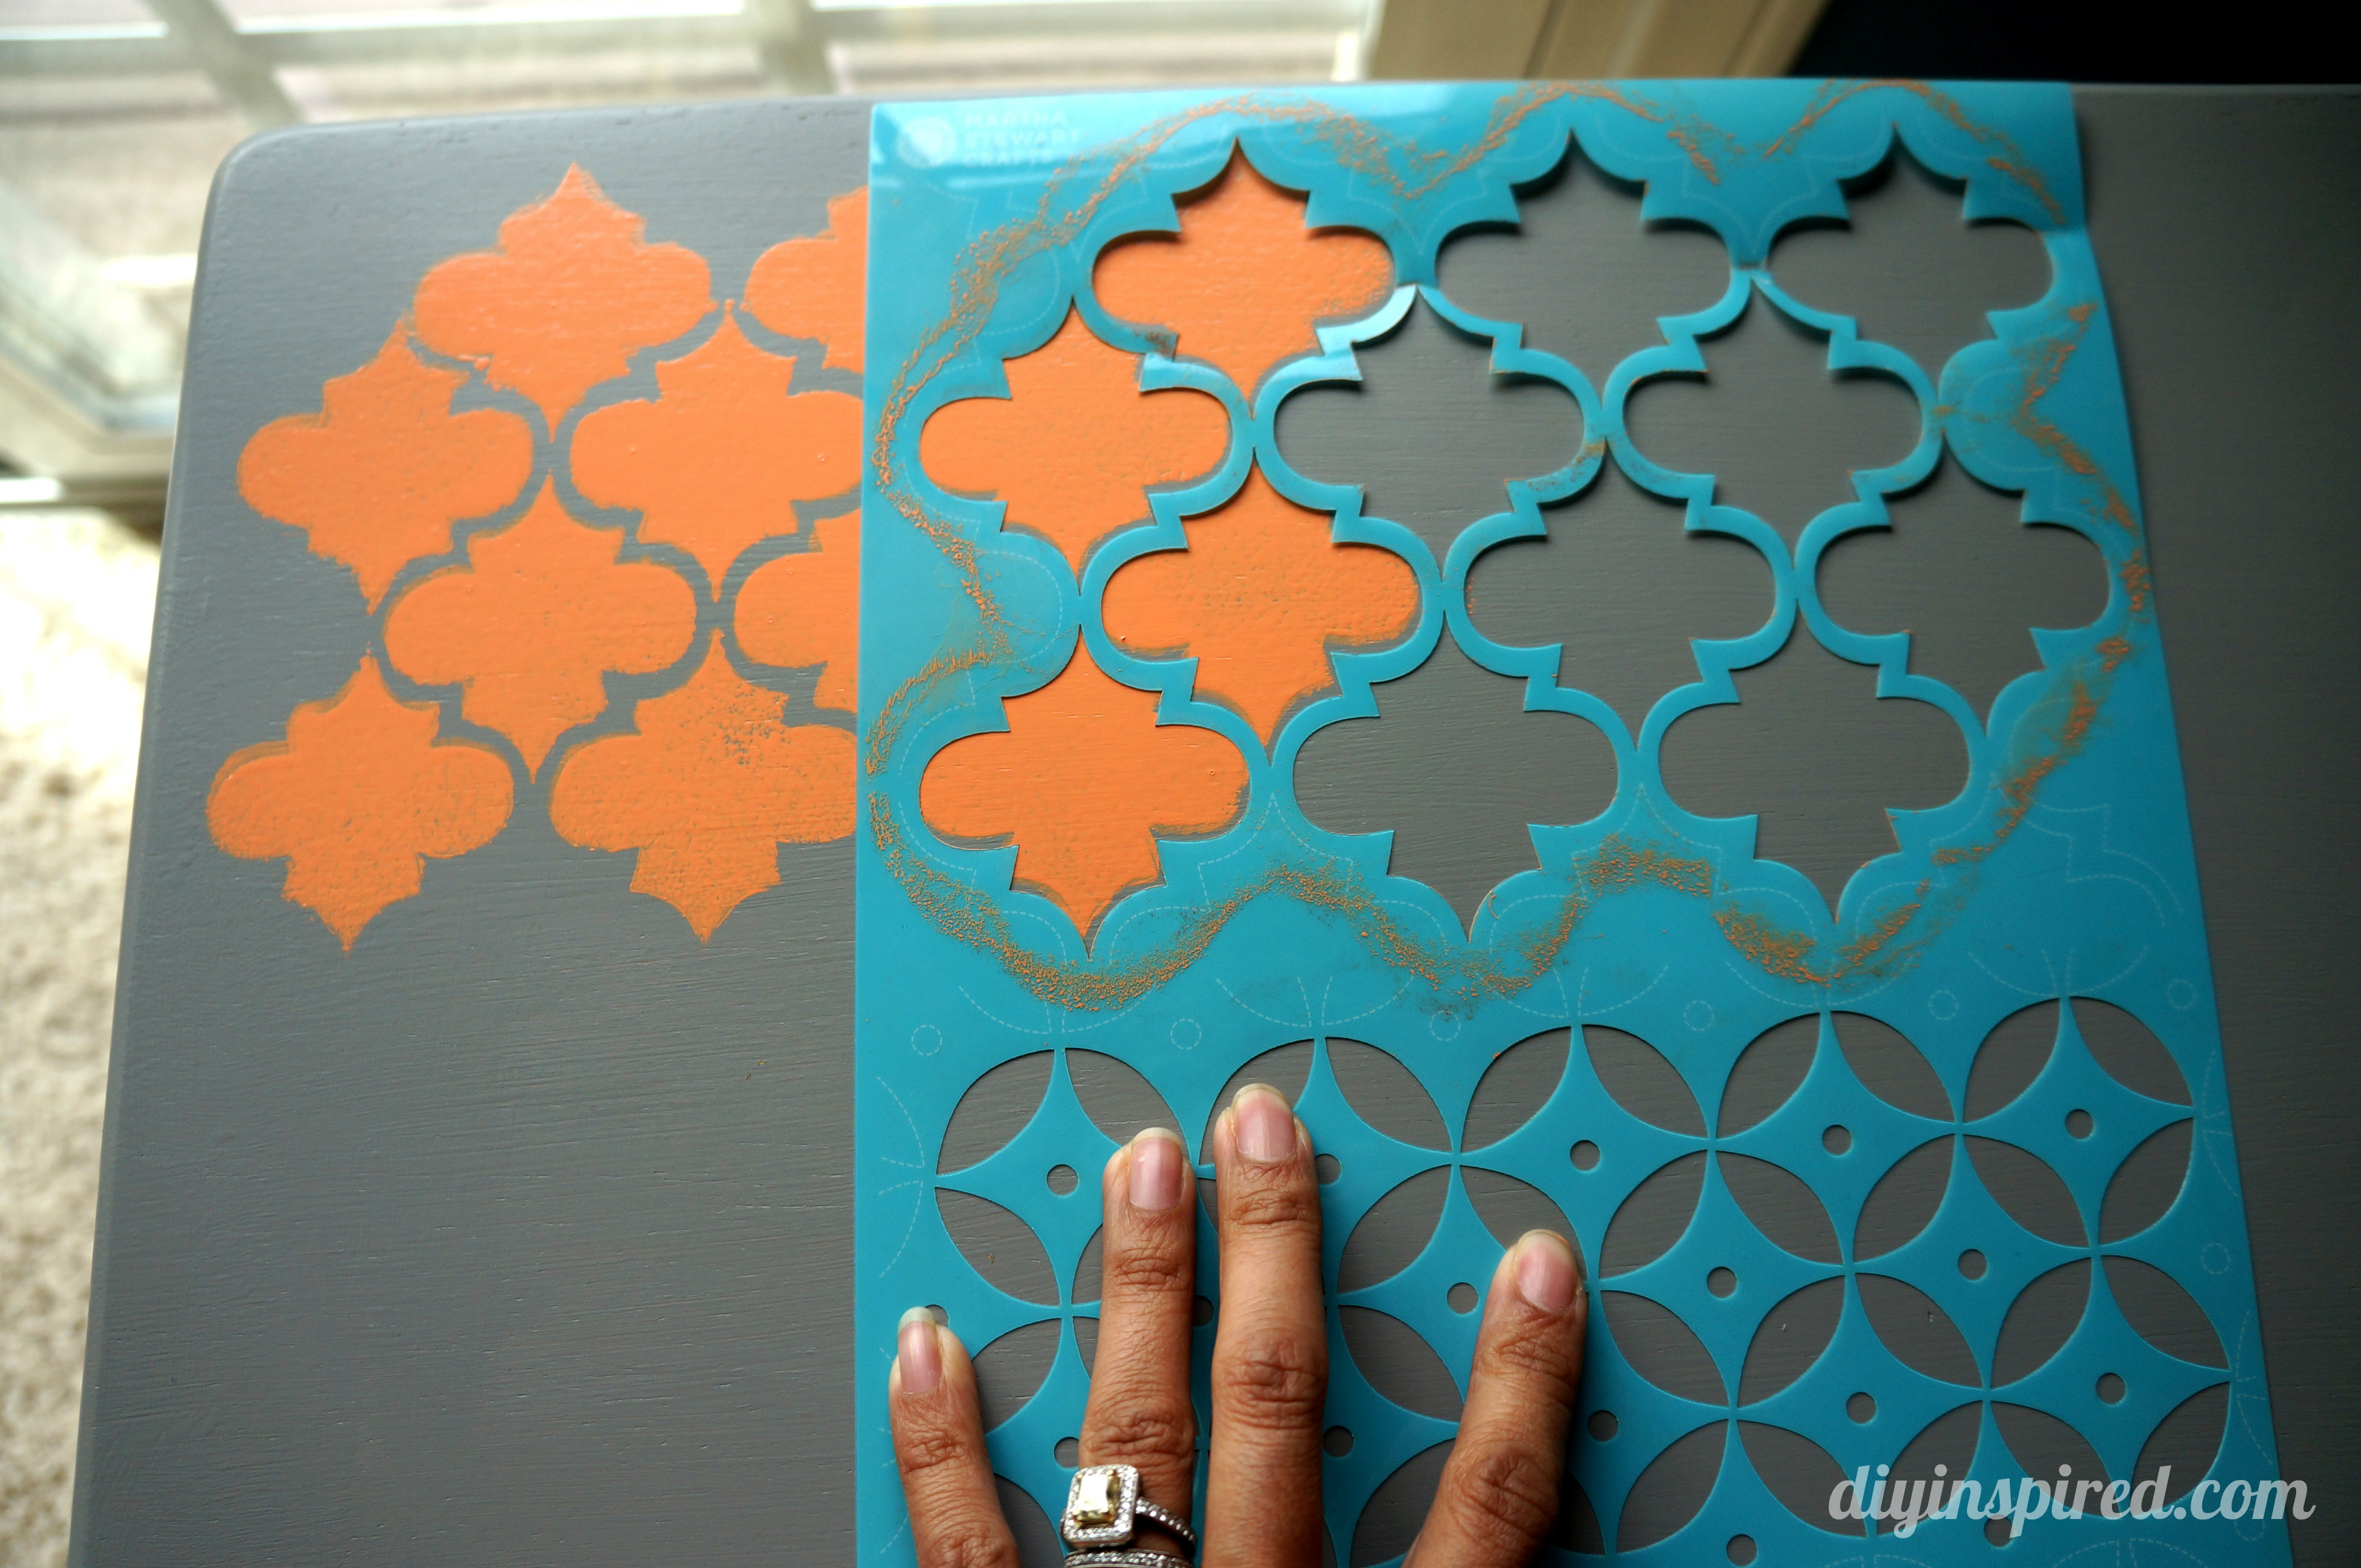
I worked with all four tables at once, washing and cleaning my stencil and brushes in between. Allow your paint to dry in between stenciling. I took my time so it took me a couple days to do this.
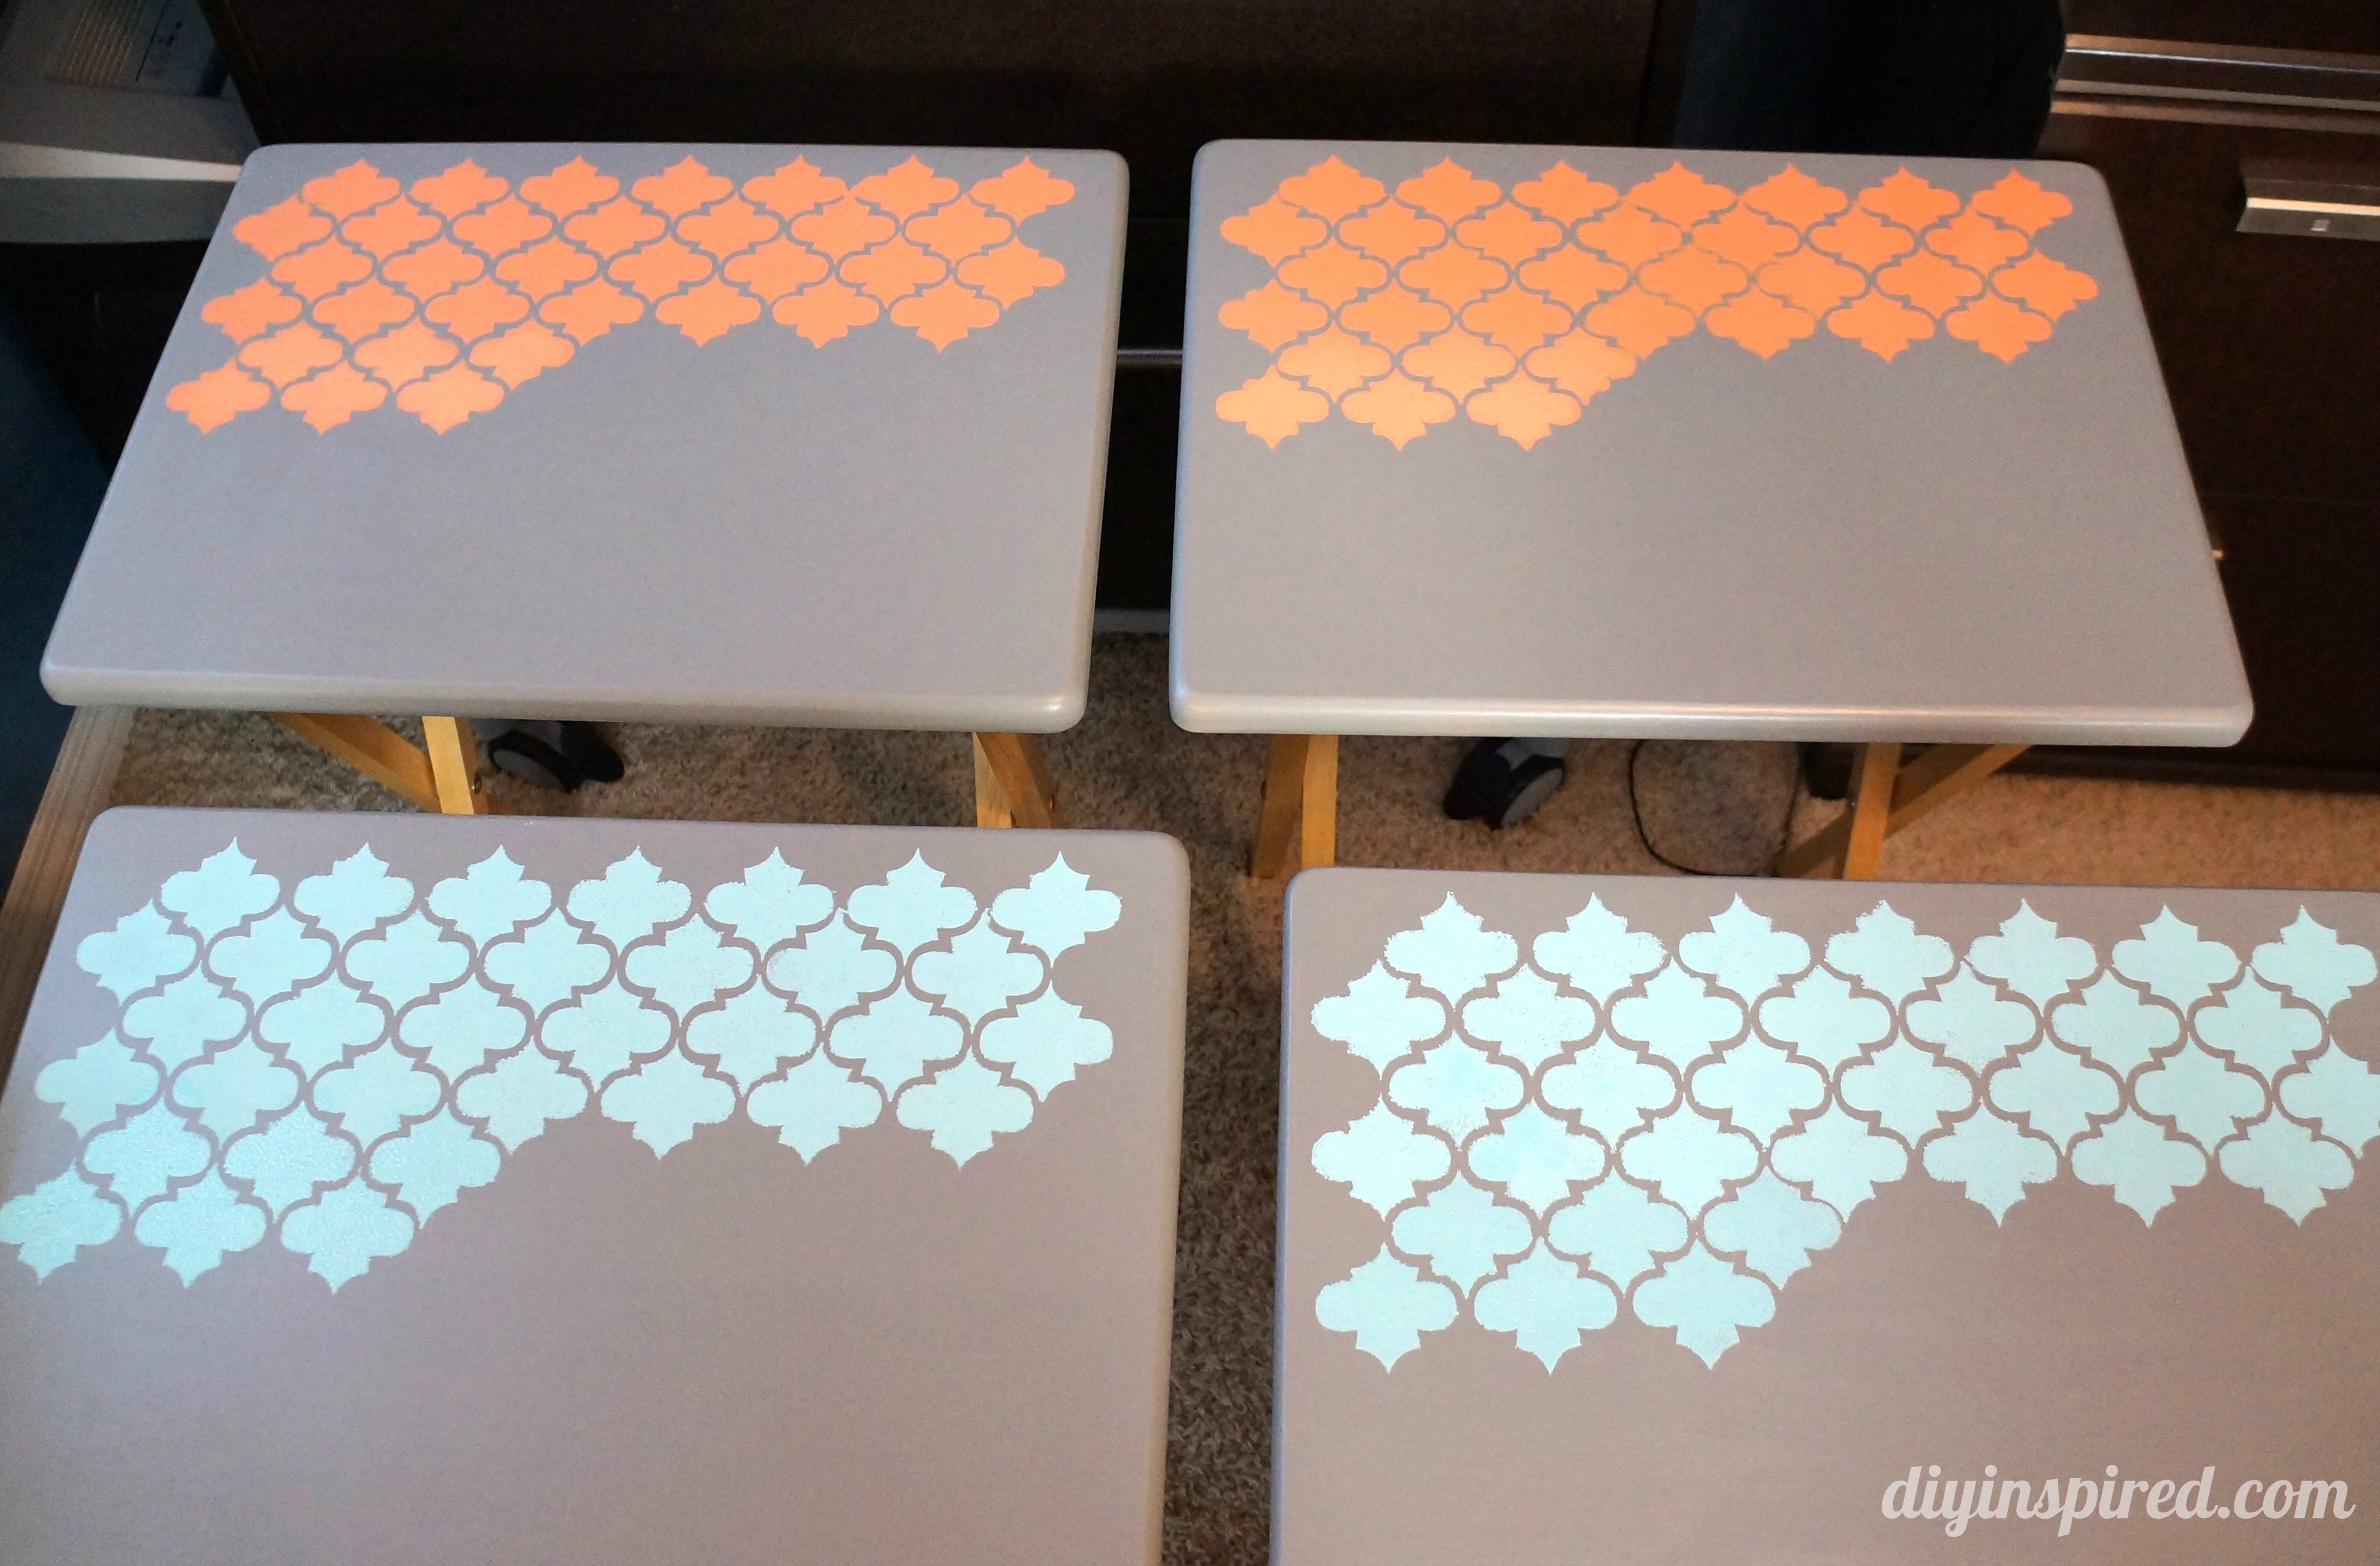
Step Four:
If you’re like me, you have some bleeding mistakes, so after I finished stenciling, I used a small paint brush and the base color and touched it up.
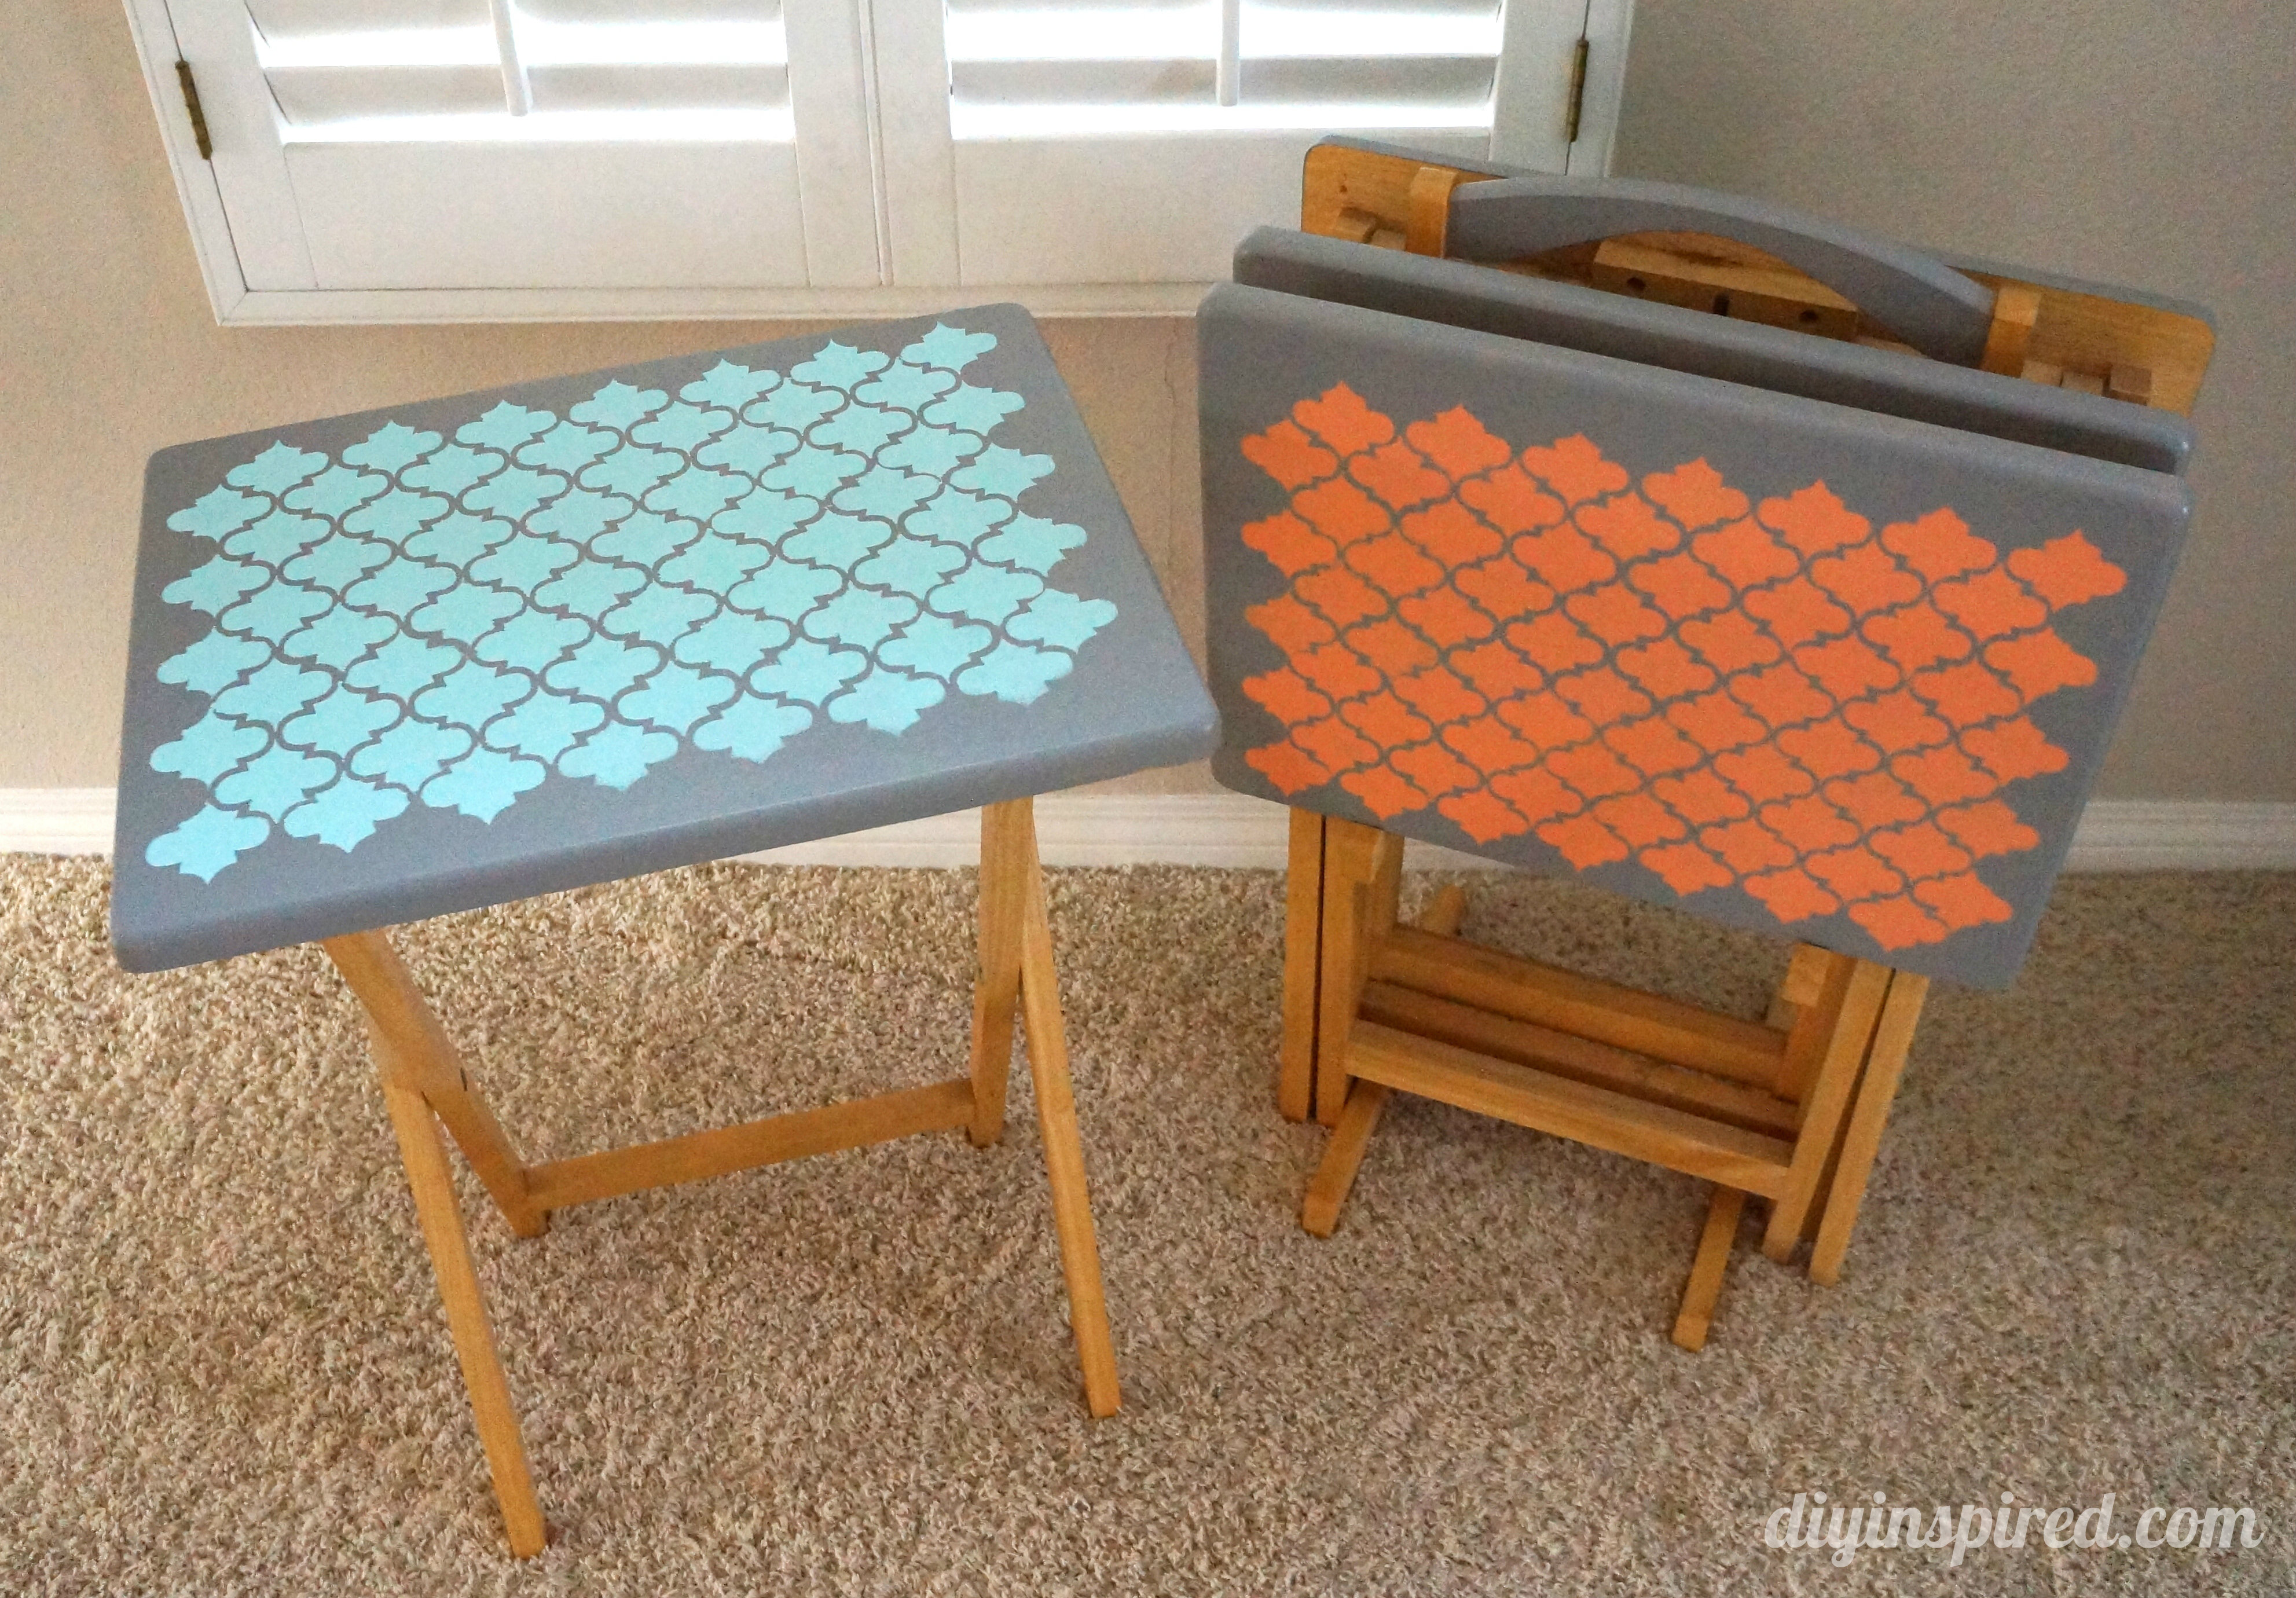
That’s it! Prettier trays = more use. They are no longer hidden in my closet!


Ohhh man this is awesome i have some dusty old trays @ my house. Thx for the idea.
🙂
Thank you, Bri!! Send me a pic if you end up doing it! 🙂
What a great idea. Thanks for the inspiration!
Thank you Emily! I’m still loving them!
Now I know what to do with my newly inherited (in-law) tv trays that were absolutely hideous! I showed my husband and he suggested a layer or two of clear coat to protect the paint. Thank you!
Ha! That’s great. I hope you do it… send me a pic 🙂
HI!
I was just wondering if you could give me a source for the stencil you used here.
Love the look!
Thanks, Karen
I would love to know where you got the stencil you used here too! 🙂
Hi Rachel and Karen!
Karen I am so sorry that I missed your comment! They are from the Martha Stewart collection. I bought them at Michael’s Craft Stores.
Did you use any sort of sealer/ clear paint once you were done? I started painting mine and I was told that I needed to a sealer since they would be used often.
Hi Bianca! I didn’t and mine are holding up, however you can do a quick sealer. I like Krylon’s Make It Last Clear Sealer (spray can). You can find it with the spray paint. You can also try one coat of polyurethane as another option.
These look gorgeous. Hopefully my husband agrees and we can do this.
Thank you, Juanita!!