Crafting Themed Birthday Slumber Party Ideas
Crafting Themed Birthday Slumber Party Ideas with the Cricut Maker and Cricut Easy Press
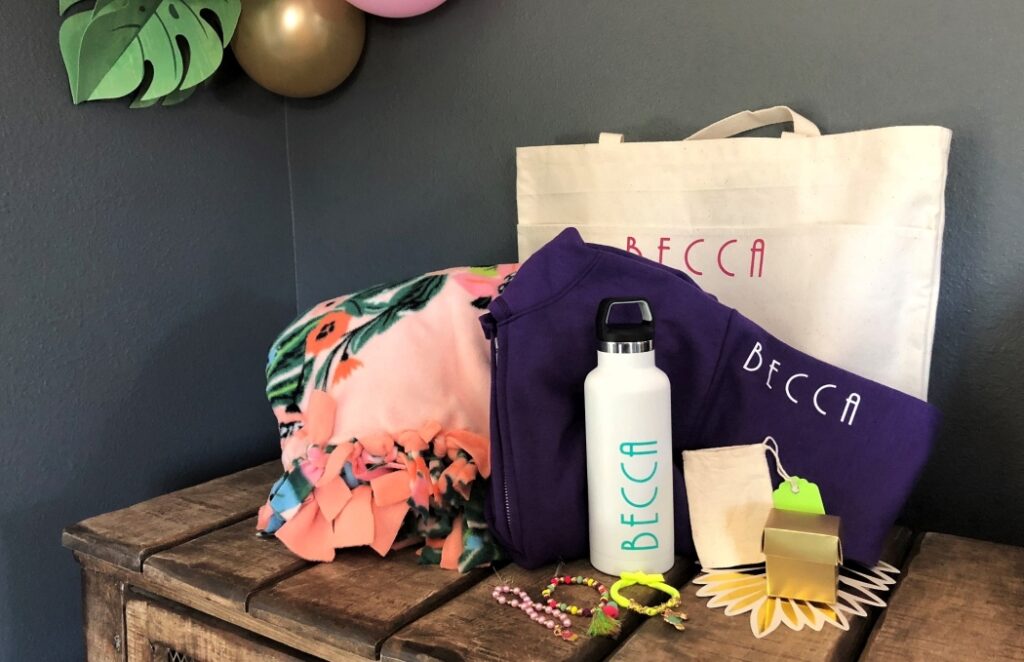
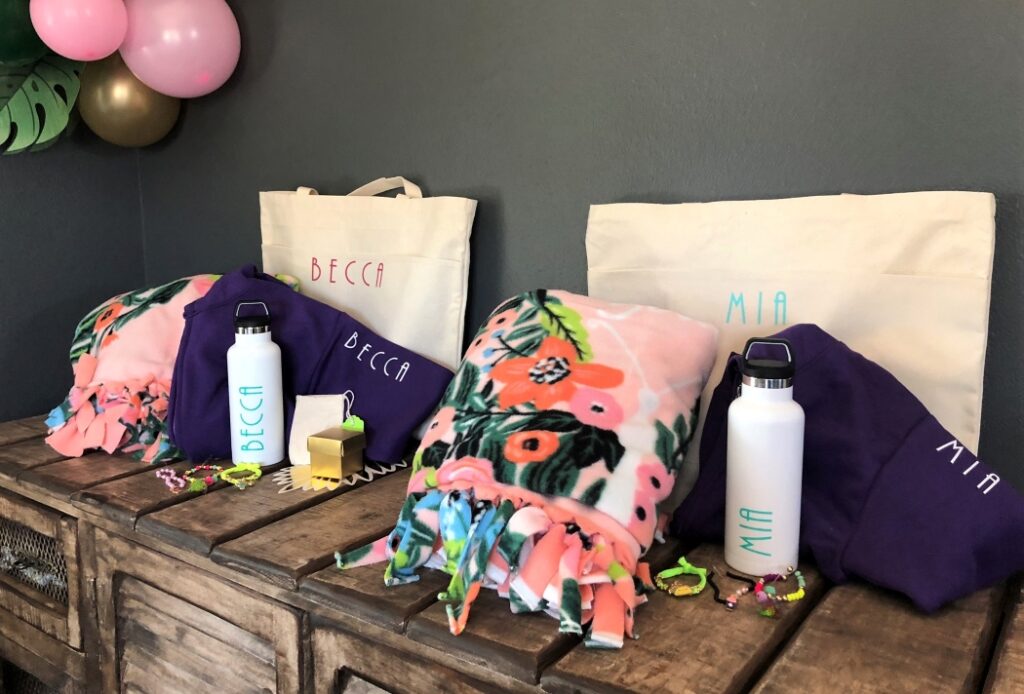
Before our big move to the east coast, I wanted to host a special crafting themed birthday slumber party for my daughter’s 10th birthday with her two best friends. They made:
- Water Bottles
- Personalized Sweatshirts
- Canvas Tote Bag
- Charm and Bead Bracelets
- Reversible No Sew Blankets
Cricut Maker and Cricut Easy Press are both so versatile and easy to use. It was perfect for a 10-year old’s birthday party because both the Cricut Maker and Cricut Easy Press is great for not only, Crafting Professionals, but Beginners as well. They girls had a blast making them and had no problems using both machines.
Below I have included the instructions for each as well as some Amazon Affiliate links with the items I purchased for the party.
Watch the Video: Crafting Themed Birthday Slumber Party Ideas
Crafting Party Details
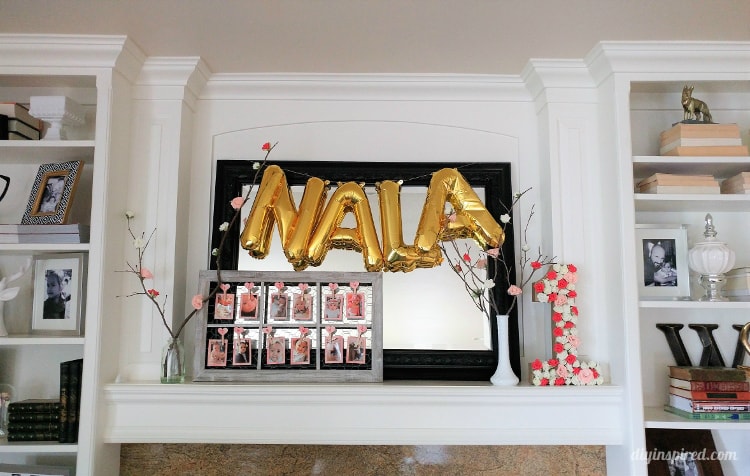
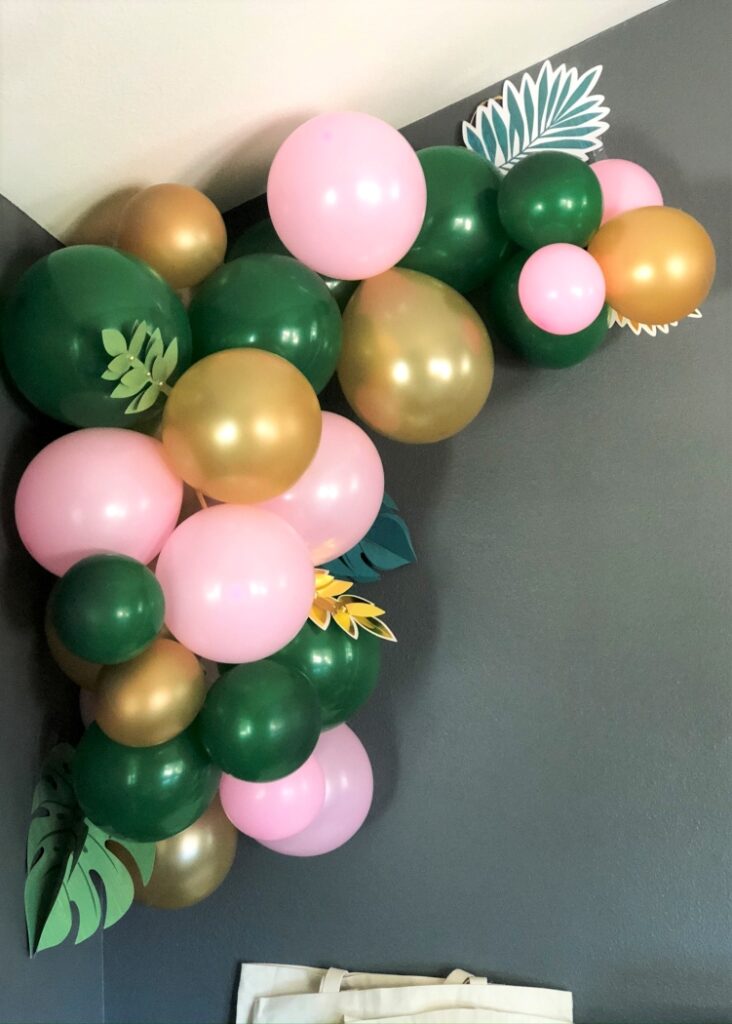
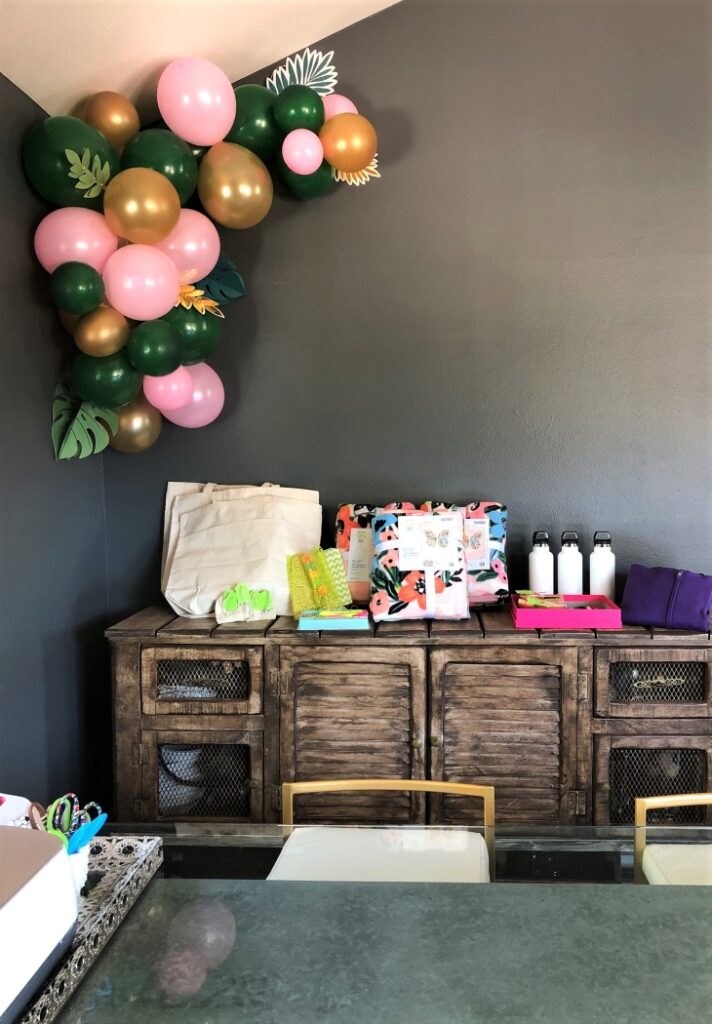
I transformed our dining room into a craft room because our table was large enough for us to spread out and create. I removed the dining room chairs and replaced them with the kitchen bar stools and my craft room stools. On the buffet, I made a balloon arch and laid out all our craft supplies and materials.
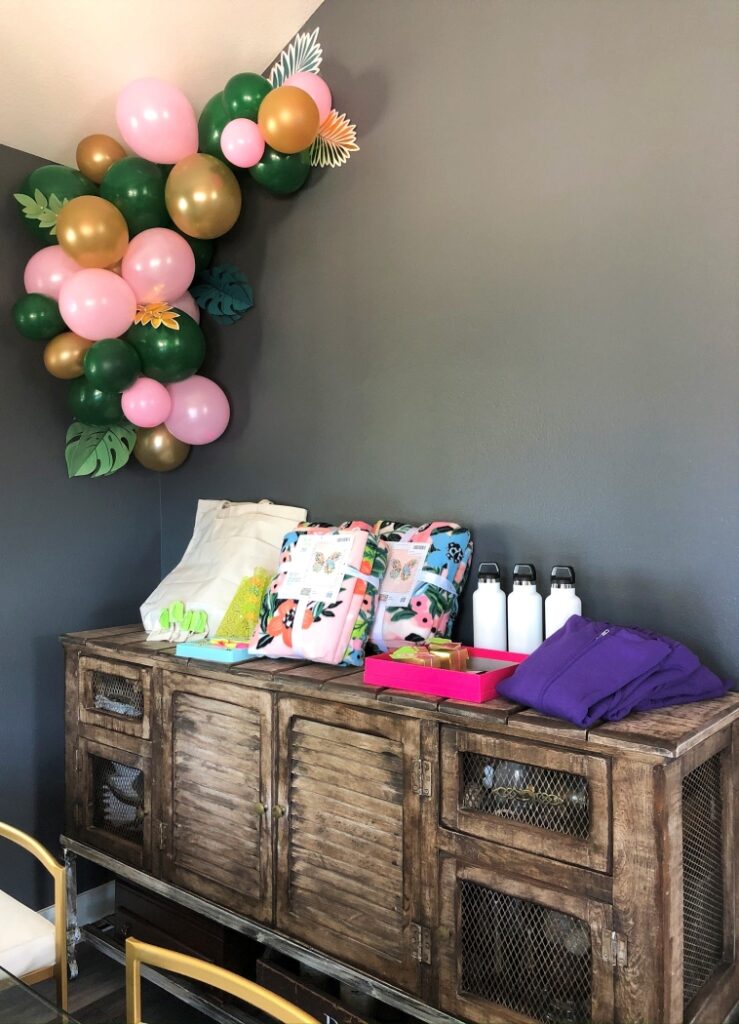
I also had a station on the table for the Cricut Maker and Cricut Easy Press with a glass jar filled with different vinyl that the girls could choose from.

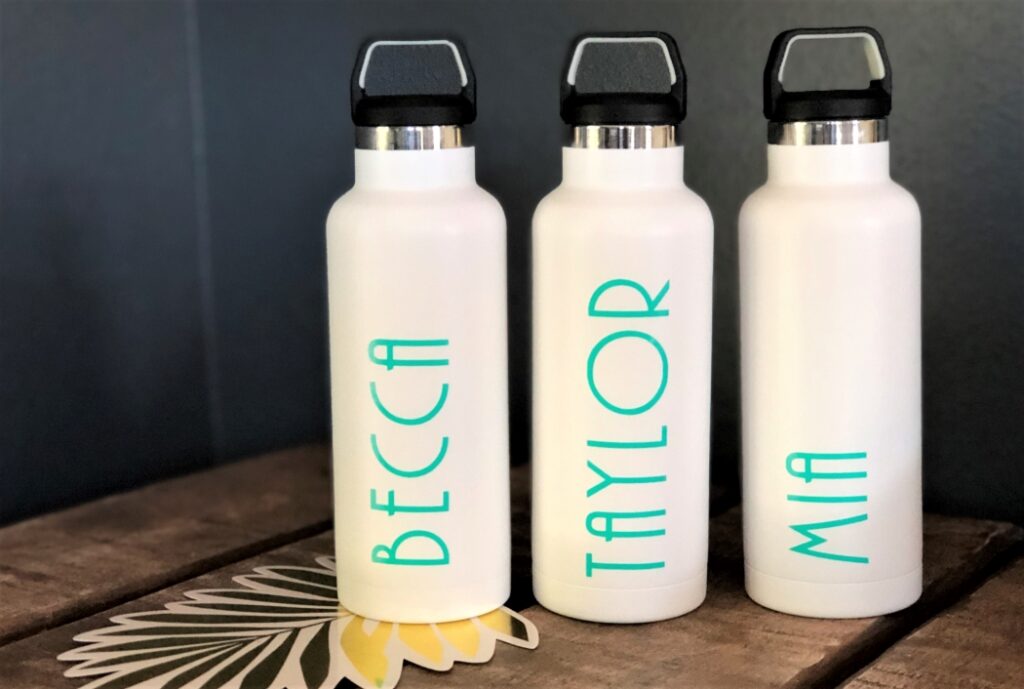
DIY Personalized Water Bottles
Materials & Equipment:
- 16 oz. Water Bottle
- Cricut Maker
- Cricut Vinyl
- Transfer Paper
- Weeding Tool
- Cutting Mat
Instructions:
- Design each name in the Cricut Design Space. The girls picked a default font that was already provided.
- Cut the vinyl and transfer paper to size and place it on your cutting mat. Feed it into the machine.
- Pick your machine on the Design Space and click “vinyl”. Press the button to cut.
- Remove the mat and peel off the vinyl from the mat. Use your weeding tool to remove the letters.
- Place the transfer paper on top, and then place it onto the water bottle. Rub your fingers over the letters to ensure that they adhere. Peal off the transfer paper.
DIY Personalized Sweatshirts
Materials & Equipment:
- Purple Zip Up Hooded Sweatshirt
- Cricut Maker and Cricut Easy Press
- Cricut Iron On Vinyl
- Weeding Tool
- Cutting Mat
Instructions:
- Design each name in the Cricut Design Space.
- Set your Cricut Press to 350 degrees and 30 seconds.
- Cut the iron on vinyl to size and place it on your cutting mat. Feed it into the machine.
- Pick your machine on the Design Space and click “iron on vinyl”. It should not be mirrored. Press the button to cut.
- Remove the mat and peel off the vinyl from the mat. Use your weeding tool to remove the letters.
- Place a towel on your surface and the sweatshirt on top. You may want to iron the sweatshirt first.
- Next, place the name on the sweatshirt in the desired area. We chose the sleeve. Place the Cricut Easy Press on top and hit the timer. Press firmly for 30 seconds.
- Turn the sweatshirt over, and iron for a few seconds.
- Allow it to cool and then peel off the plastic part of the iron on.
DIY Personalized Canvas Tote Bags
Materials & Equipment:
- Canvas Tote Bags
- Cricut Maker and Cricut Easy Press
- Cricut Vinyl
- Weeding Tool
- Cutting Mat
I bought these tote bags at Hobby Lobby. It was perfect for the girls to take home all their goodies in, plus they were only $5.00 each, about the same price as a large paper gift bag!
Instructions:
- Design each name in the Cricut Design Space.
- Set your Cricut Press to 350 degrees and 30 seconds.
- Cut the iron on vinyl to size and place it on your cutting mat. Feed it into the machine.
- Pick your machine on the Design Space and click “iron on vinyl”. It should not be mirrored. Press the button to cut.
- Remove the mat and peel off the vinyl from the mat. Use your weeding tool to remove the letters.
- Place a towel on your surface and the bag on top.
- Next, place the name on the tote bag in the desired area. Place the Cricut Easy Press on top and hit the timer. Press firmly for 30 seconds.
- Turn the bag over, and iron for a few seconds.
- Allow it to cool and then peel off the plastic part of the iron on.
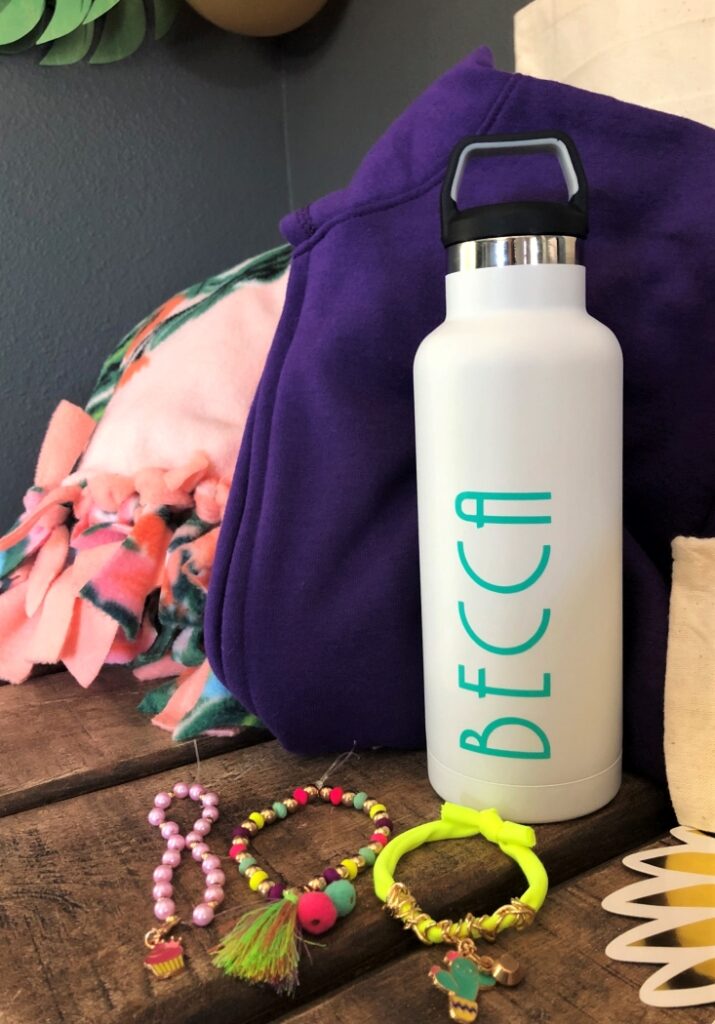
DIY Bracelet Making Kits
For these bracelets I bought the Make It Real Neo-Brite Chains and Charms bracelet making kit. This kit includes 10 eye-catching charm bracelets. Includes beads, gold chains, tassel charms, pompom charms, gem charms, and more. It was more cost effective than buying the materials separately, especially for only three girls.
DIY Butterfly Blanket
The girls loved these blankets. They made them while watching a movie and used them that night for the slumber party. I bought the Jo-Ann Spread Your Wings and Fly Butterfly No Sew Throw Kit. It is 48” X 60” and is reversible.
I hope you enjoyed my Crafting Themed Birthday Slumber Party Ideas. This party was truly a hit and one my daughter will remember forever.

You May Also Like
Check out another fun video I made on how to make a wooden Tic Tac Toe board with your Cricut Maker.