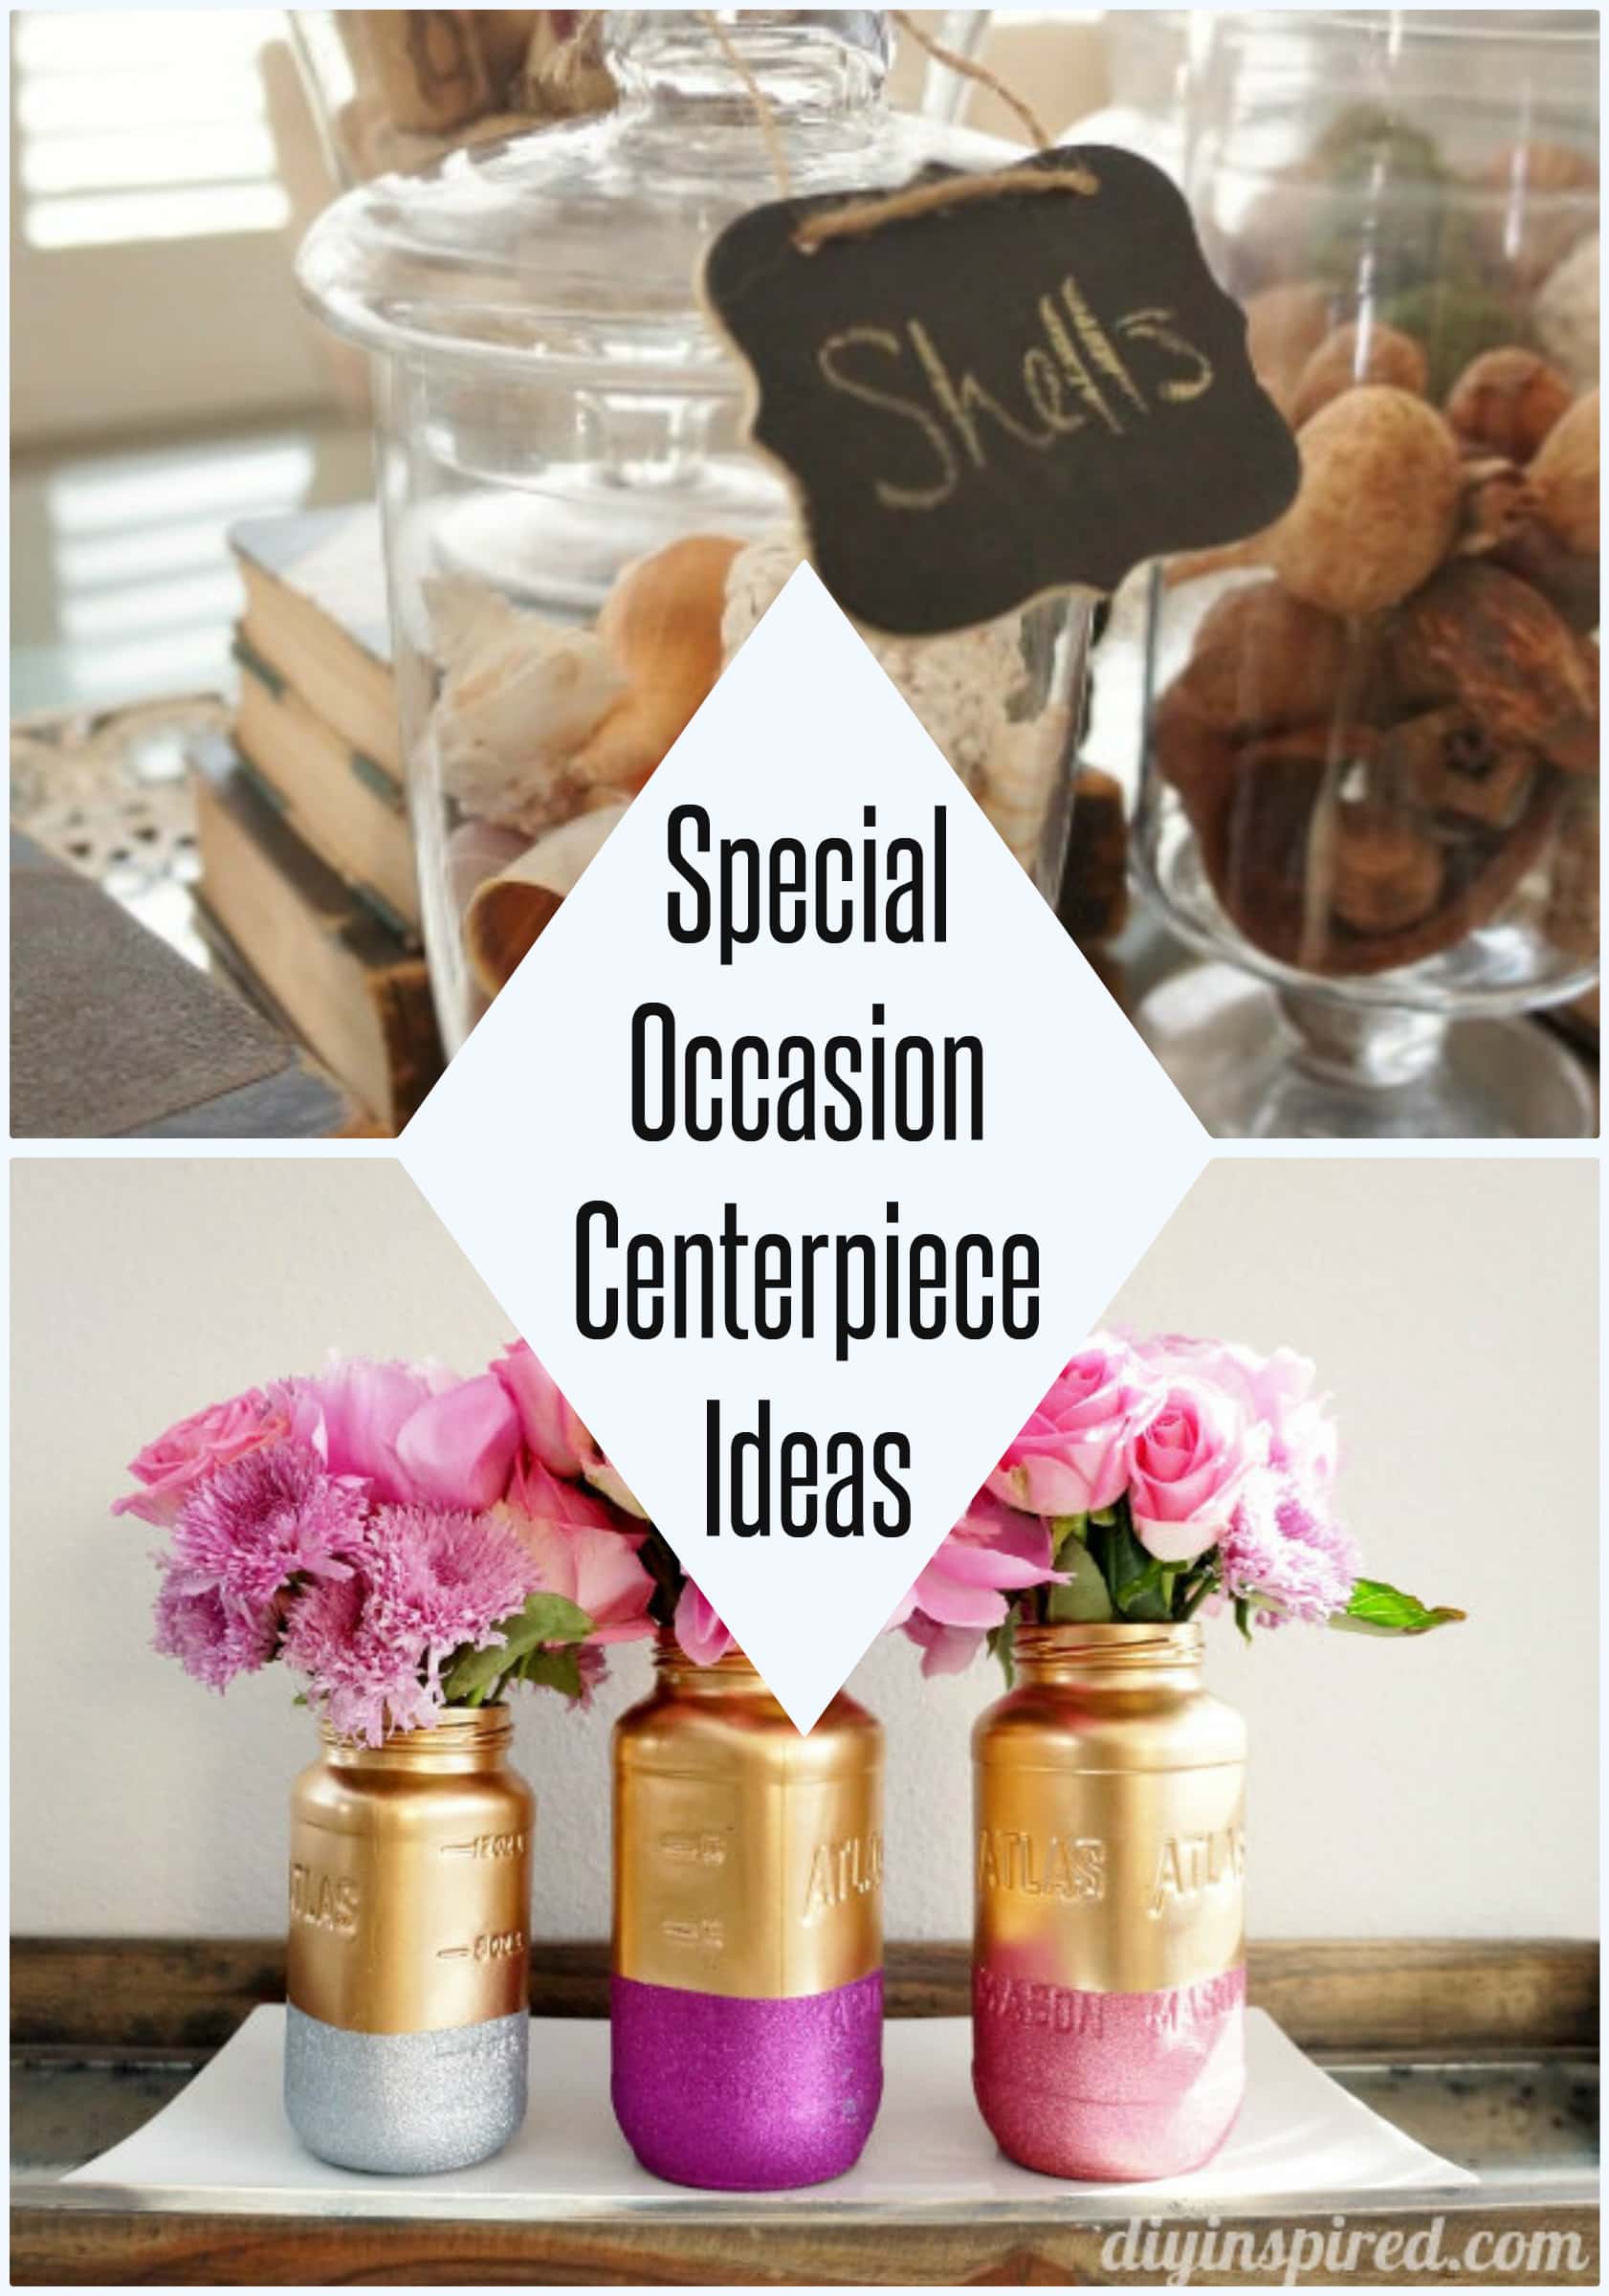
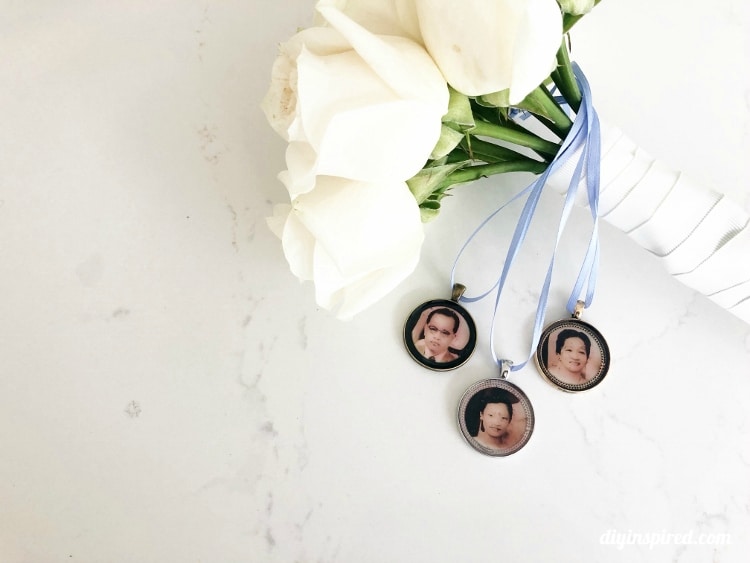
DIY Wedding Bouquet Photo Charms
Make Your Own Wedding Bouquet Photo Charms to Commemorate Loved Ones
This article, DIY Wedding Bouquet Photo Charms, is sponsored by Bernzomatic. All opinions are 100% my own.
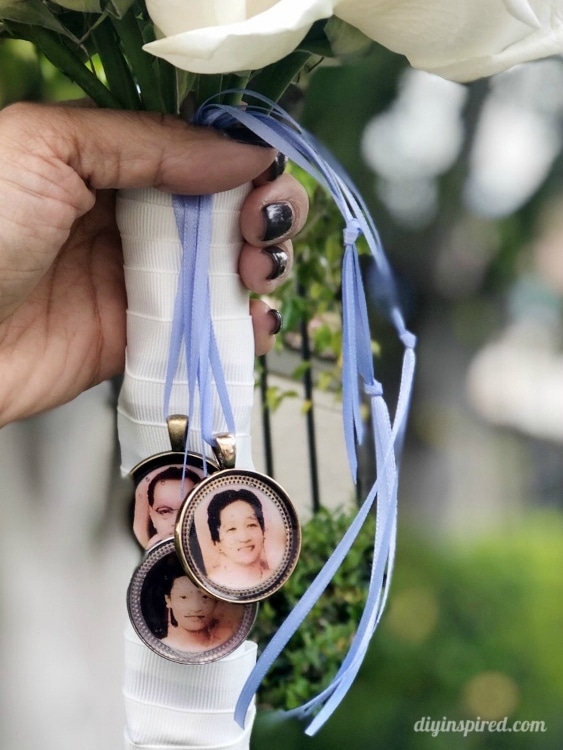
Walking down the aisle on your wedding day is one of the biggest moments of our lives. Since wedding season is right around the corner, I wanted to share a DIY idea to help honor loved ones we want to remember on such a big day. These memorial photo charms are easy to make and can not only be used for a wedding bouquet but kept as a jewelry keepsake for many years.
Watch the Video Tutorial
Photo Tips
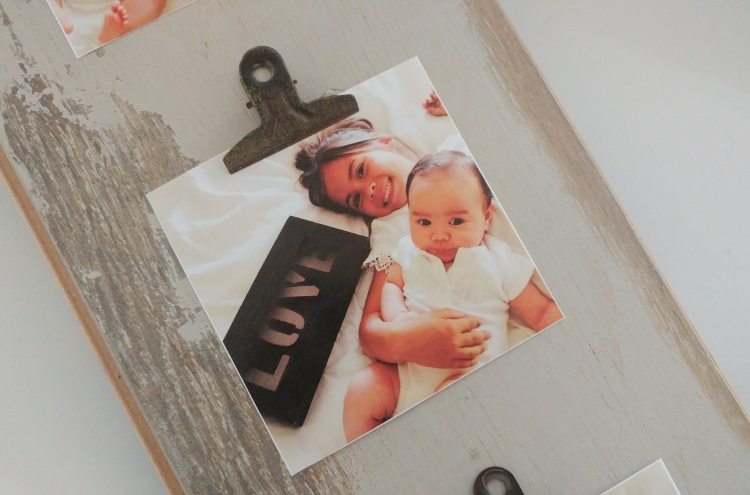
For this project, I did not want to cut and ruin an old photo. Instead, I took a photo of it with my phone. Next, uploaded it to my computer into a Word document to size it correctly. Lastly, I printed it on photo paper.
Additional Photo Tips:
- Print your photo on regular copy paper first, to make sure you have the right size. Sometimes, it is hard to gauge the size of the heads in a photo and you don’t want to waste photo paper.
- Don’t have a good photo? Check social media. Look back at your profile as well as family member’s profiles to get the right photo for your charms.
- Edit your photo before you print if needed. There are many free apps that are easy to use. For this project, I used the app Color Story on my iPhone.
Instructions
Time: 30 Minutes (plus dry time)
Materials:
- Photos
- Scissors
- Circle Punch
- Glue
- Metal Photo Charms
- Mod Podge Dimensional Magic
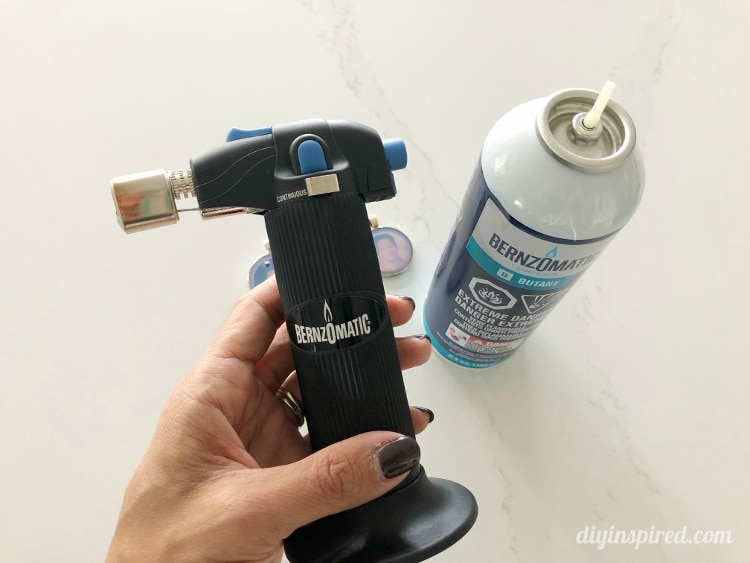
- Bernzomatic ST2200T
- Bernzomatic Butane
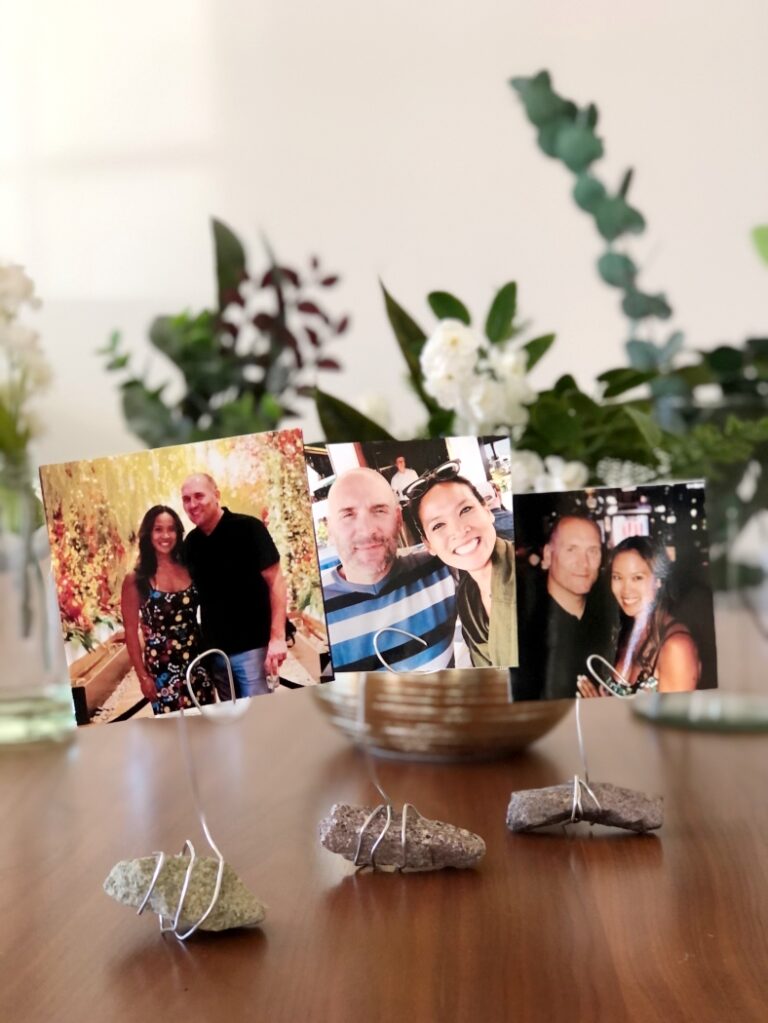
Use a circle craft punch to cut out your pictures. If you do not have one, you can trace a coin with a pen and then cut it out. The size will depend on the charm. I purchased these at Michael’s Craft Store. They are about 1.5” in diameter.
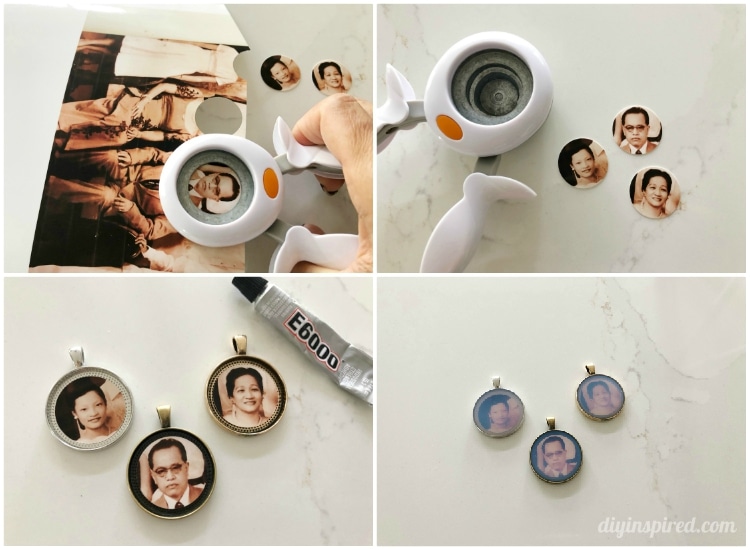
Next, I chose to glue each photo down onto the center of the pendant with E6000. I did this because my circle punch was slightly smaller than the pendant, and did not want the photo to shift once I applied the Mod Podge.
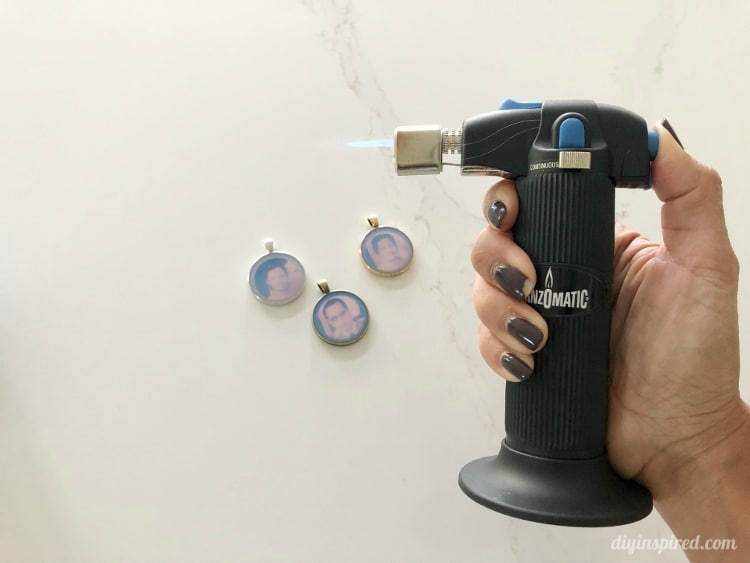
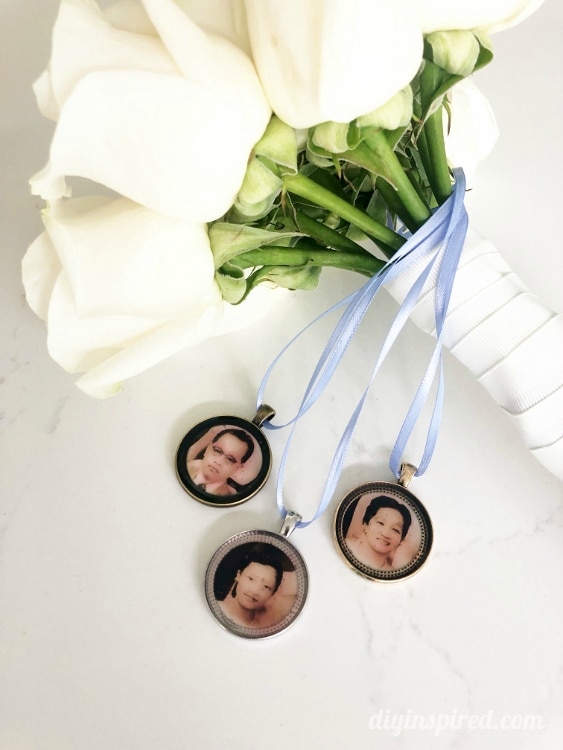
Once the glue is dried, fill each pendant with Mod Podge Dimensional Magic. You will likely get some air bubbles. To pop them, use the Bernzomatic ST2200T and Bernzomatic Butane and lightly and quickly, pop each bubble with the flame. Do not allow the flame to linger over the liquid. Allow the charms to dry for about 4 hours.
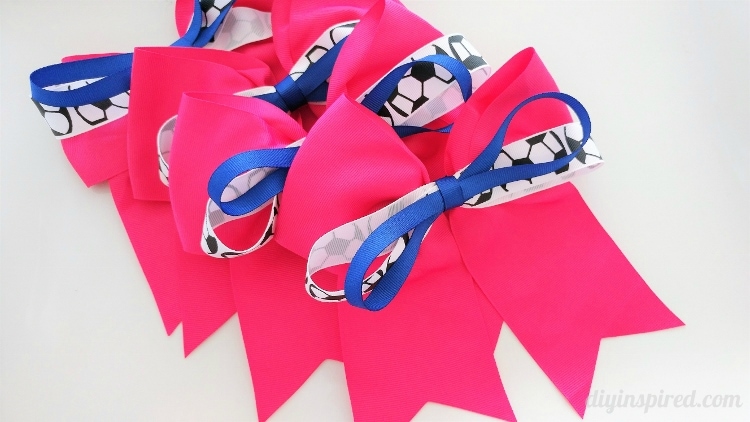
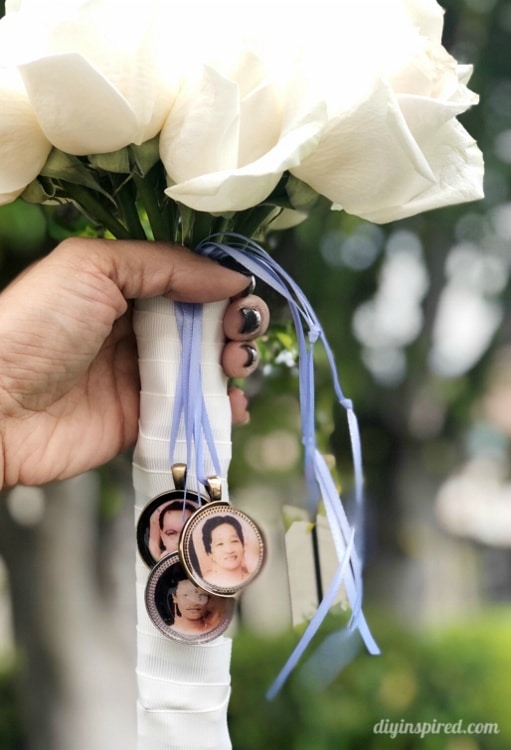
Tie ribbon around the charms and around your wedding bouquet. These charms also make beautiful gifts. Place them on bracelets, necklaces, or keychains.
You May Also Like
Check out these other fun DIY video using the Bernzomatic ST2200T using the same technique.
This first one shows you how to cover and upcycle a table top with pennies using epoxy.
Another great epoxy project, reuse old CD’s and DVD’s to create a mosaic top on a thrift store mirror to make a one of a kind serving tray.