Repurposed Coffee Cup Succulent Garden
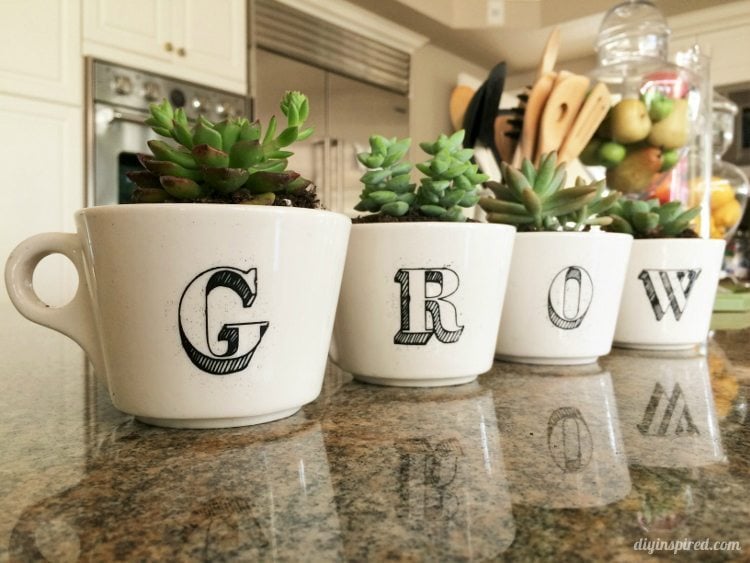
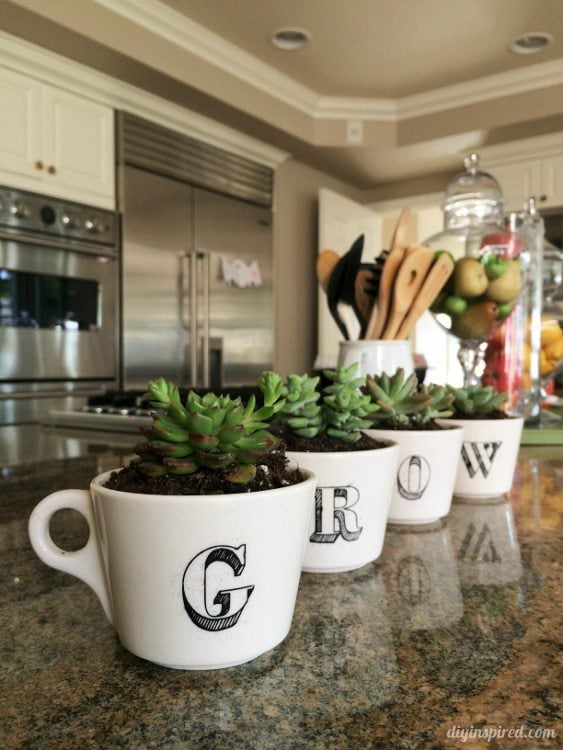
Stenciled Repurposed Coffee Cup
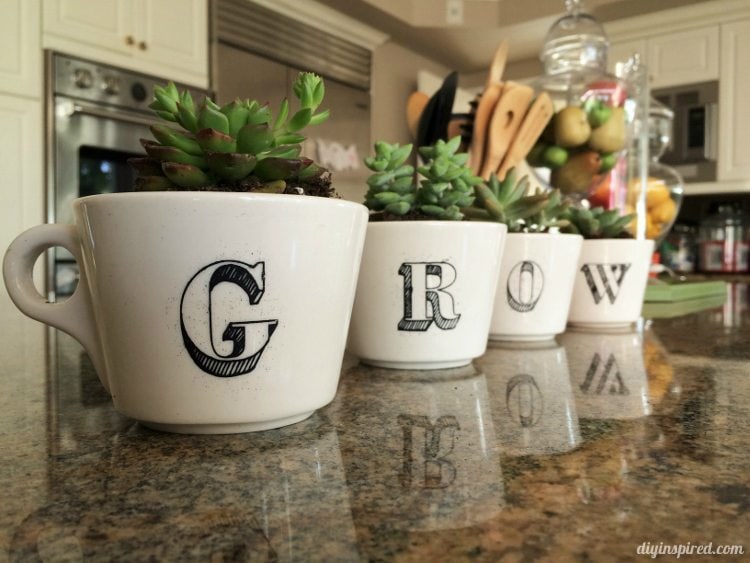
I went on a very successful trip to Habitat for Humanity looking for trash to treasure projects a while ago. I can’t wait to show you the project I’m doing, but that will come later… While I was there, I found these coffee cups in the dollar section. The second I set my eyes on them I knew what I was going to make and quickly scooped up four for $4.00. Here is how I made my repurposed coffee cup succulent garden.
How to Make It
Time: 25-35 Minutes
Materials:
Materials list contains affiliate links or my recommended products.
- 4 Coffee Cups
- Stencils
- Scissors
- Foam Stencil Brush
- Acrylic Craft Paint (I used Glass Chalkboard Paint
)
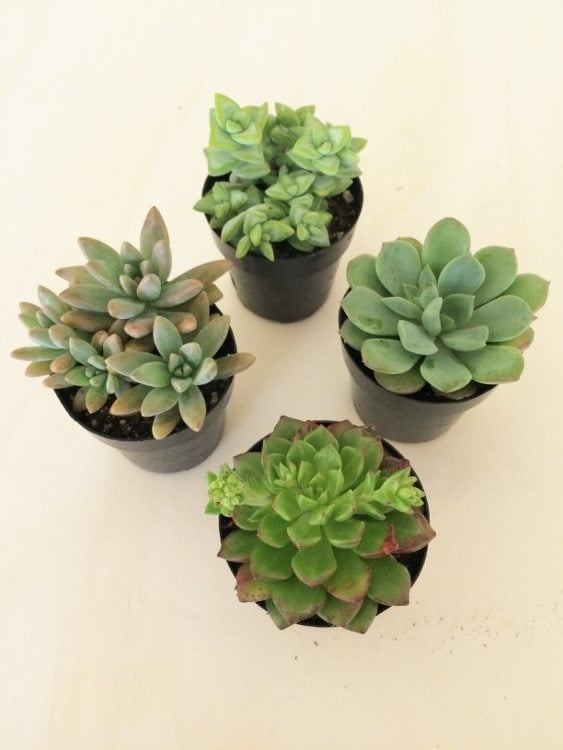
- 4 Mini Succulent Plants
- Potting Soil
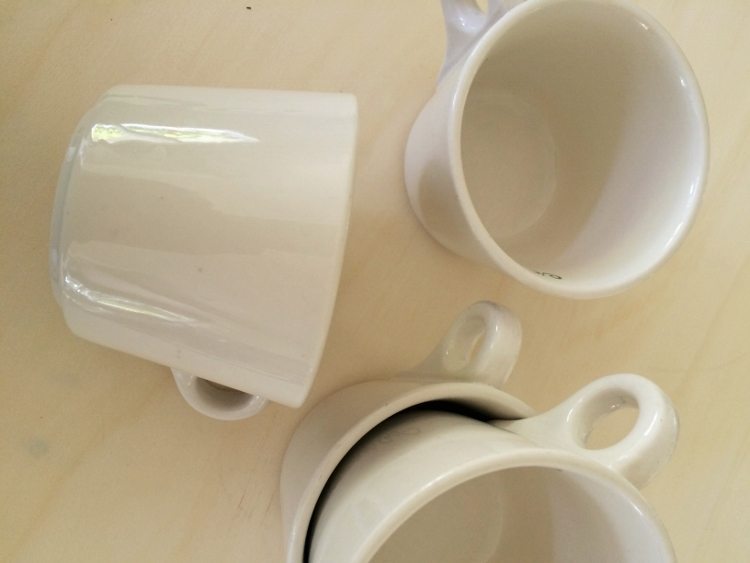
Make sure your coffee cups are clean. If you want, you can rub the stenciling area with rubbing alcohol. These are the cups I found. They were from a restaurant and the inside lip had the restaurant name inside. This didn’t bother me because I knew it would be covered with soil.
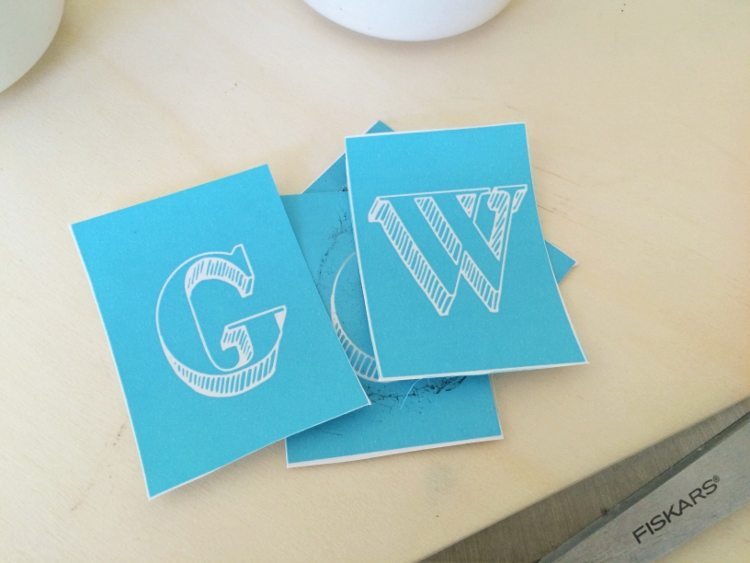
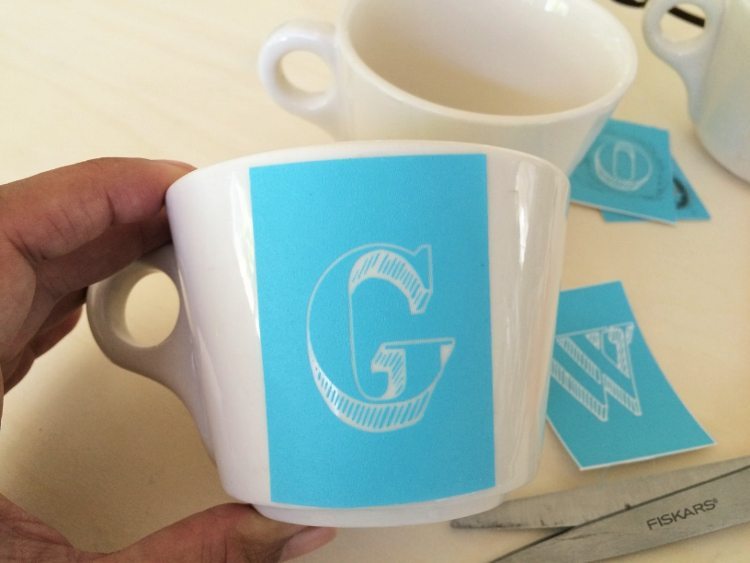
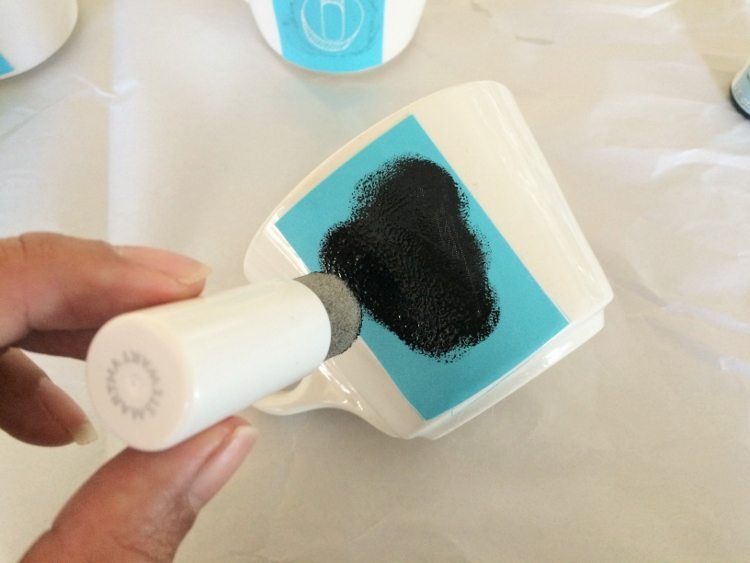
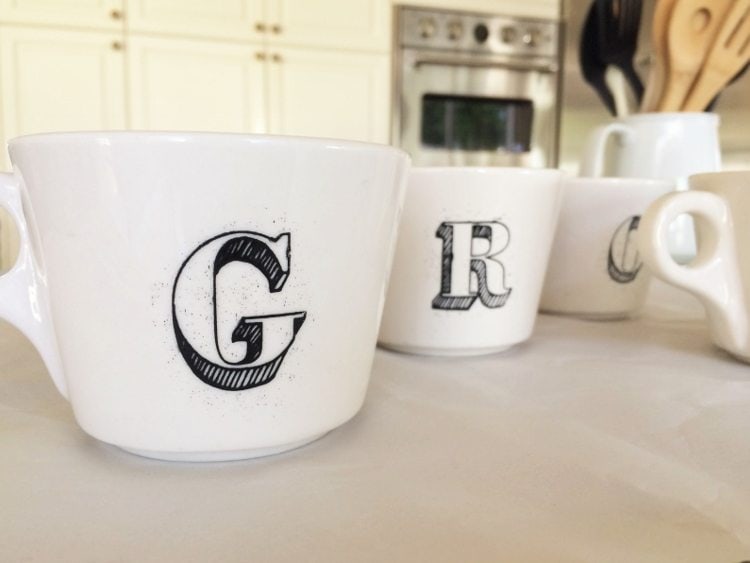
I used these adhesive stencils. They work well and make your job easy and prevent bleeding. I stenciled G-R-O-W with one letter on each cup.
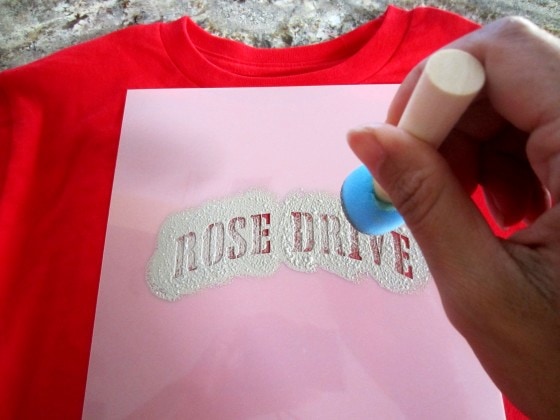
Use a spouncer brush to apply a small amount of paint in an up and down motion. I find that these types of brushes work the best for stenciling.
You can remove the stencil immediately. One coat works fine. Check the directions on the paint for drying times. For this paint, it needs 4 days to cure, but you can still plant the succulent if you are careful.
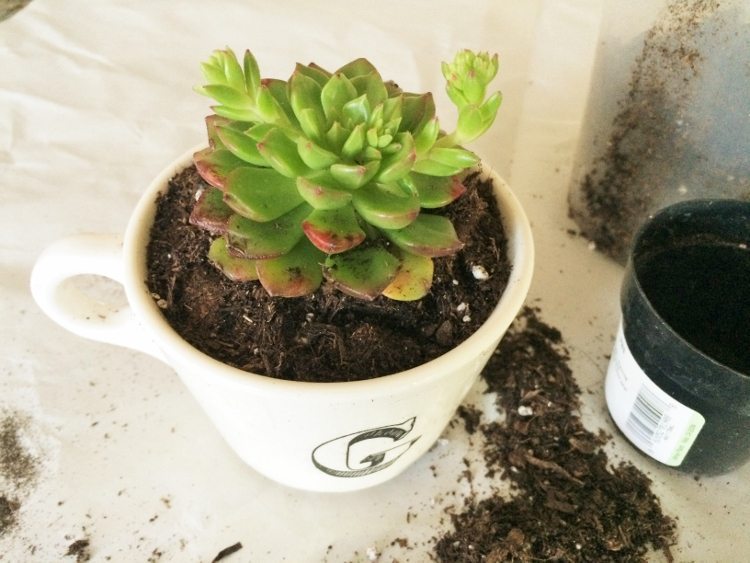
I used this potting soil and planted one mini succulent plant in each cup and watered them.
A repurposed coffee cup can make a great gift for holiday gifts, hostess gifts, or special occasions or you can make several and line them up on your kitchen window sill like I did!
You can also give these away as a housewarming gift, teacher appreciation, or for Mother’s Day! Give individual cups away with the recipient’s initials.
Other Variations
- Use other words like L-O-V-E for Valentine’s Day or N-O-E-L for Christmas
- Play around with stencil fonts and paint colors
- Use vintage teacups and saucers instead of coffee cups
- Search for glass containers at a thrift store in a similar size
- Do a similar project but with etched glass
Bake the Mug to Make it Dishwasher Safe
I have a tutorial on how to bake a painted mug. This is a great way to keep the paint dishwasher safe. I have used this technique and it works great! You can check out the post and detailed instructions here: How to Bake a Painted Mug.
Here is the video tutorial as well.
For more trash to treasure ideas, check out all of my other posts!
You May Also Like
Here’s another fun project for your kitchen! I have these up in my window by my kitchen sink. I love staring at them and there is no need to water!

Great idea! I am totally doing this. Including your cute coffee mug repurpose in my upcycle dish round-up!
Yay! Thank you so much, Johnnie!!
Did you drill a hole in the bottom of the cups so that the excess water can drain?
Hi Haley! Not with these, but I have in the past. For drainage if you don’t want to drill, place a few small layer of pebbles at the bottom of the cup before you add the soil.