Drying Your Own Herbs
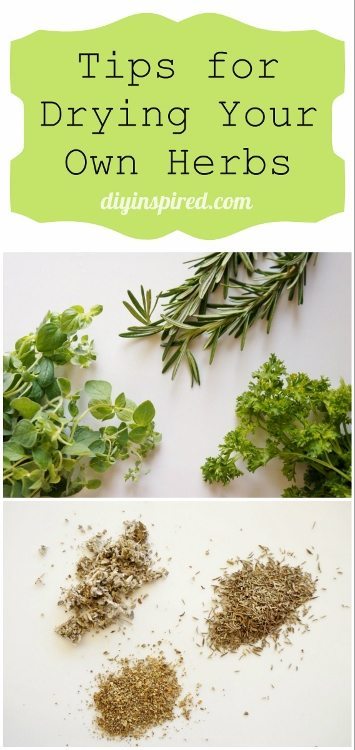
The nice thing about growing your own herbs is you have beautiful fresh herbs to harvest. Drying your own herbs is so easy you will wonder why you didn’t do this sooner. There are a few ways to dry herbs, such as, air drying, oven drying, freezing and microwaving them.
PREPARE YOUR HERBS FOR DRYING
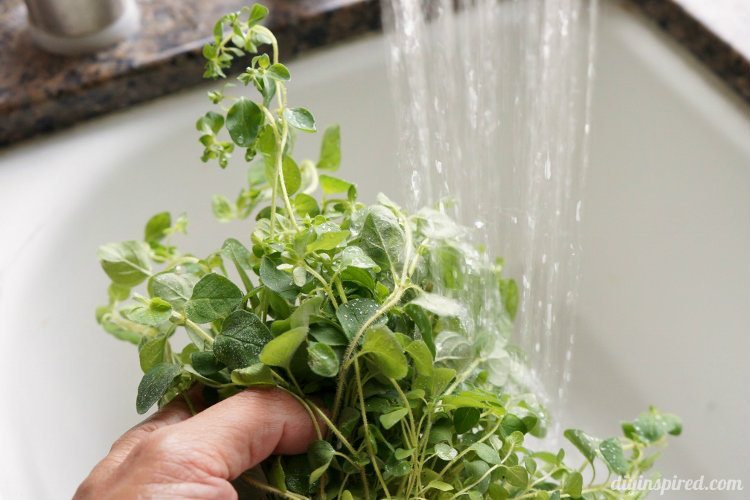
Before you dry your herbs, you need to prepare them for drying. I prefer picking or cutting the herbs at the end of the day when they’re already a bit dry; you don’t want any morning mist on them. Remove any dry, yellow or spotted leaves as all the color and nutrients are already gone from these leaves. Shake away any insects. If you feel it’s necessary to rinse the herbs to rid them of dirt or hidden insects, rinse them with cool water and air dry them completely.
AIR DRYING
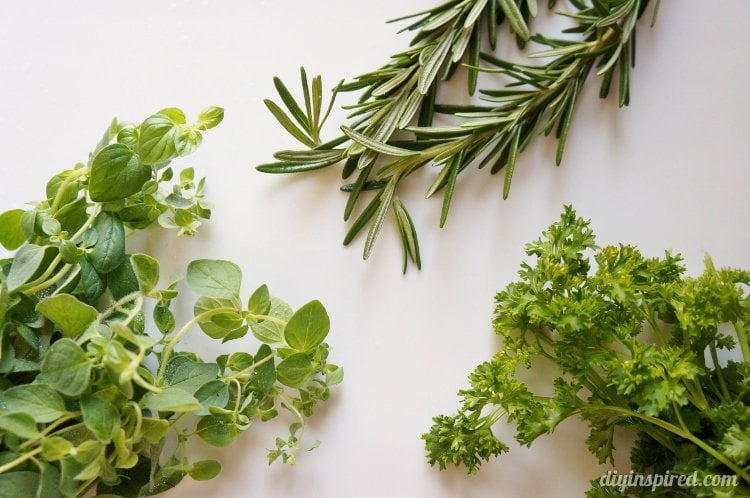
The first method is air drying. There are some herbs that take to air drying better than others. These are herbs with low moisture content, small leaves and usually have a woody stem. Herbs like this would be thyme, rosemary, and oregano. To air dry these herbs, bundle 4 to 6 branches, and tie them with twine or sturdy string. I don’t like using rubber bands as I have had them break on me, and the mess just isn’t worth it.
Where you are hanging your herbs to dry will determine the length of string you use. I have wall cabinets in my utility room on either side of the washer and dryer. I spray painted a board 2” X 2” X 8’ with white paint to match my cabinets and laid the board on top of the cabinets. I tie my herbs and leave about 9” of string that I then tie to the board. If you prefer, you can place a paper bag over the hanging herbs. Simply cut a hole in a paper bag and slide it over the top of the herbs, leaving the bottom open so the herbs can “peek out”. This will help keep your from collecting dust while they dry. You can label your bags with a marker pen to indicate what herbs are drying underneath. After you hang the herbs to dry in this manner, you don’t need to do anything else, but check on them in about two weeks to see if they are dry. When dry, they can be taken down and stored.
You can also use a metal or plastic grate to place your herbs on to dry. Those flat black plastic grated trays from a nursery will work perfectly. You will need to wash the trays. Next, lay your herbs in a single layer on the grates to dry; making sure air is able to circulate all around them. They will take 2-4 weeks to dry.
OVEN DRYING
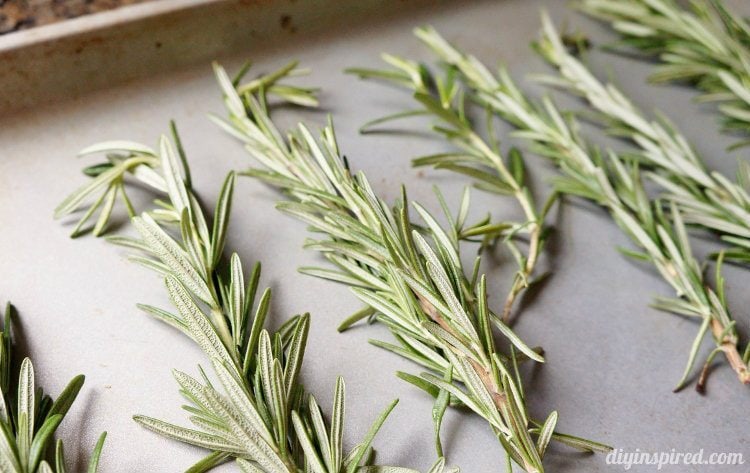
Another way to dry herbs is to dry them in the oven. Set your oven to the lowest temperature. Place the herbs on a baking sheet in a single layer and place the sheet in the oven for about 5 minutes. It doesn’t take long to dry herbs this way, so keep checking on them often to make sure you don’t burn the herbs.
FREEZE DRYING
You can also freeze herbs. Make sure herbs are completely dry and then place them in a freezer bag and freeze. Herbs that freeze best are chives, parsley, basil, mint and tarragon. They will last in the freezer up to 6 months.
MICROWAVE DRYING
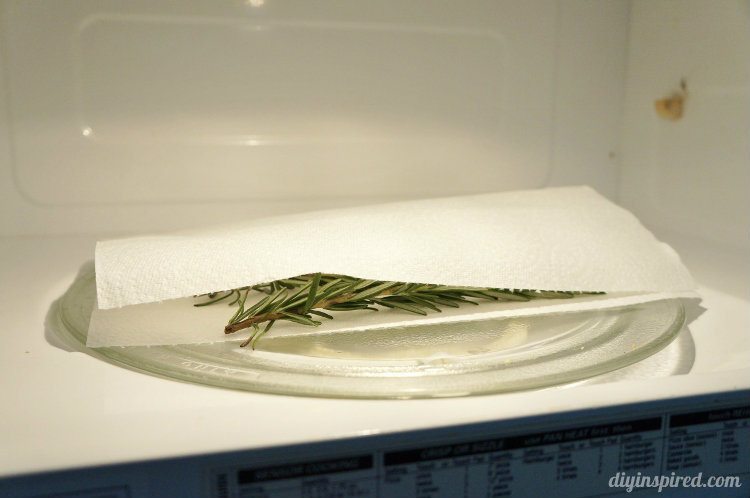
Lastly, you can microwave your herbs. This is a simple, quick and easy way to dry your herbs. When you microwave herbs you are actually cooking the herbs a little bit and lessening the oil and flavor content. Make sure your herbs are dry. Place them on a paper towel directly on the bottom of the microwave. Place them in a single layer, being careful not to over-crowd them, and cover them with another paper towel. Microwave them starting with 10 seconds and keep checking to see if they are dry. Depending on the type of herb, the drying process can take as little as 10-20 seconds or up to a minute or more. Also, because the temperature of each microwave is a bit different, keep checking so you don’t microwave them to a crisp. I have microwaved basil, cilantro, parsley, dill, oregano, sage and rosemary with great success. I like this method because it maintains the fresh green color the best, especially the dill and parsley. Herbs dried using this method will last up to one year.
STORING DRIED HERBS
When you store your dried herbs use an air-right container. I prefer to use glass jars. I save all my glass jars, such as mayonnaise, mustard, jams, jellies, spaghetti sauces, and olives. After washing the jars and removing the labels, I spray the lids with colored spray paint, decorate the tops and label the jars. They make a pretty addition to my spice/herb cupboard. You can find free herb labels to print to affix to your containers.
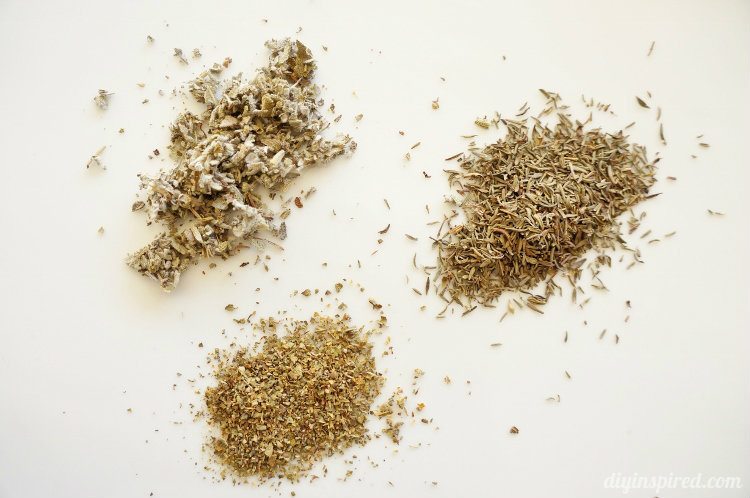
It is best to store your dried herbs in airtight containers in their whole form and crush them as you use them. This releases the flavor better. When you use dried herbs the ratio for dry compared to fresh herbs is one teaspoon of dried herbs to one tablespoon of fresh herbs, as the dried herb flavors are more concentrated.
To maintain the most flavor in your dried herbs, store them away from the heat of your stove, the humidity of your dishwasher and away from bright light or sunshine. When cooking with dry herbs, add them to your hand and then to what you’re cooking. When you shake them right over what you’re cooking, the heat will enter the storage container and will shorten their shelf life. When using dried herbs, add them at the start of your cooking time so they have time to hydrate and release their flavor. But, when using fresh herbs, add them at the end of your cooking time so they maintain their color and flavor.
COMING: COOKING WITH YOUR OWN HERBS 103
In this Giving Back series so far I’ve covered Growing Your Own Herbs and Drying Your Own Herbs. Because herbs add so much to cooking, next I will be covering Cooking with Your Own Herbs. Though Benjamin Franklin (1706-1790) said there’s “much virtue in herbs, little in men”, I won’t be discussing the virtue of men, but I will be focusing on the virtues of herbs!

What can you tell me about lavender. I am growing my own & would like to make some sachet bags for gifts to use in drawers, bowls for fragrance, and just the pretty colours. Lavender has a soothing effect & I’m wondering if it may even be used in a tea drink as well? Thank you!!???
Nancy,
I am a big fan of lavender! It’s a beautiful plant, easy to grow and maintain. The flowers make fragrant sachets! You will need to dry the lavendar. Cut the buds when they are just opening; don’t wait too long as once they start to open, it’s a quick process to a complete open bud! Cut the stem just above where the leaves start. (There’s the flower, a long stem and then the leaves.) Gather a bunch of these and tie the stem end with a rubber band. I tried string once but it didn’t work because as they dry they get smaller and they fell out. A rubber band contracts with the stems as they dry. Hang the bunch upside down in a dark place . You want it dark because sun fades the flowers. It will take 2-4 weeks for the flowers to completely dry. When the flowers come off easily, they are dry. Now you can place the flowers in small sachet bags! They work great! You can also dry the lavender outside spread out on a piece of wood. It takes about 1 week in the hot sun to dry it this way. I don’t like it though because the flowers will be faded, and I think it takes away from their fragrance plus here in the south I don’t want any bugs on my lavender! To make tea, use 3 T fresh lavender flowers or 1 1/2 T dried lavender flowers and add 2 cups of boiling water. Let steep for 5 minutes. Strain and it’s ready to drink and flavor if you wish. This tea is good to calm and relax you plus it’s good for an upset stomach! Hope this helps! Thanks for writing! T