Repurposed Changing Table to Potting Bench
IKEA Hack: Repurposed Changing Table to Potting Bench with Thrifted Habitat for Humanity Finds
This article, Repurposed Changing Table to Potting Bench, is sponsored by the Parents Magazines Blogger Decorating Challenge. All opinions are 100% my own.
I was lucky enough to be chosen to participate in Parents Magazines Blogger Decorating Challenge. They shipped me an IKEA changing table, and my job was to totally transform/repurpose it into another piece of furniture that serves as entirely different function altogether within a $50 budget. I gladly accepted this trash to treasure project and set off to a trip to my local Habitat for Humanity to find some materials.
Check out my guide for why you should buy furniture secondhand. It also includes a list of trash to treasure project ideas.
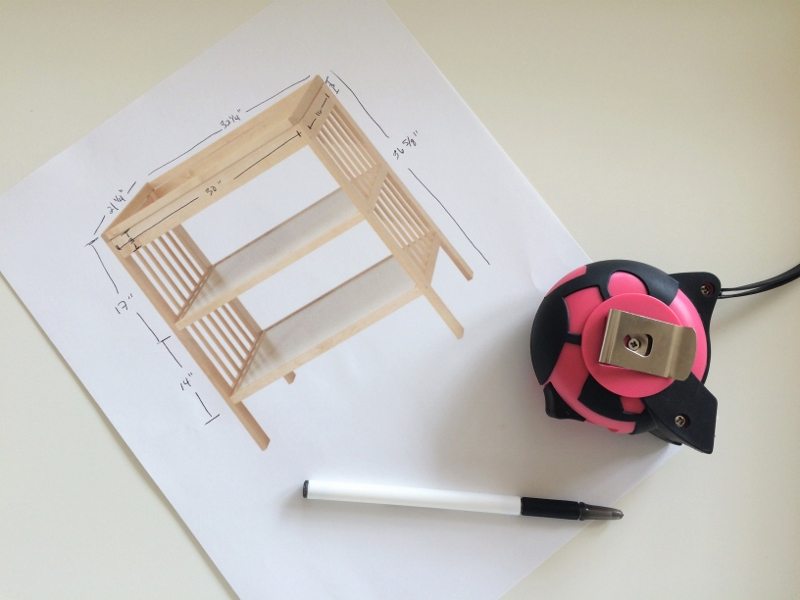
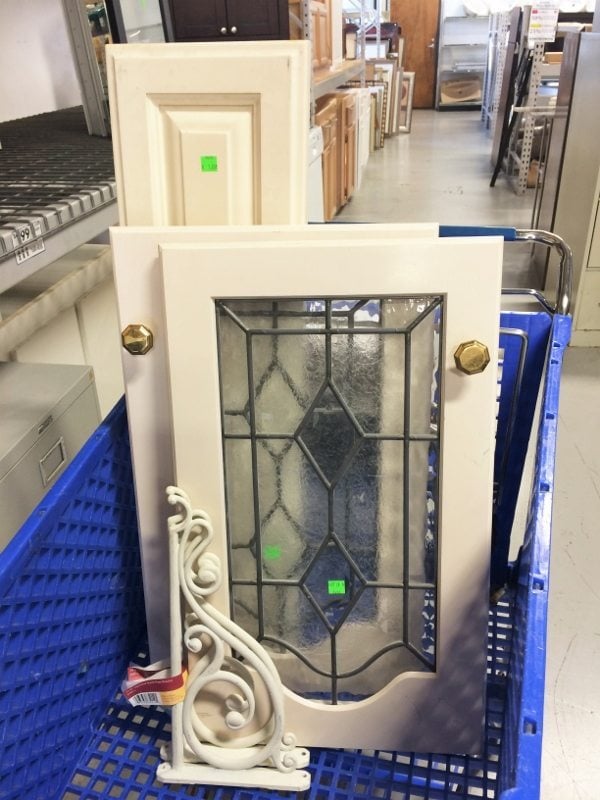
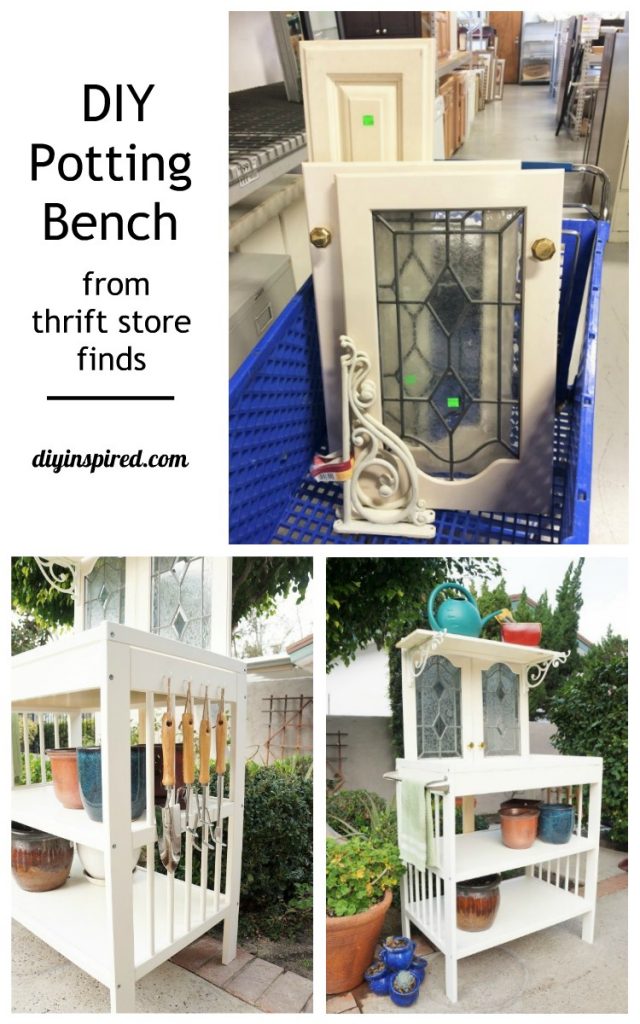
With a few ideas in mind, I brought a picture of the changing table along with the correct measurements. I ended up buying some cabinet doors and a few other things. My successful trash to treasure hunt lead me to make a potting bench for spring.
Materials List:
- Habitat for Humanity
- 1 Towel Rack – $3.00
- 2 Iron Shelf Brackets – $10.00
- 2 Cabinet Doors – $14.00
- 1 Cabinet Door – $1.00
- Home Depot
- 1X3-6 Wood – $2.72
- 2 Pack Wood Screws – $2.36
- 4 Cup Hooks – $4.76
Equipment:
- Drill
- Drill Bits
- Measuring Tape
- Pencil
- Router
- Saw Horses
Instructions:
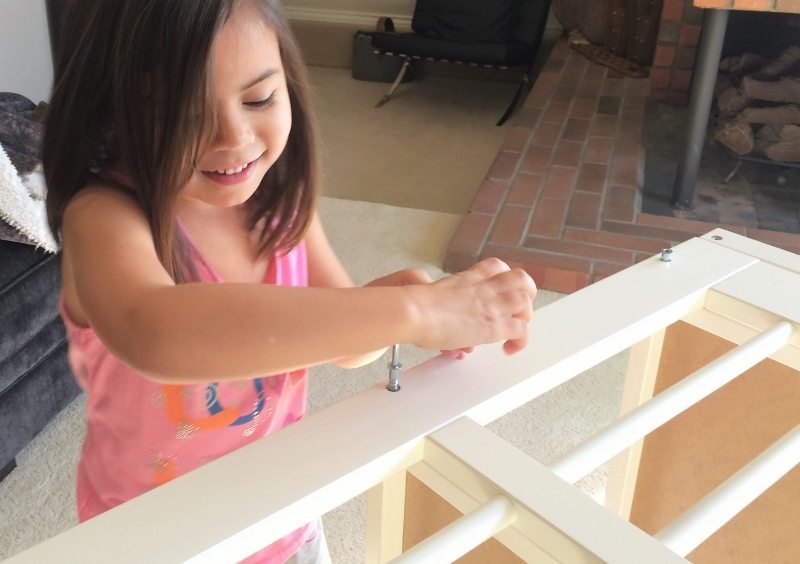
Step One: Assemble the GULLIVER changing table according to the manufacturer’s directions. My daughter helped me with this.
Step Two: Remove the hardware from the backs of the old cabinets.
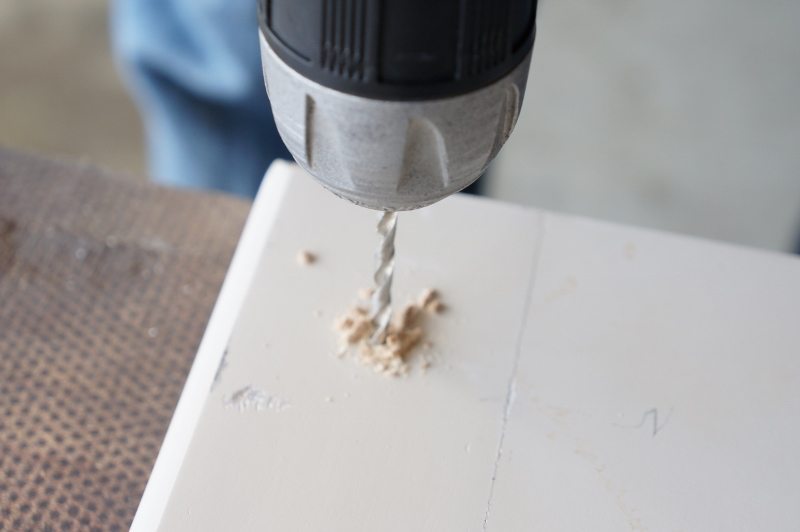
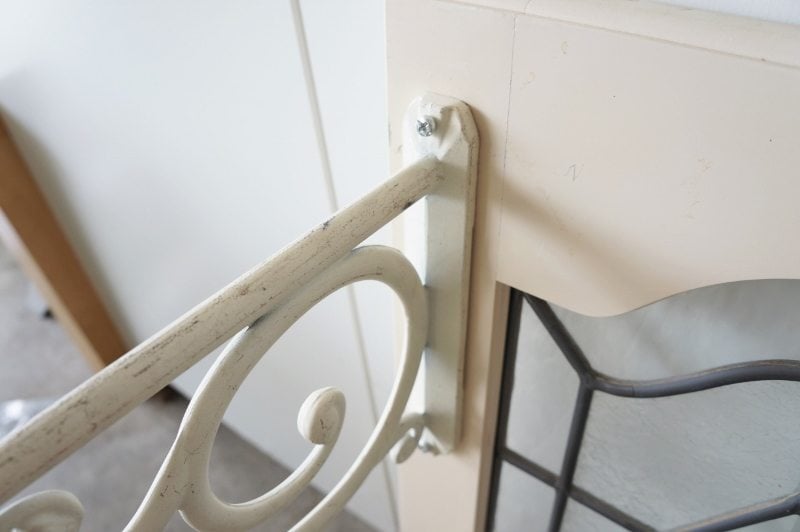
Step Three: Measure and mark the top ends of each cabinet door in order to place the shelf brackets. Drill a hole with a drill bit and then attach each bracket.
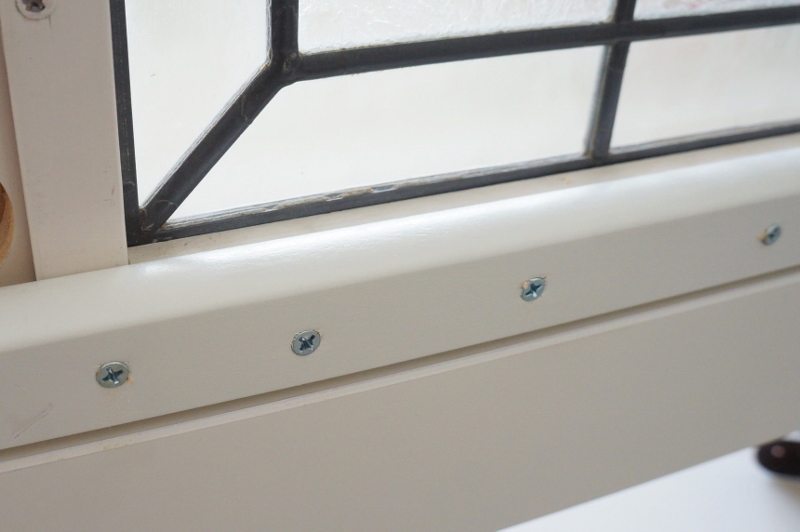
Step Four: Position the doors on top of the changing table and drill the bottom in with screws from the back.
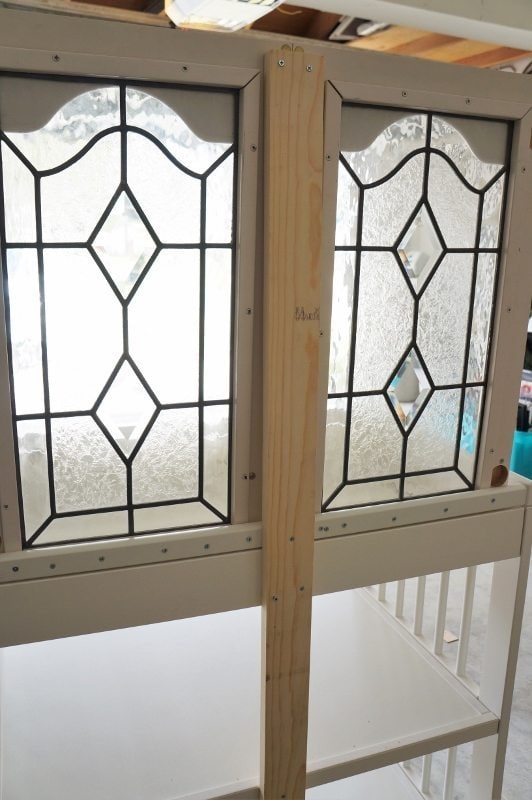
Step Five: Cut a piece of lumber to brace the back of the unit. Align it down the middle of the back of the potting bench. Screw it in to support both doors all the way down the changing table.
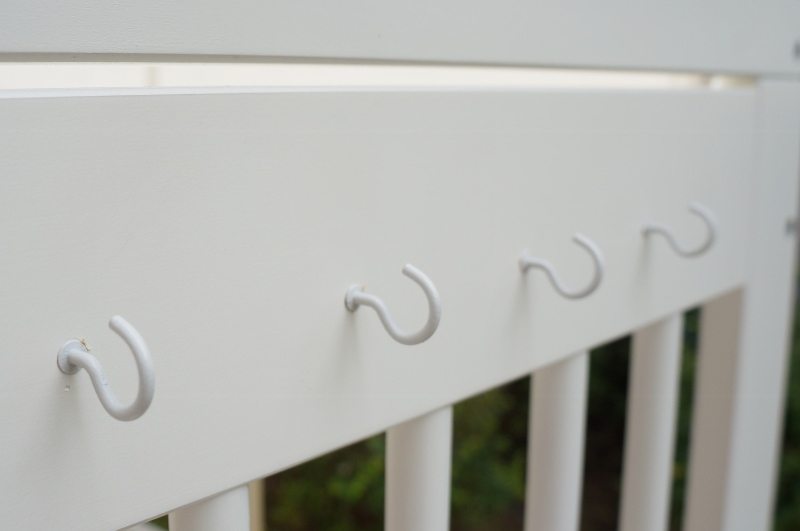
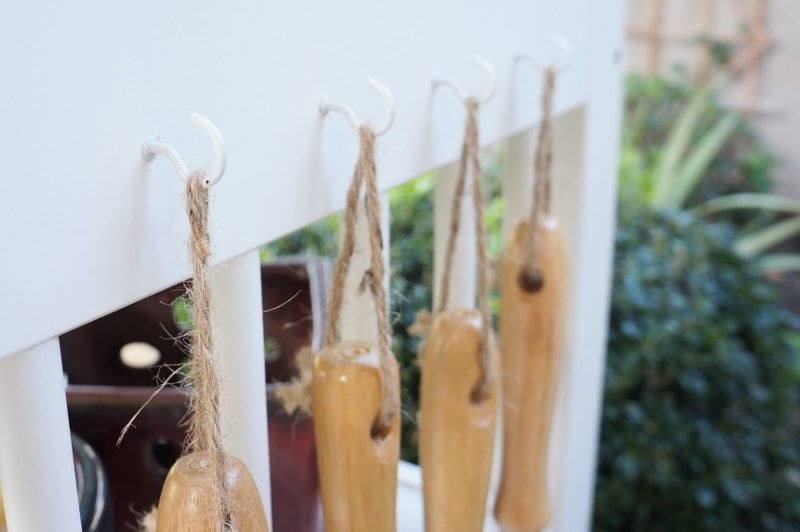
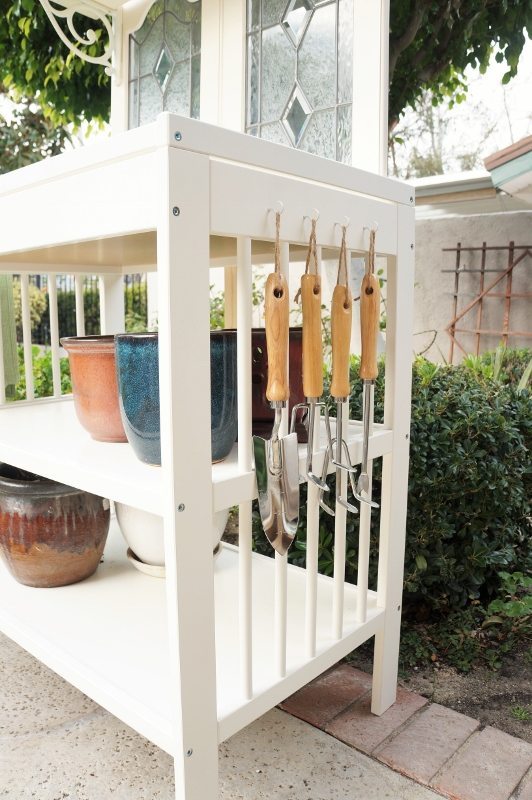
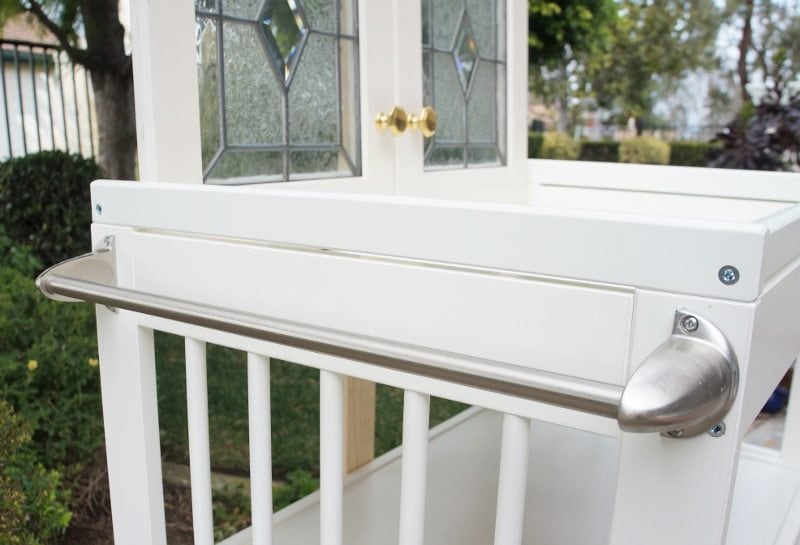
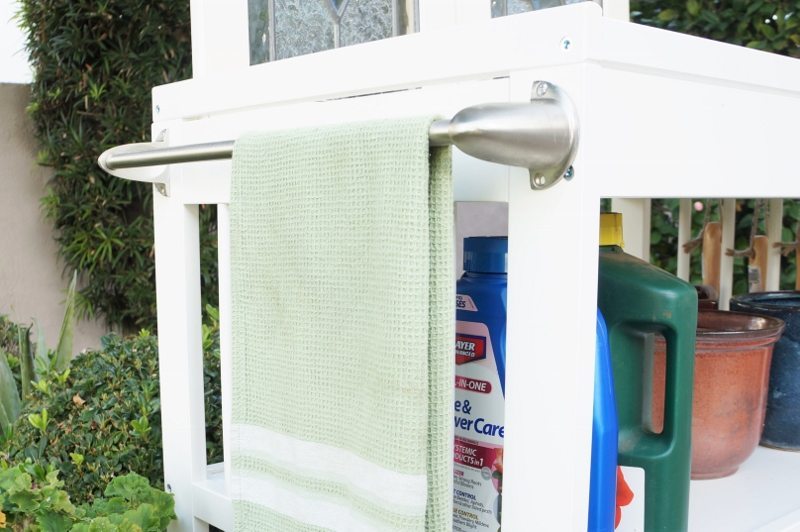
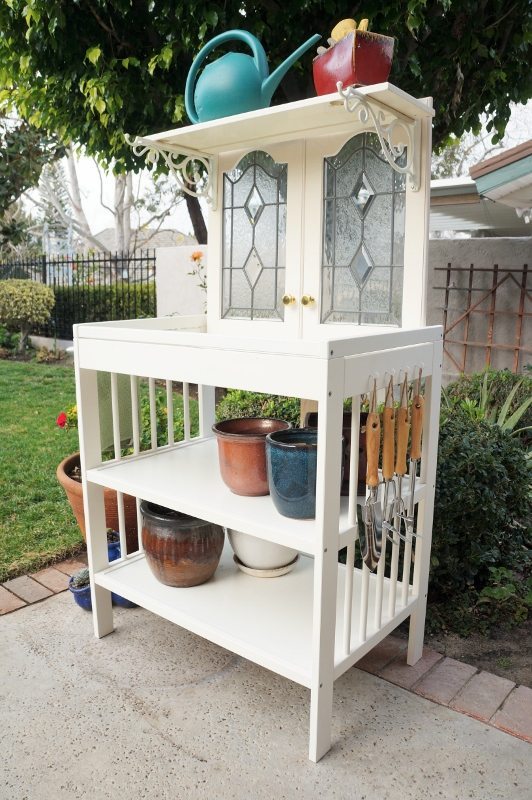
Step Six: Attach a towel bar to hold towels on one side of the bench and cup hooks to hang gardening tools on the other side of the bench.
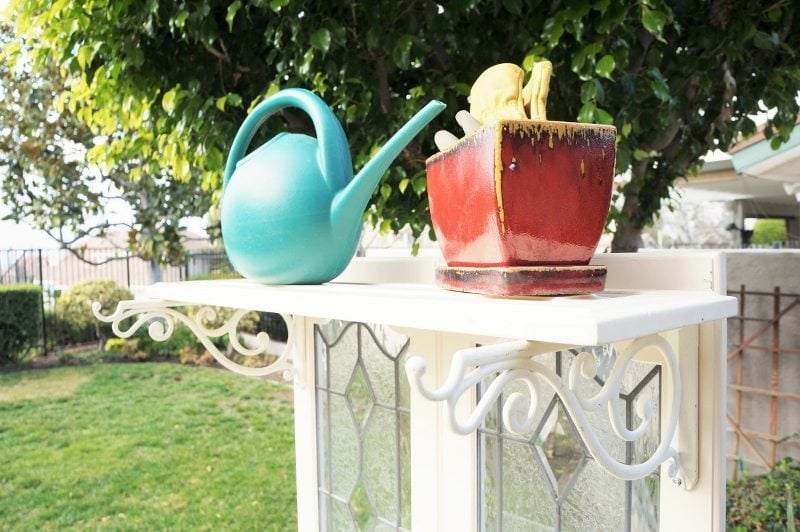
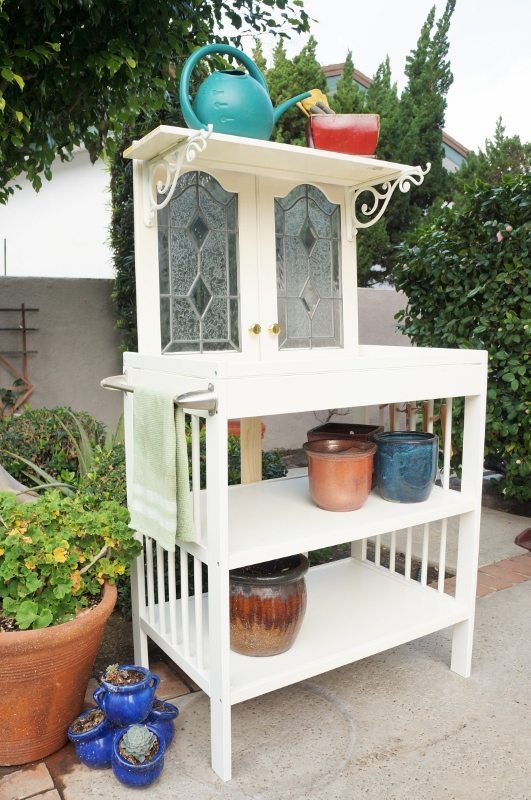
I used a cabinet door as a shelf for the top of the brackets.
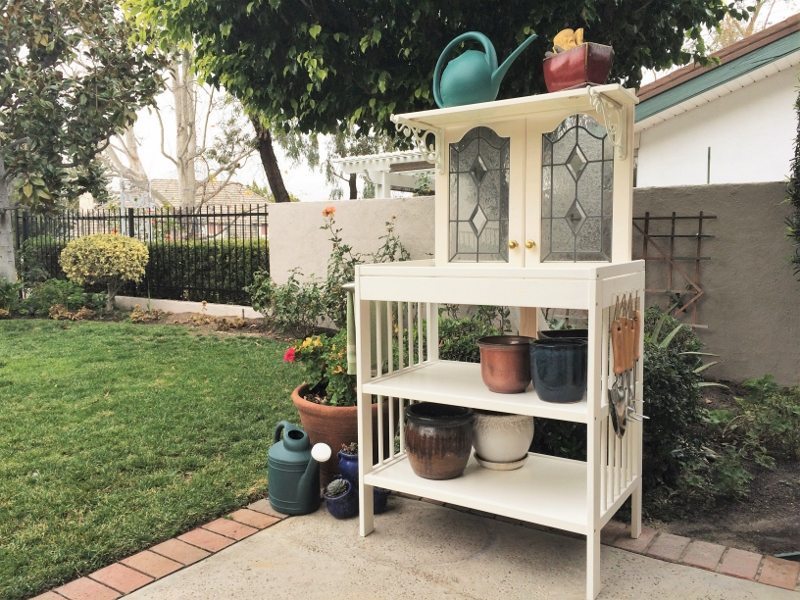
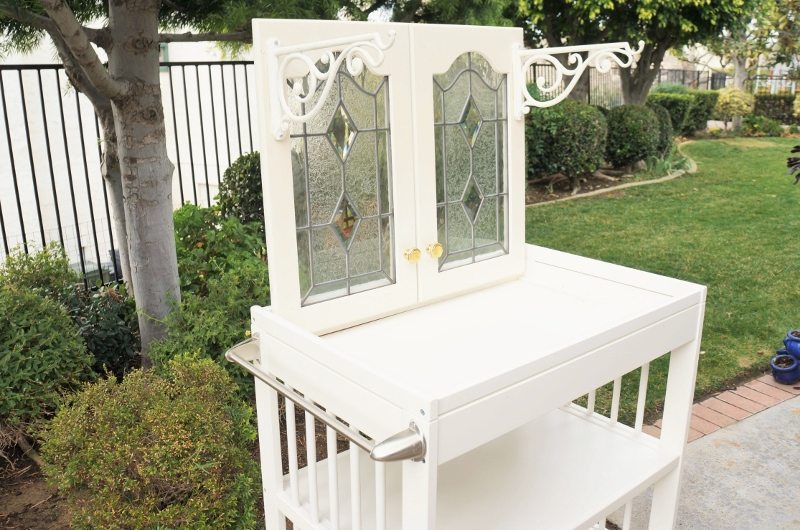
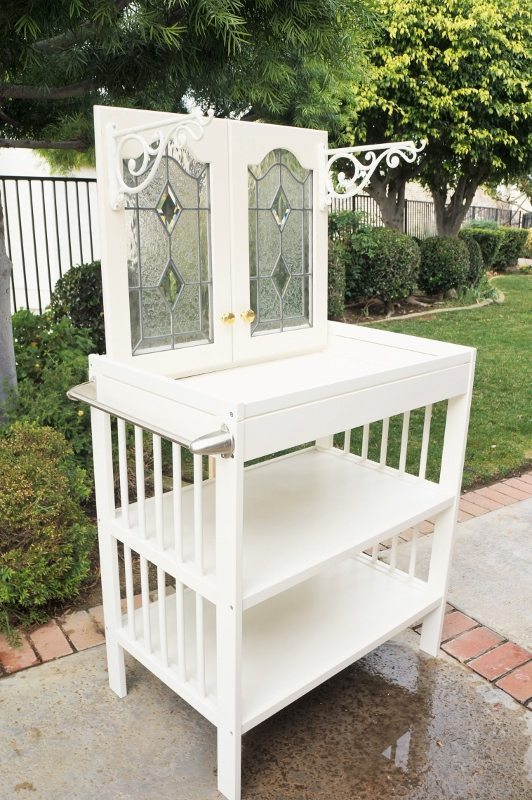
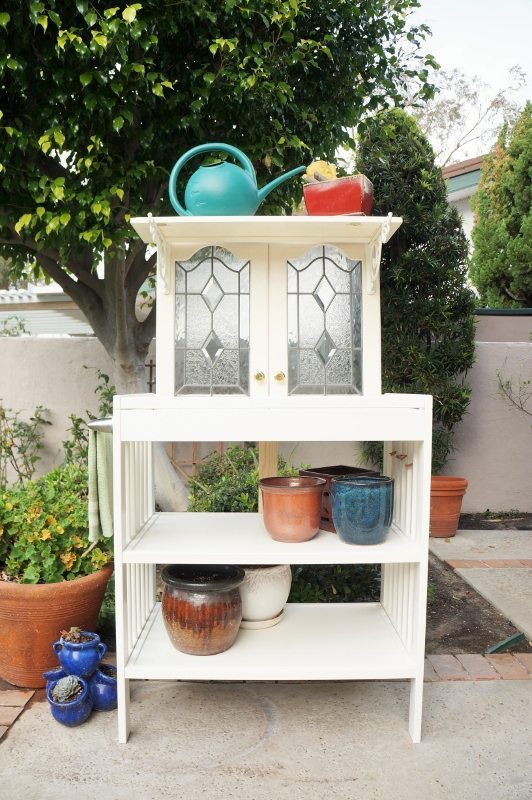
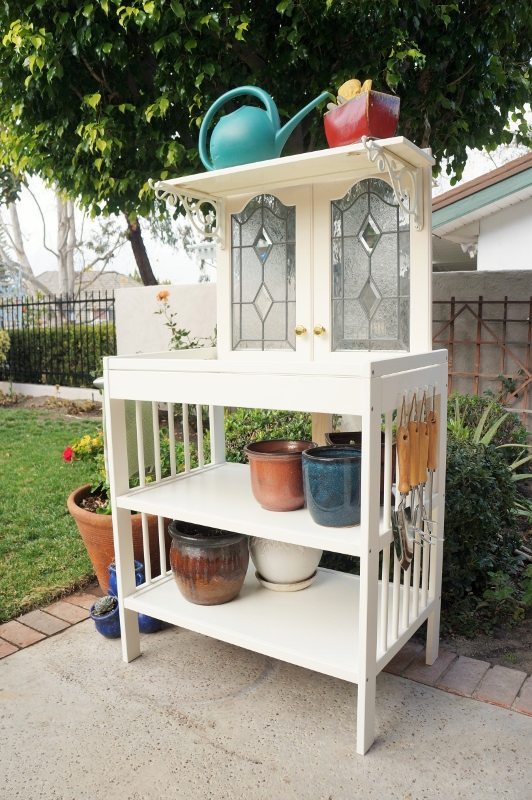
Here are a few after photos.
This potting bench works great for the mild SoCal weather that I live in. I keep it covered under an awning. It has survived a few showers so far! It is best to keep it in the garage or shed to protect it from the elements. Be sure to check out the May issue of Parent’s Magazine to see if my project made it!
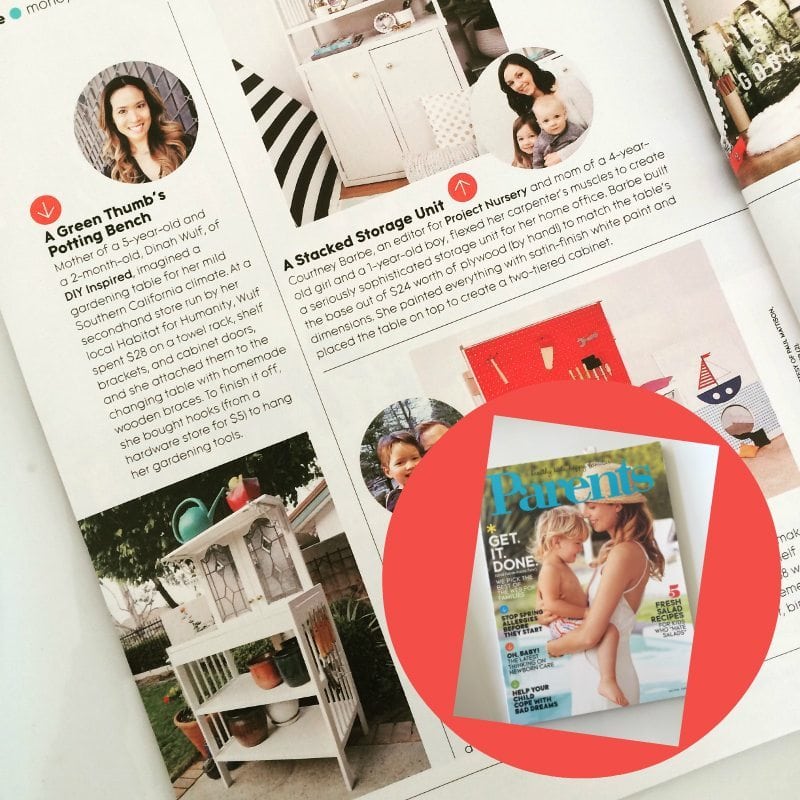
Update: Guess who made it in the Parenting Magazine May 2016 Issue???
Like it? Pin it!





Wow-so creative and looks awesome!
Thank you!!
I love this Dinah! Don’t you just love the Restore! This is so beautiful, those windows just make it pop! Awesome job my friend!
T
Thanks, T! The Restore is the best! I always find awesome things there.
I feel awful! I saw this out there but didn’t ask you about it. I actually thought maybe the sellers left it there. It is so nice and I’m sure you’ll be in Parents Magazine. Love you!!
Thank you!! Love and miss you 🙂
This wouldn’t actually survive outside, right? The changing table is basically particle board. Bummer! Very cute though.
Hi Jess! Yes! You are absolutely right. I live in some pretty mild weather here in Southern California and I keep it under an awning. I would suggest swapping the particle board shelves out for wood. Also, it’s best to keep it in a shed or garage. For the sake of the $50 challenge cap, I kept the changing table as is. Thank you so much for stopping by!
Love the table. I also live in So Cal with mild weather. Any suggestions for weatherproofing it? Would a couple of sealant coats work? Would I need to sand or anything? Thanks.
It depends on the type of changing table it was before, but I think if you protect it with outdoor polyurethane it would work!
This is brilliant, Dinah!!
Thank you, Michele! That means a lot to me coming from you! 😉
This is absolutely beautiful and so creative. I’m going yard sale shopping for a changing table. Thank you so much for this great idea!
Thank you, Linda! Wishing you good luck on your treasure hunt!
Wow! I never would have guessed this started out as a changing table. Very creative way to repurpose the table.
Thank you so much, Donna!!
Oh I luv this wonderful DIY project…the potting bench is sooooo cute! We would love to have you come party with us at our Show and Share Party.
Blessings,
Linda
Thank you so much, Linda! I’ll check it out!
Oh, My, this is the cutest thing I have ever seen. I love it. Great job!
Thank you so much, Debbie!
This is adorable! Such a great way to display your gardening tools in an artistic way. Thanks for sharing. It was great finding you at #IdeaBox Link Up 🙂
Thank you so much for having me!!
Great project Dinah, you got those cabinet doors for a song… Love restore, have to make a trip over there this week and see what goodies I can grab!
Thanks, Brenda and good luck on your treasure hunt! Sending good vibes… 😉
What a fun thing to do
I really like the glass doors
Good job
Laura
Thank you so much, Laura!
This is such a great upcycle! I should totally make something like this for my mom. Thanks for sharing at Merry Monday!
Thank you, Megan and thank you so much for having me!