Ice Cube on Carpet Dents Test
Does using Ice Cube on Carpet Dents Really Work?
The previous owners of our new home were also the original owners and lived here for over 30 years. They did some beautiful upgrades and kept the house immaculate. But, when they left, their furniture also left behind some dents in the carpet. While my Mother-In-Law was here, we decided to try out the ice cube on carpet dents test. She mentioned she had seen it online and we should give it a try.
She searched and found many tutorials. We combined a few of them and I decided to share it here because it worked out really well for us. After reading a few tutorials and a few trial and errors, we deduced this process to only needing three materials.
What Do You Need?
Materials:
- Ice Cubes
- Vacuum
- Fork
Time: A few hours
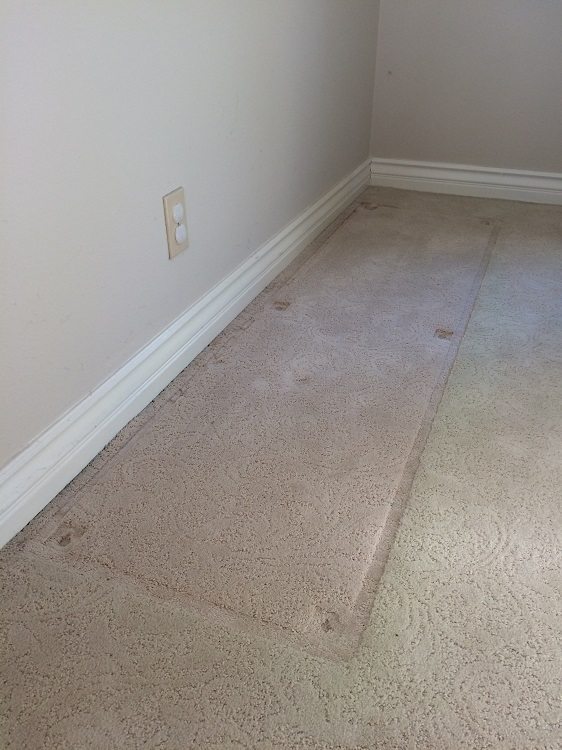
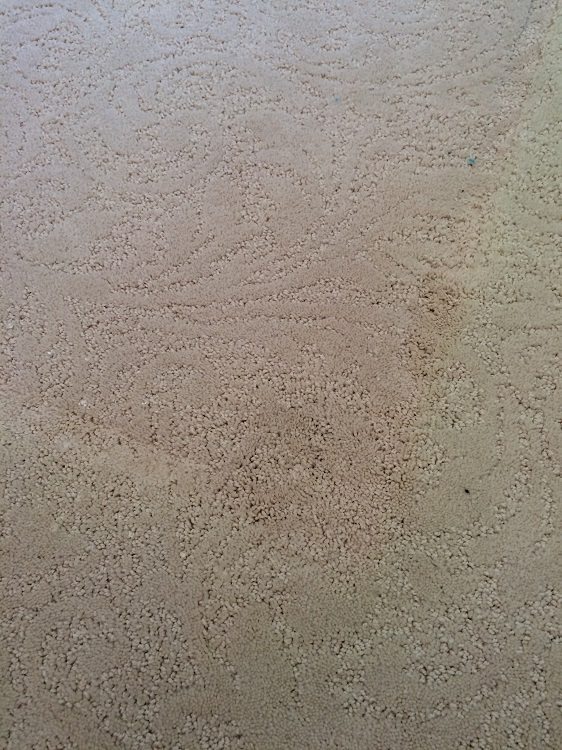
This is an are on our carpet in the dining room. A huge dining hutch with ceramic shelves lived on this spot for many years.
Testing it Out
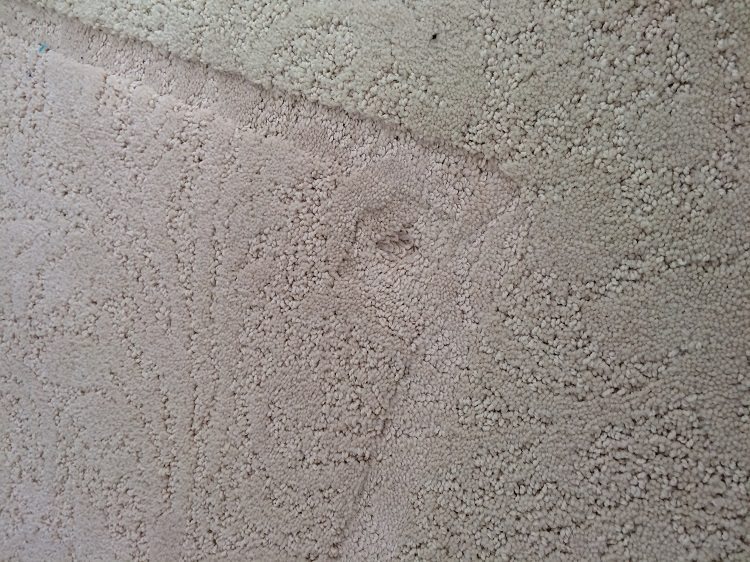
To be safe, we decided to test one corner first. Here is a BEFORE photo.
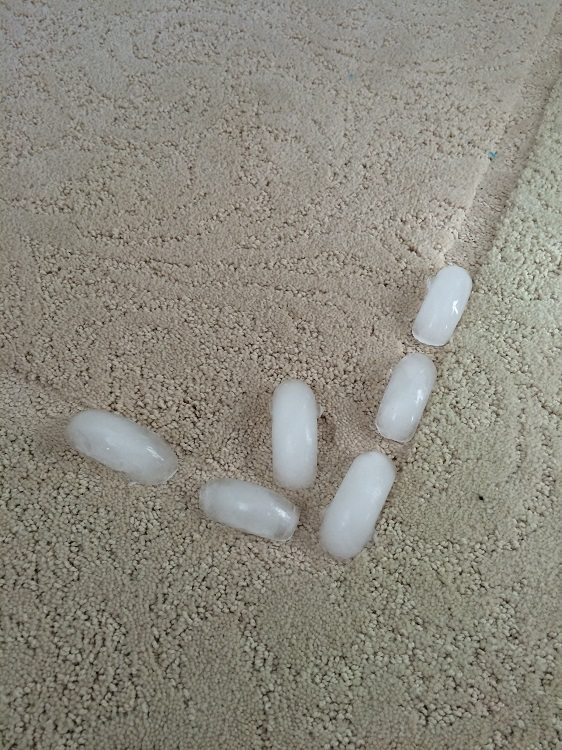
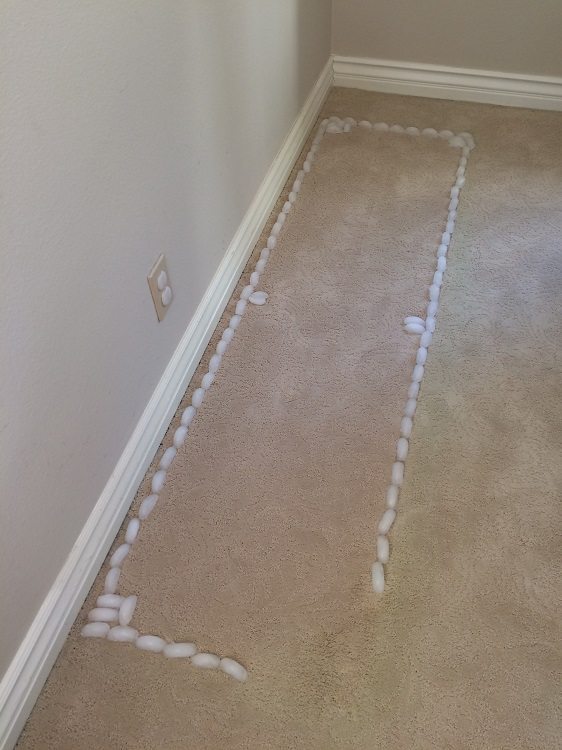
We placed ices cubes along the dent line and allowed the ice cubes to melt completely which took over a few hours.
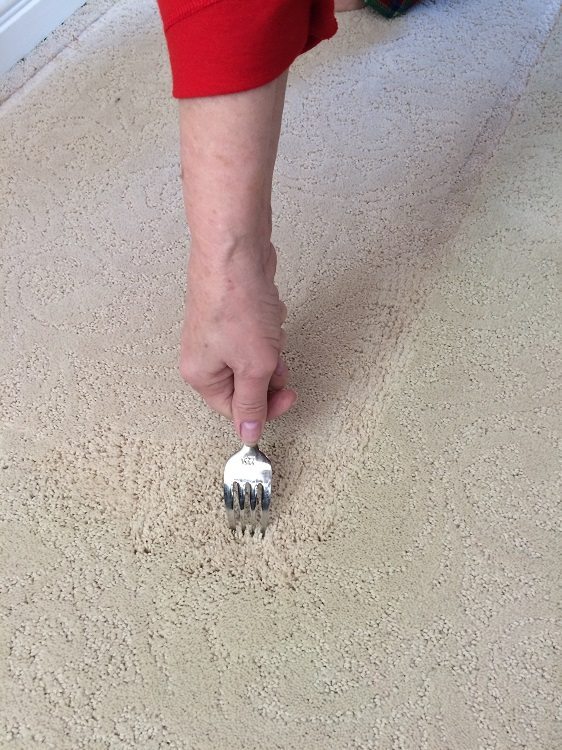
After the ice melted, my Mother-In-Law fluffed and scraped the area with a fork. It didn’t take too much work. This step may vary depending on the type of carpet you have.
Next, we vacuumed the area while it was still wet. Here is the result.
We thought it looked much better than it did before, so we tried the test on the rest of this area.
Again, we repeated the process.
- we placed ice cubes on the dents
- allowed it to melt completely,
- fluffed and scraped it with a fork
- vacuumed while it was still wet.
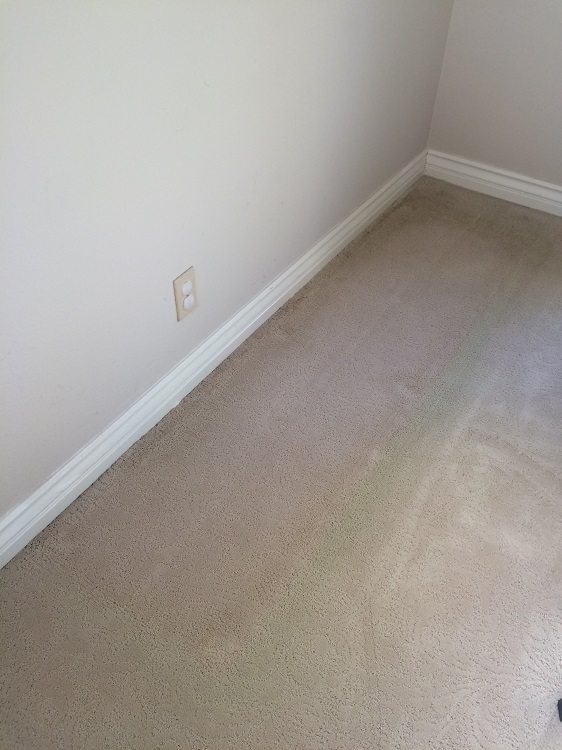
Here is the result! It worked!
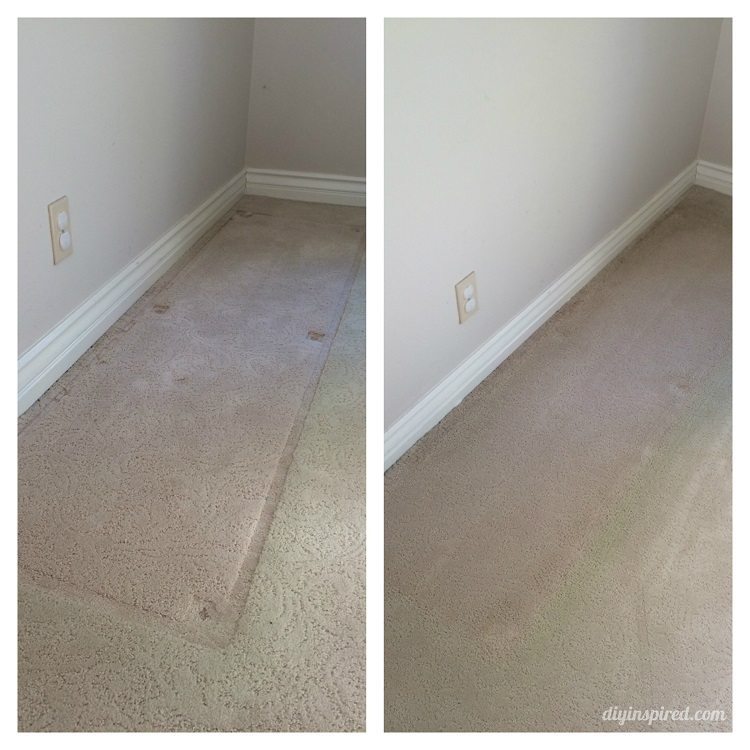
It’s not perfect, but it looks much better than it did before! Here is a before and after shot.
Not too bad, right? Now I have to repeat the process in what seems like a billion areas… There is a chance that this process may be a little different, depending on what type of carpet you have. The beauty of it is that you are only working with water versus a type of chemical, so I’d give it a try! If you do, let me know how it turned out in a comment below.
You May Also Like:
Here is a list of cleaning hacks and organizing tips you might like.
Kitchen Cleaning Tips with Vinegar
Deep Cleaning your Carpet When You Have Pets
Laundry Tips for Cleaning with Vinegar
Easy Ways to Declutter and Improve Your Garage
Clever Cleaning Hacks to Help Make Life Easier
I’ll leave you with another fun hack video I made. Everyone has binder clips right? Here are some clever uses!
Have you seen my YouTube channel? There you will fin over a 100 (and growing) craft and DIY videos. I’d love it if you subscribed! Subscribe Here


Wow, what a great (and simple) trick! It looks much better!
Thanks, Steph! I was surprised it worked so well!
Just been having a “discussion” with ‘er indoors about this. Sooo many suggest this. Where’s the science? Did you test with just water? What does the ice do that water can’t? On,y thing I can see is that it keeps the water from flooding away, while it soaks in, but pretty mush all the suggestions also talk about mopping up excess water. So why not just set the area and fluff it without waiting hours?
Hi Richard! I haven’t tried just water, but I believe it has something to do with allowing the carpet fibers time to slowly expand. I hope this helps!