Pocket Greeting Card DIY
I like to make my own greeting cards and invitations. Since both my parents and my husband’s parents live on the East Coast and Midwest, we often send them snail mail with our daughter’s school photos or artwork. Most recently, my daughter danced her very first ever dance recital, so I wanted to make a little card to go along with her photos to send to each grandparent. Here is an easy and budget friendly pocket greeting card DIY.
Materials:
- Cardstock
- Paper Cutter
- Cutting mat
- Ruler
- Craft knife
- Circle punch
- Letter stamps
- Glue stick
- Envelopes
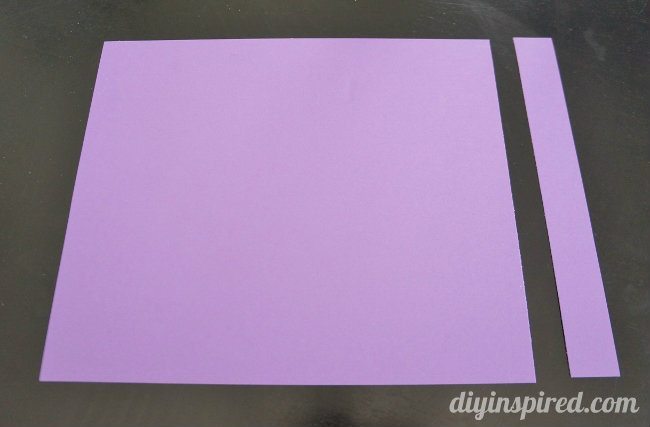
Depending on the size of your envelop and pictures you are sending, measure and cut one piece of cardstock accordingly. I used envelopes to fit a 5X7 and 4X6 photo.
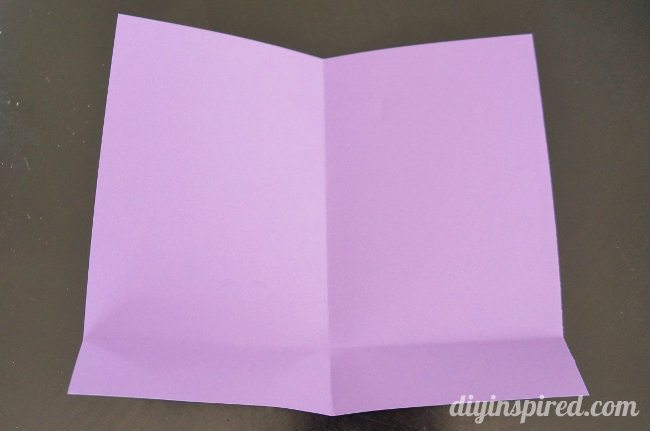
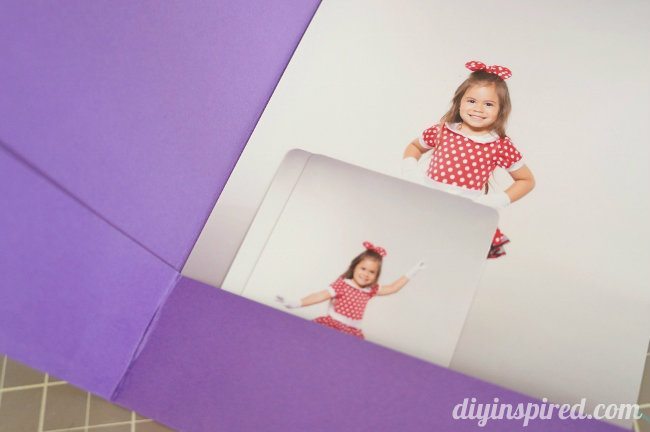
Fold the cardstock in half and then fold up to create a pocket as shown.
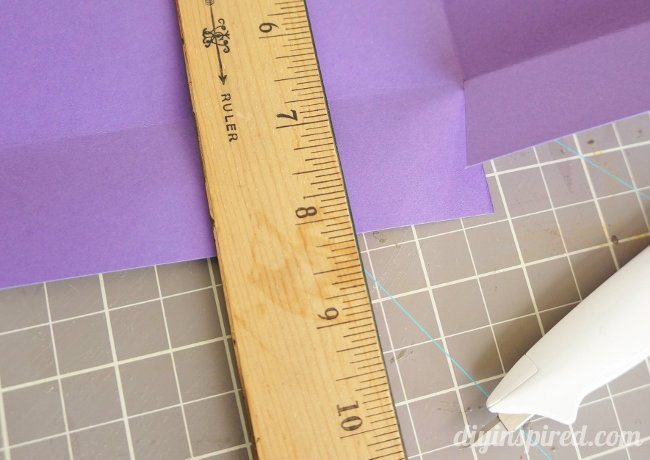
Use a straight edge and a craft knife to cut the center folder flap. This will make it easier for the card to fold.
It creates a pocket like this.
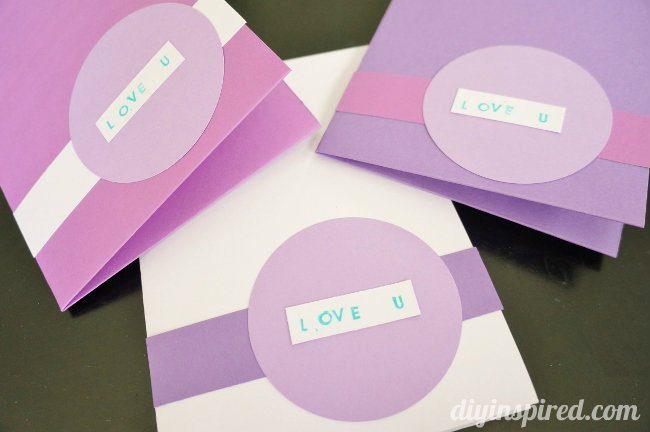
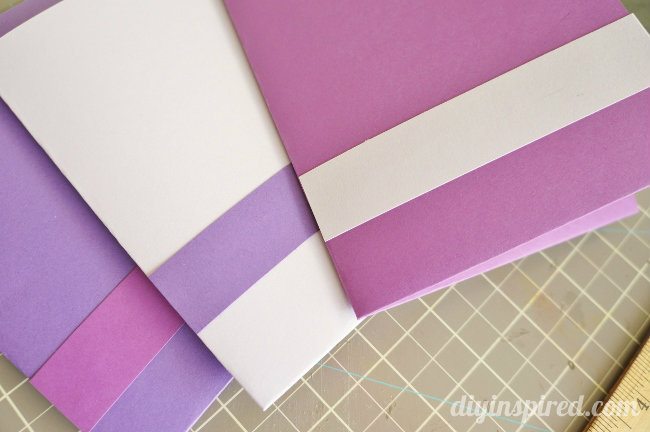
Next, embellish the card as you wish! I don’t like to waste any paper so since I used four different hues of purple, I cut the left over and made a band for the front.
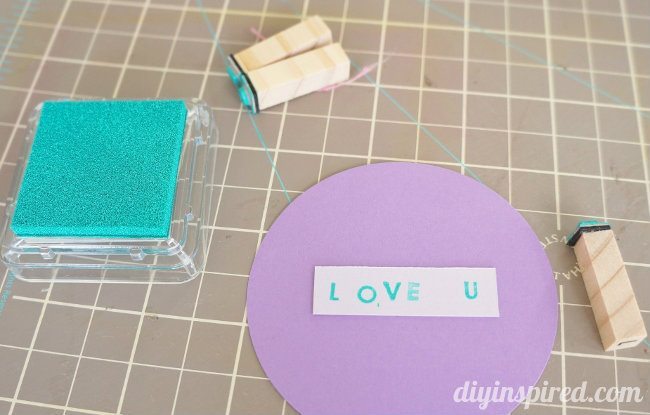
I also used a circle punch to make a circle. I stamped on “love you” onto the card as well.
Lastly, I put it all together.
It’s a quick and easy project and MUCH cheaper than buying cards!
Be sure to check out the cards I sent to the grandparents last time for Mia’s school photos {DIY Cards or Invitations for Any Occasion}!



I love diy cards, it allows you to express what you wish for someone, and its always from the heart
Hi Dinah,
I find your website while searching handmade invitation card for my sweetie and I admire you so much. You did great job 🙂
Could I use your ideas to make this card for my daughter?
Thank you very much and Hope to hearing soon from you
Joanne