DIY Cards or Invitations for Any Occasion
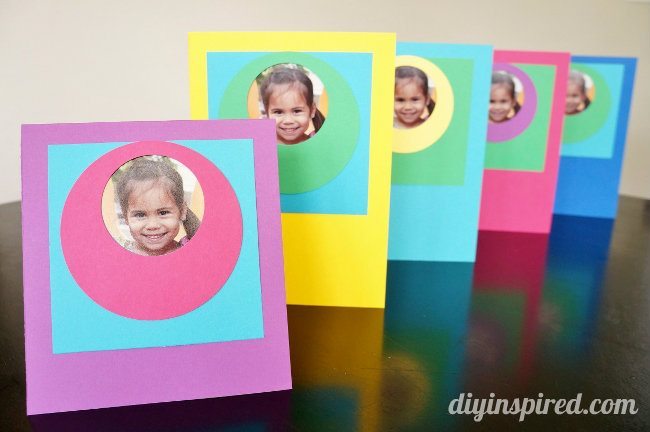
Sometimes it’s really tough living so far away from family. We live in California while my side of the family lives on the East Coast and my husband’s side of the family lives in the Mid-West. It’s especially difficult when you have a little one who always asks for their grandparents at night or when there is only Dad and Mom in the audience for a dance recital, while all the other little ones maxed out their ticket limits. Because of this, I get creative with good ‘ole snail mail when I send out Mia’s artwork, school pictures, and dance photos, etc. to all the grandparents and aunts and uncles. So, I thought I’d share something you can make for anytime. Here is my quick tutorial for DIY Cards or Invitations for Any Occasion.
Materials:
- Cardstock
- Paper Cutter
- Various Large Circle Punches (at least 2 sizes)
- Double-Sided Tape
- Wallet Sized Photos
- Envelopes
Cut the desired size for your card. You can fold them vertically or horizontally. The larger cards pictured here are 5”X7”.
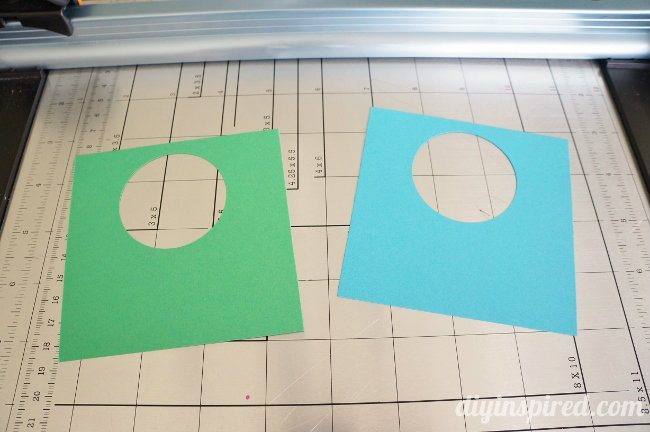
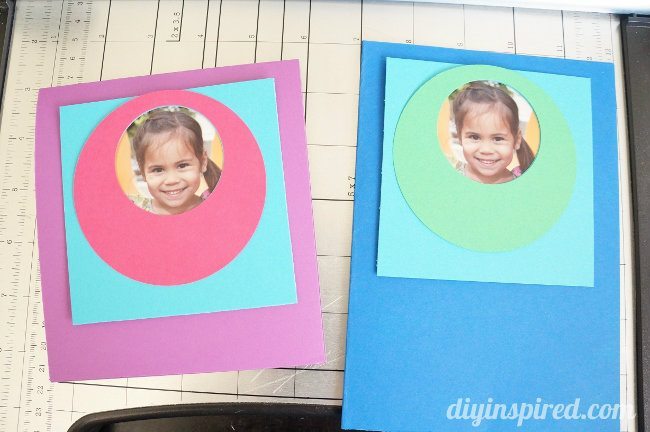
I wanted Mia’s grandparents to be able to remove the card and have the full wallet size photo intact just in case they wanted to remove it and show it off! So, I cut a 4”X4” square. Each card will use 2 different sized circles. Cut the smaller circle into the square piece.
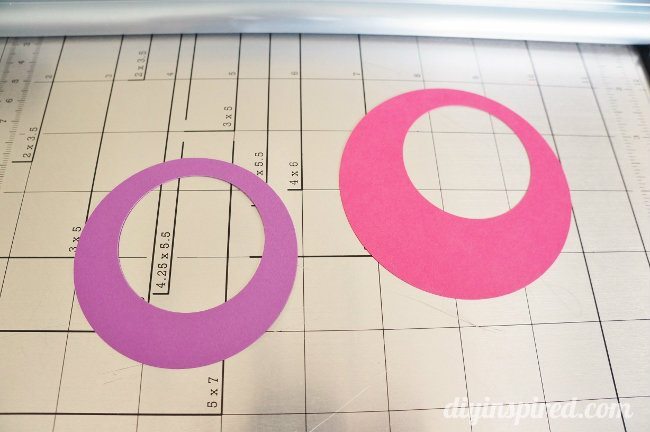
Next, cut out a large circle, and use the smaller circle punch to cut a hole inside the larger circle to match the square. (Say that 10 ties fast!)
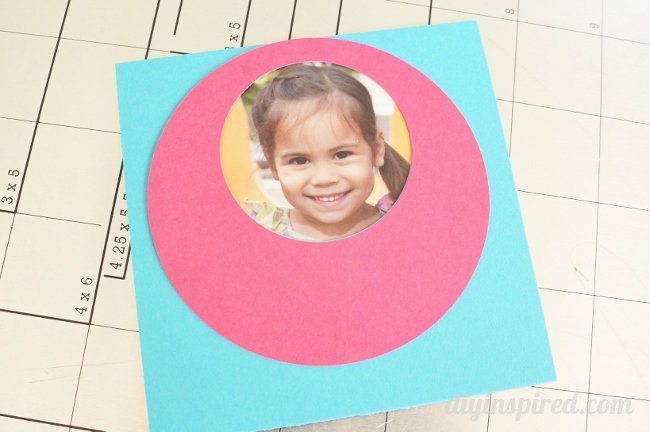
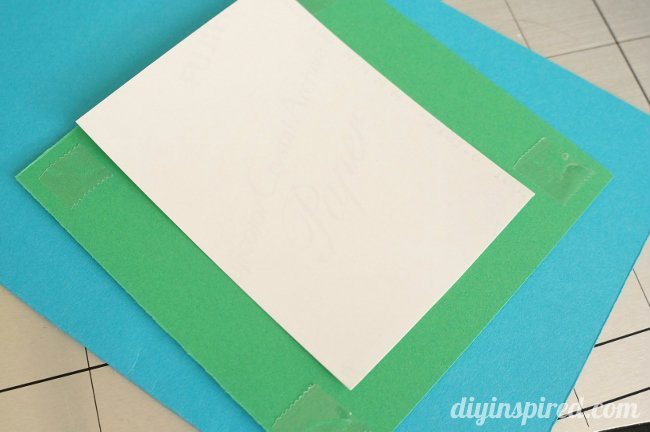
Assemble the picture as shown.
Tip: I only put one small piece of tape on the picture (again, just in case the parents want to disassemble the card and carry the photo in their wallet).
Tape the photo to the front of the card.
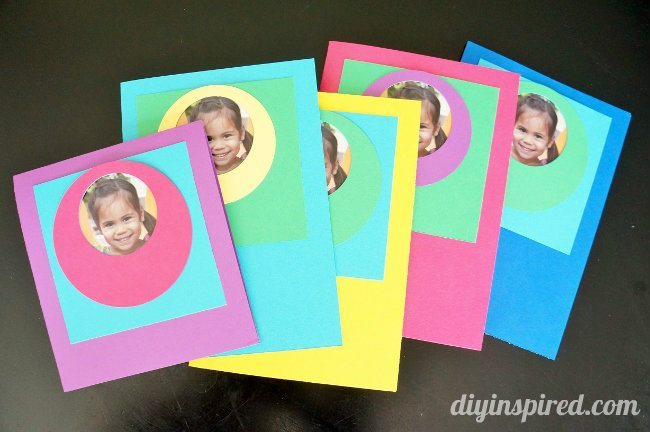
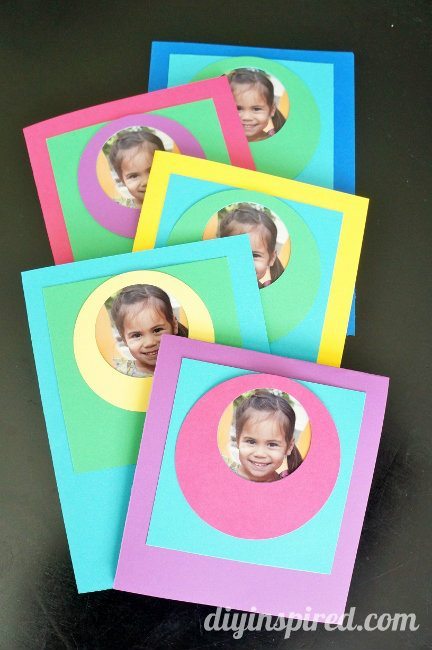
There you have it! You can use these for invitation, birthday cards, Father’s Day, Mother’s Day, Valentine’s Day, or anytime cards!
In case you missed it, here are some more of my DIY card and invitation tutorials:

