DIY Curled Hyacinth Paper Flowers
I wanted to learn how to make a new type of paper flower for the spring. I wanted something pretty, simple to make, and unusual. I came across these DIY Curled Hyacinth Paper Flowers on YouTube from Origami 4ik. It was good but it left out a few things. So, I watched their video once and then did my own take on this.
Time: 45 Minutes +
Materials:
- Green Paper (for leaves and stem)
- Colored Paper
(for flowers)
- Glue Stick
- Hot Glue and Glue Gun
- Scissors
- Paper Cutter
Watch Video Instructions:
Instructions:
Note: I used 8.5” X 11” Colored paper for this tutorial.
How to Make the Stem
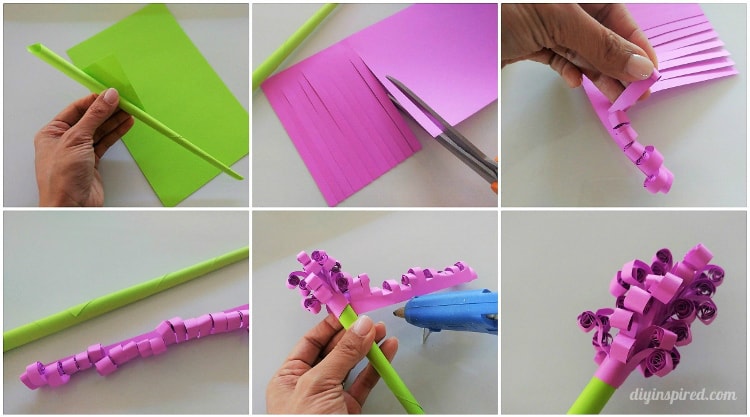
To make the stem, cut a sheet of green paper in half (4.25” X 5.5”). Starting at one corner, roll the paper keeping it taught until you complete a stem. Glue it together with a glue stick.
How to Make the Flowers
You will need one 8.s” X 11” piece of paper to make one flower. Cut it in half lengthwise (4.25” X 11”). Fringe both pieces of paper. Tightly roll each piece of fringe one by one.
Connecting the stem and Flower
Place a dab of glue at the top of the stem and glue one curled strip with the rolls facing down at a slight angle. Continue to roll the curls around the stem, occasionally gluing it with hot glue. Repeat this with the second curled strip.
How to Make the Leaves
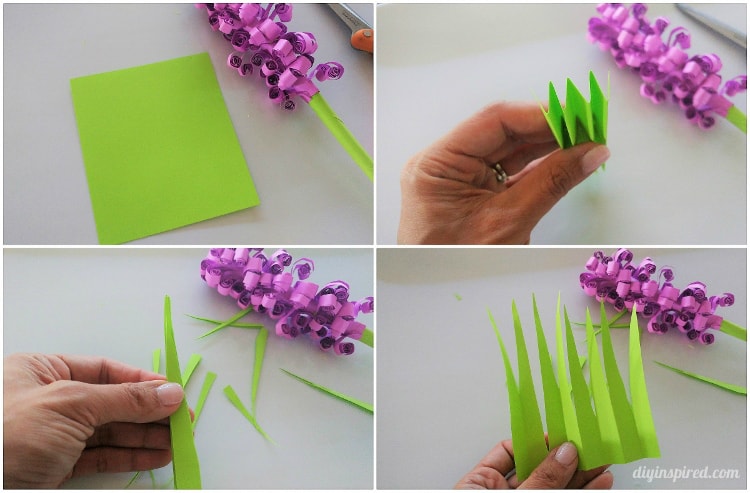
Cut a 4.5” X 4.5” piece of green paper. Fold it into an accordion. I found it easiest to fold in half three times, unfold it, and then fold it into an accordion. This way each fold is equal in width. Cut one side lengthwise into a “V” on both sides to create pointed leaves. Unfold the accordion. Fold the leaves around the bottom of the stem, gluing it occasionally.
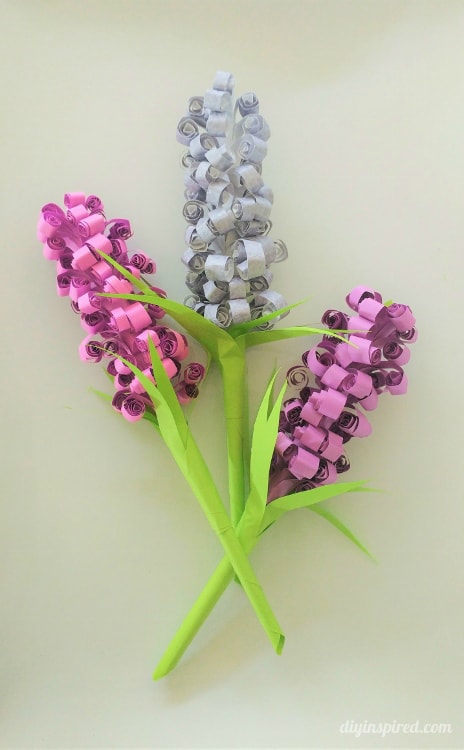
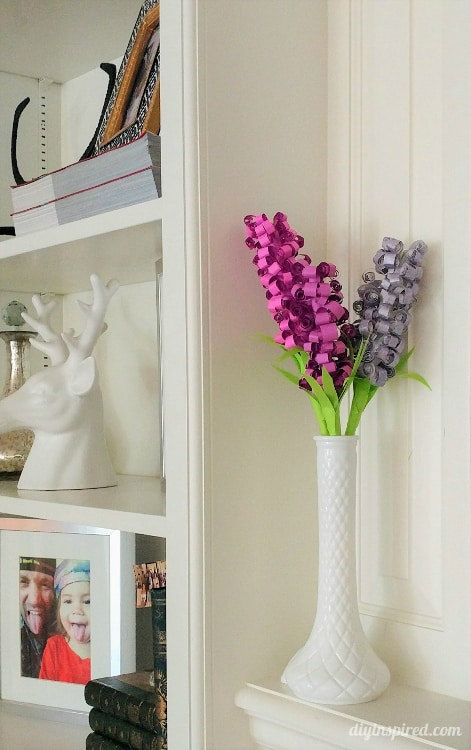
I tested this process with regular paper and textured paper and it worked great. I did two shades of purple and then a textured piece of purple. If you are using paper that is colored or patterned on one side only, be sure that the patterned side is rolled down and it faces out.
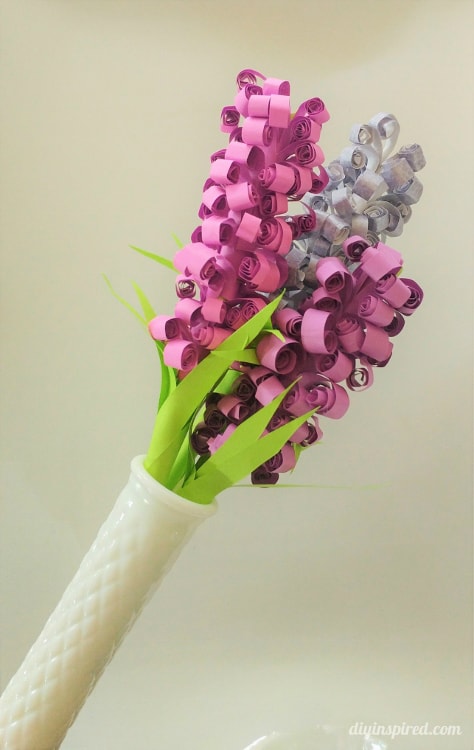
I loved how these turned out. When my daughter came home and saw them she thought that they were real! Use these in several colors as decorations in your home or for a spring party, baby shower, or bridal shower.
Like it? Pin it!


So unique and real looking!!! I love looking through all of your ideas for adult crafts especially because it really gets my mind wondering off into the creative area of my brain I love to use, and I love seeing what can become possible to create! So thank you for your wonderful inapirations!☺️
Thank you so much, Sharon!
Beautiful paper flower tutorial. So simple and so effective. They look very realistic in that vase.
Hello, the craft looks great! Just found the instructions were hard to follow.