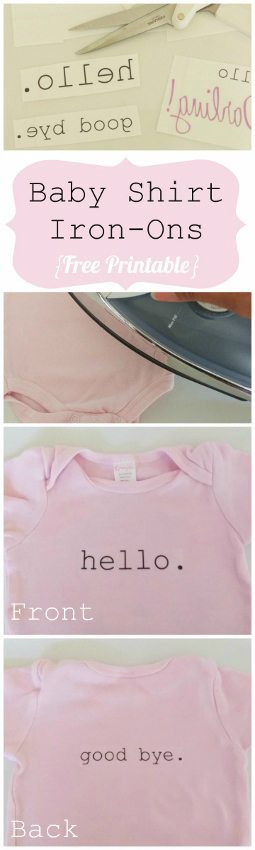
DIY Iron-On Baby T Shirts with Printable
An Easy Tutorial for DIY Iron-On Baby T Shirts with Printable
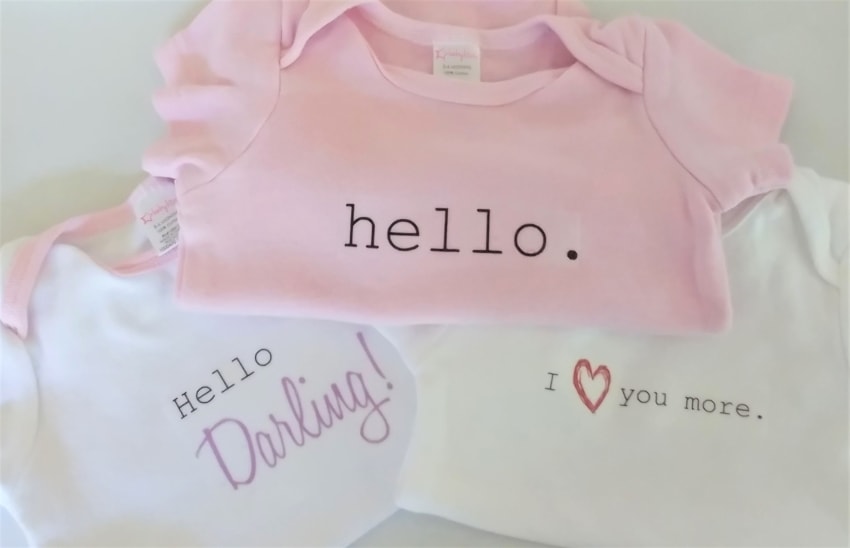
Having a new baby in our home is quite the change. There is a decent age gap between our daughters (just under six years) and I find myself forgetting a lot. This includes all the things those little buggers need! To help cut down some costs, I figure out some short cuts here and there. The department in which I find myself most successful is, of course, the DIYs. I always see these cute graphic tees and onesies, but even when they are on sale I can’t justify in my head paying for them. So, I took it upon myself to make my own iron-on baby t shirts. There are three designs. My favorite is the “hello” on the front and the “goodbye” on the back.
Dressing a new baby is always fun but sometimes it is hard to find designs you are looking for in a retail store. You can easily solve that problem by making your own! One of the easiest ways to do that is with iron on transfer paper. Just design, print, and iron! In three easy steps you will have a custom made T for your little cutie. Here is a quick tutorial on how to make a DIY Baby Onesie.
Here’s What You Need
Time: 30 Minutes
Materials:
- Plain Onesies
- Printer
- Iron-on Transfers
- Scissors
- Iron
- Free Printable Here
Instructions:
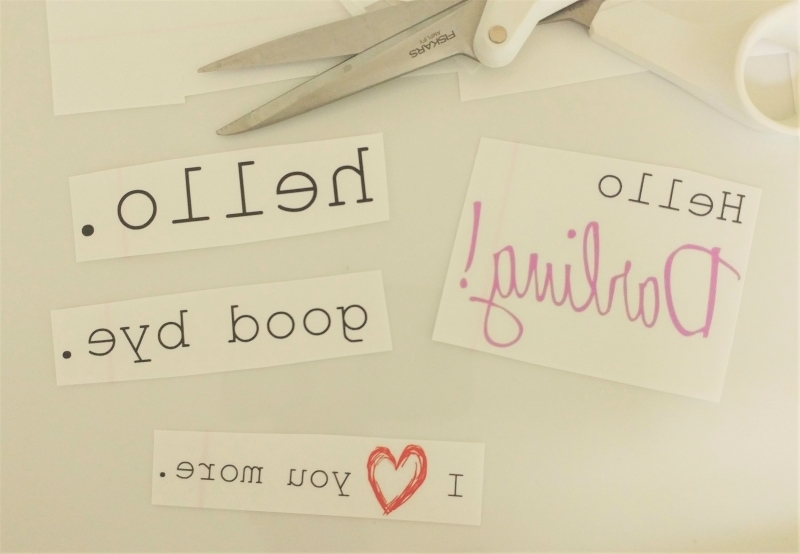
- Design your own, or print your free Baby Onesies Printable. If you design your own, when printing be sure to print the mirror image. I made three options including “I love you more”, “hello, darling”, and “hello” for the front and “goodbye” for the back.
- Cut out the design. Trim as close to the design as possible.
- Wash the Onesie before you iron-on. Iron the dry Onesie right before applying the iron on for the best result.
- Place the iron-on in the desired area. Iron on the image on a flat, hard surface (not an ironing board). A kitchen countertop or tabletop works nicely. Press firmly as you move the iron slowly across the image. Make sure to get the corners. Iron for about 60-90 seconds.
- Let the Onesie cool down completely. Once it has cooled, gently peel the paper off of the image.
- Roll them up, tie them up with a bow, and place a tag on it for the mommy-to-be in your life.
You May Also Like
Other Fun Craft Ideas:
- DIY Envelope Photo Card
- DIY Photo Place Cards with Fruit
- Photo Gift Tag Sports Team Favors
- Succulent Gift with Thank You Printable
- DIY Laundry Room Labels
This post was originally written for HP July 2016 and has been updated and improved.