DIY Felt Pizza Bookmark
This article, DIY Felt Pizza Bookmark, is sponsored by Fiskars. All opinions are 100% my own.
How to make a no sew DIY Felt Pizza Bookmark for a back to school kid’s craft.
Today I am celebrating the 50th anniversary of one of my favorite tools in my craft arsenal, the Fiskars Original Orange-Handled Scissors™! The big anniversary is next month in October. Can you believe they have sold over 1 billion? Wait. I can because I think every Crafter I know owns at LEAST three pairs. Plus, I have fond memories of growing up with these scissors ever since I was a little girl over 30 years ago. I recall my mother’s best friend who had a sewing room in the basement where we would all play. She made us clothes until we were about eight or nine years old. I remember she had a tin container with several pairs of these scissors. Today, I have five pairs of my own!
The Original Orange-Handled Scissors™ are the perfect pair of scissors for cutting a wide variety of materials including denim, silk and multiple layers of fabric. In today’s tutorial I am using them to cut felt to make these adorable DIY felt pizza bookmarks just in time for back to school.
Time: 30 Minutes
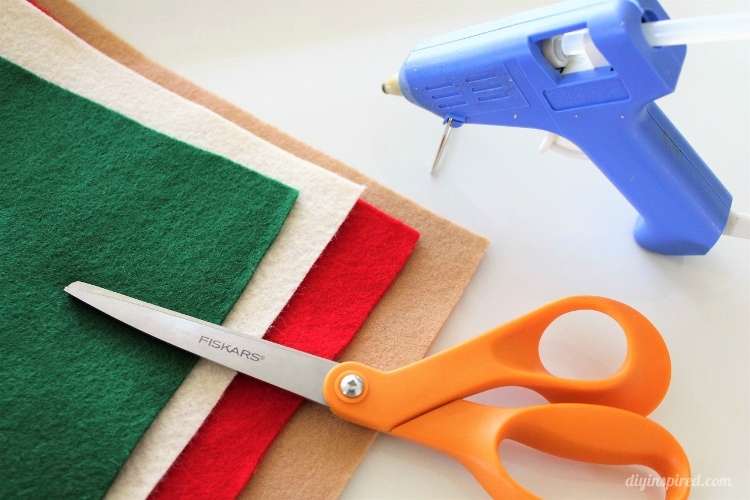
Materials:
- The Original Orange-Handled Scissors™
- Felt
- Hot Glue and Glue Gun
Watch the video tutorial:
Instructions:
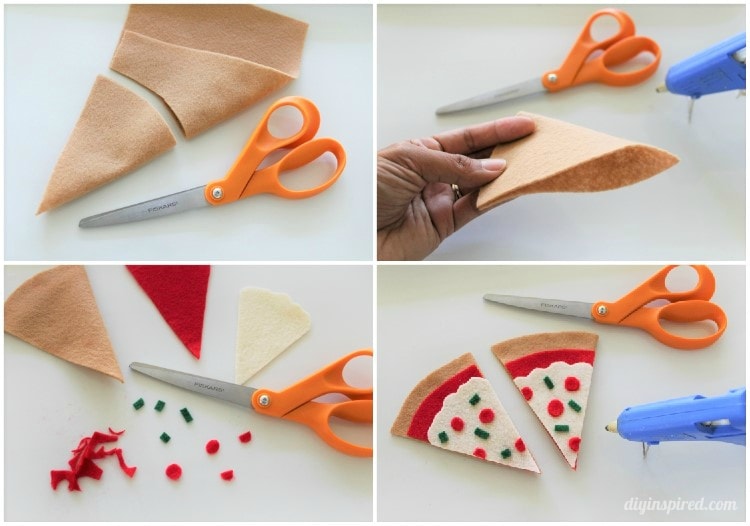
You will need tan, red, cream, and green colored felt. Start with the tan colored felt. If you are working with standard 9X12 inch sheets, cut it in half. Fold over the corner to form a triangular pizza slice. Cut out the slice leaving the fold intact and hot glue the side with the crust. The ergonomic handle of the scissors is sculpted to fit your hand, so you have complete cutting control and comfort, which is perfect for cutting layers of felt.
Next, cut a red triangle as the sauce using the pizza crust as a template and then cut the cream-colored cheese using the sauce triangle as the template. Cut a scalloped edge for the cheese. Cut small green rectangles for green peppers and cut small red circles for pepperoni. Glue and assemble all the pieces together. Be careful not to burn yourself while using the glue gun, especially with these small pieces. If you prefer, you can use fabric glue instead.
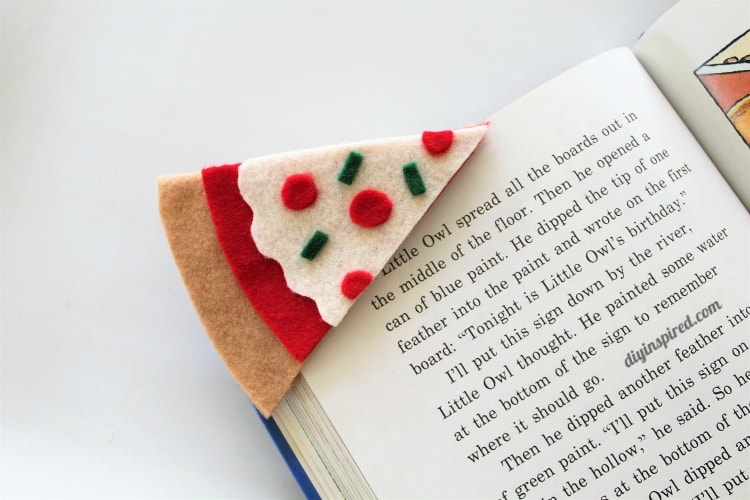
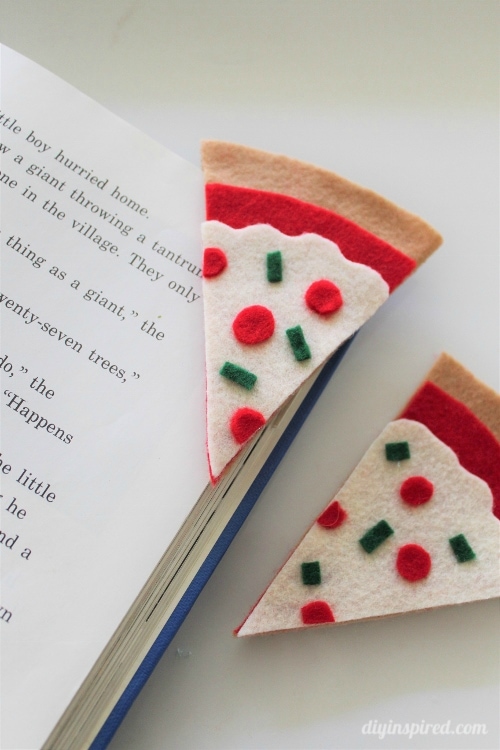
That’s it! Use the flap of the bottom pizza crust to slide over the book pages to mark your spot. You can use it on both the right and left sides of the book. This makes a fun back to school craft for both tweens and adults! Celebrate the 50th anniversary of the The Original Orange-Handled Scissors™ next month with me and make these DIY felt pizza bookmarks for your friends and teachers! Do you have any fond memories of orange handled scissors?
Here are a few of my other back to school craft projects that you might enjoy:
- Washi Tape Crafts Pencils and Notebooks
- Back to School Craft Hand Sanitizers
- Repurposed Baby Wipe Container Pencil Boxes
If you liked this project, be sure to Pin It!




Such cute bookmarks and I have a few pair of Fiskars as well. They are my favorite go-to scissor for crafting especially for cutting fabric. Nice clean cuts every time.
Thanks, Mary Beth! Agree!! I think most of my cutting tools in my craft room are Fiskars.
oh Dinah — these pizza bookmarks are just WAY too aDORable! I’m such a Fiskars fan — both indoors as well as outdoors — from scissors to garden loppers!
I have about 10 pairs (more?) of Fiskars scissors. And there’s nothing like cutting felt with sharp scissors. Like buttah! These are SO cute!! Will have to do this craft with my niece.