DIY Panda Valentine Box
DIY Panda Valentine Box with Free Printable Valentines
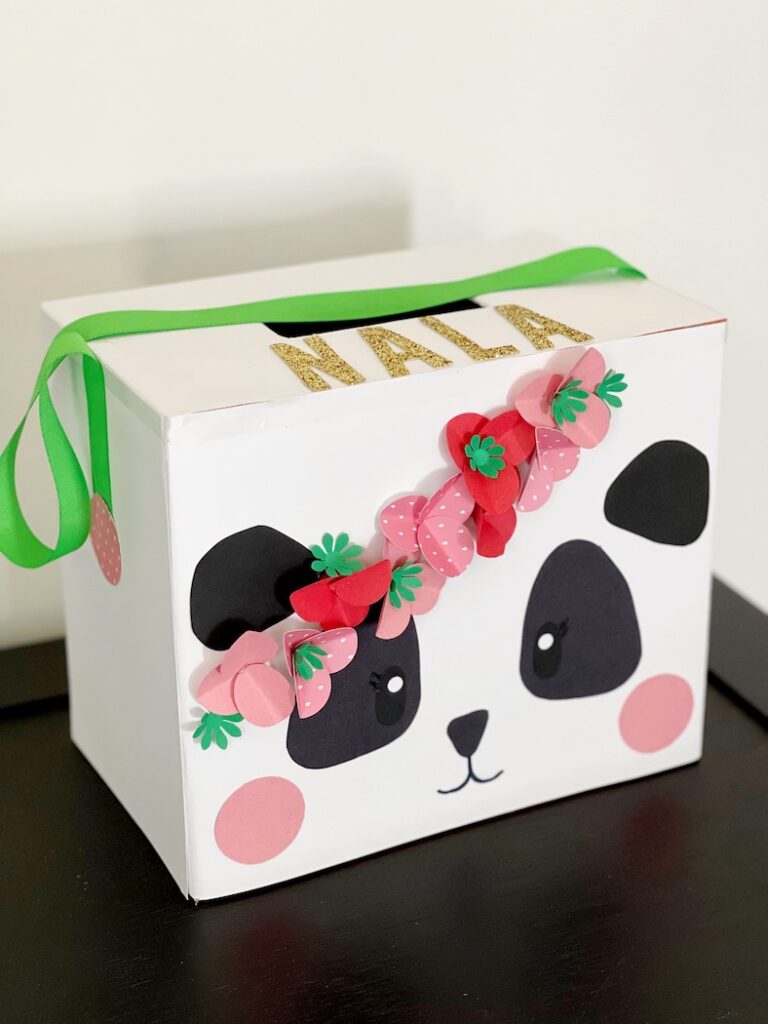
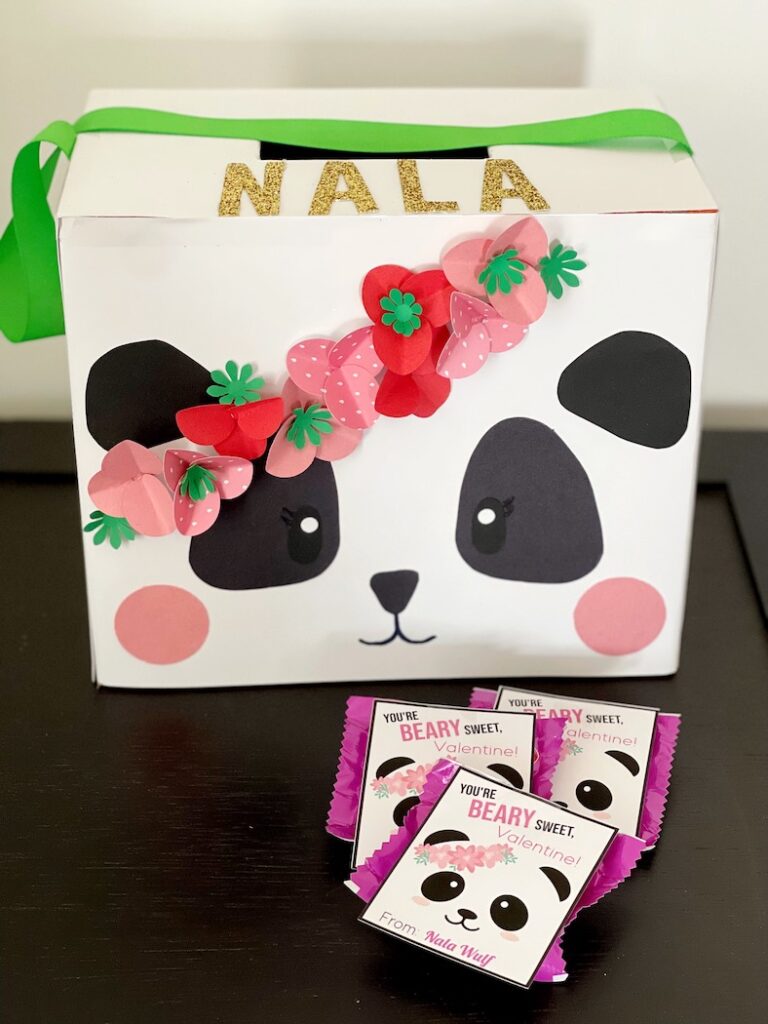
This cute Kawaii inspired DIY panda Valentine box can be made with any size box for Valentine’s Day. With colored paper and a few supplies, this adorable little box will be a hit with your little one. Here is how to make it.
This article will be split into sections to make the instructions easy to follow.
- Cutting the Box
- Covering the Box
- Making the Panda Face and Handle
- How to Make Paper Flowers
- Download the Free Matching Printable Valentine
Watch the Video
Here is a YouTube video for the full tutorial. Scroll down to get the detailed instructions, materials list, and free printable download. The materials list below may contain Amazon affiliate links for recommended products.
Cutting the Box
Materials:
- Medium Box
- Craft Knife
- Scissors
- Straight Edge
- Pencil
- Hot Glue and Glue Gun
Instructions:
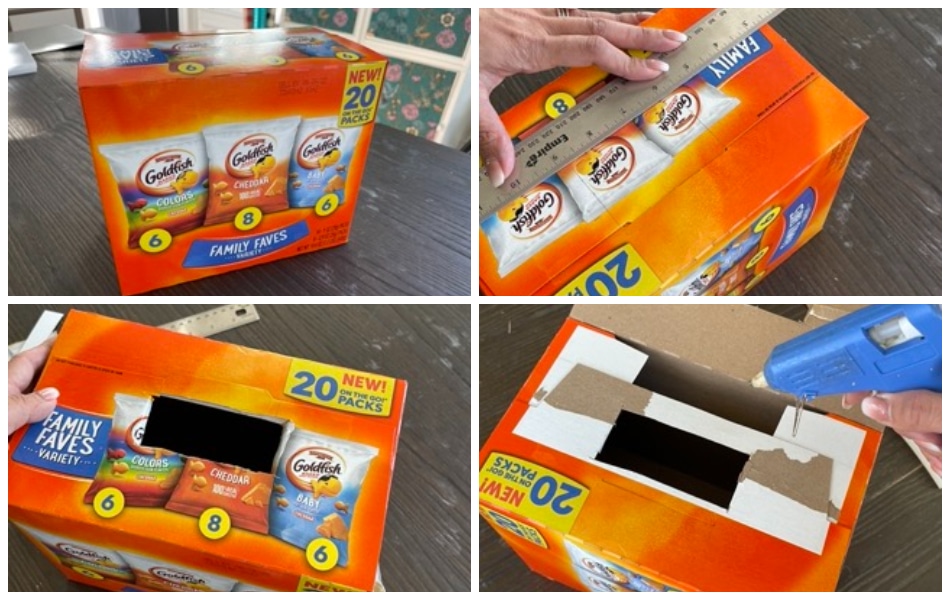
- Decide on the size of the slit. This can vary. It should be long and wide enough to fit standard school Valentines.
- Mark the slit using a straight edge and pencil.
- Cut the area out with a craft or cutting knife. Use scissors to help straighten out the lines. Be sure to cut the inside flap as well.
- Glue the top together using hot glue.
Covering the Box
Materials:
- White Card Stock
- Paper Cutter
(or ruler, scissors, and pencil)
- Ruler
- Glue Stick
- Clear Tape
- Hot Glue and Glue Gun
Instructions:
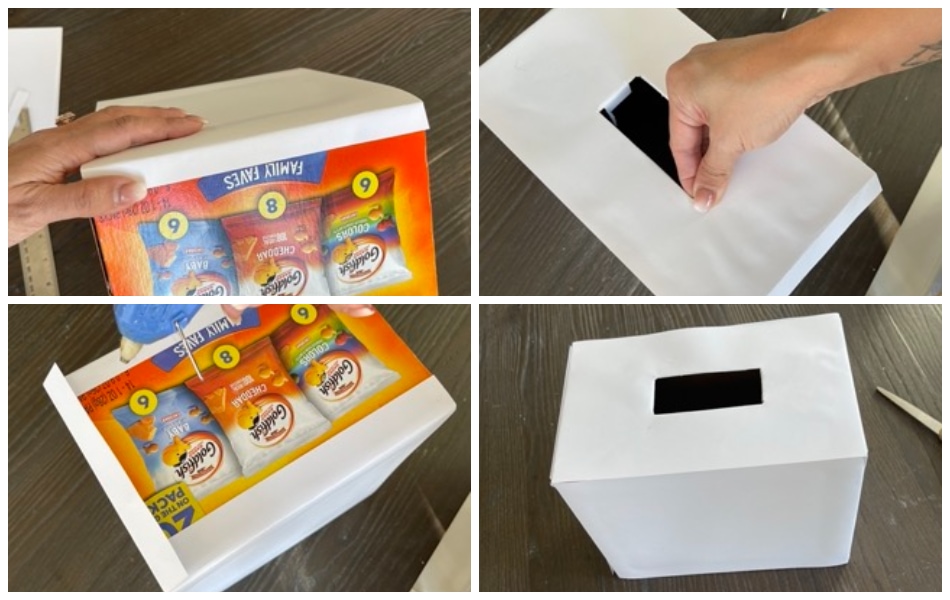
- Measure the height of the four sides and top of the box and cut out paper to size.
- Starting with the larger sides, glue the paper with a glue stick. Next, fold down the overlap and use hot glue to glue down the sides.
- Next place the top piece and cut the slit out. Glue the top down, then glue the overlapping sides. Use tape to tape down unfinished edges of the slit inside the box.
- Next, glue down the two smaller sides of the box.
- If desired, use clear tape to tape down the corner edges of the top of the box.
Making the Panda Face and Handle
Materials:
- Black Cardstock Scraps
- Eyeballs
- Black Construction Paper
- Eyes
- Ears
- Nose
- White Card Stock Scraps
- Irises
- Pink Construction Paper Scraps
- 2” Circle Pinch
(optional)
- Cheeks
- Glue Stick
- Scissors
- Hole Punch
- Black Sharpie or Marker
- Pencil
Tips and Instructions:
- Depending on the size of your box, the size of each piece will vary.
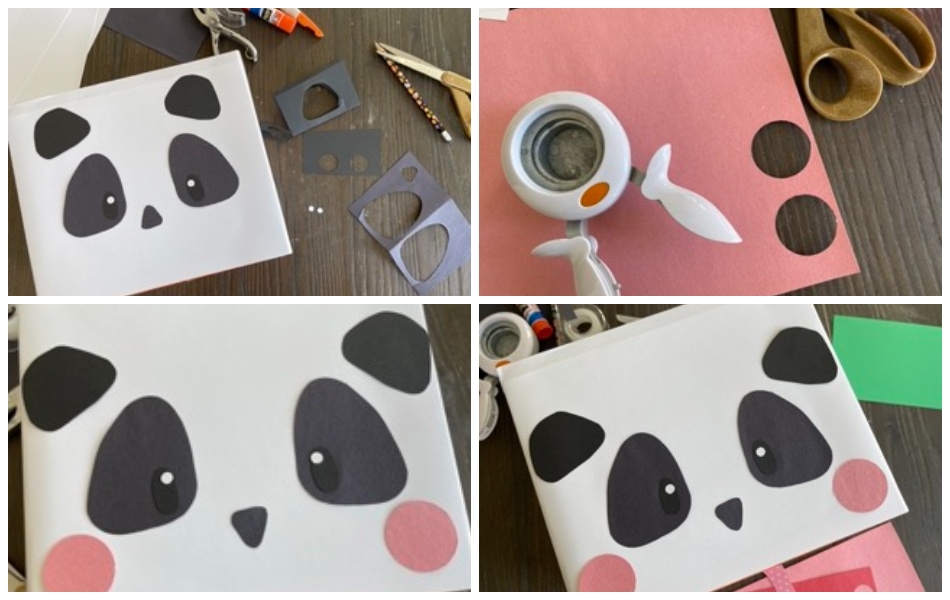
- Use the video and photos as a guide for cutting out the shapes listed above.
- Draw each piece with pencil first, then fold over, and cut out to make two eyes and ears.
- Use a circle punch for the cheeks or trace a circle and cut.
- Use white circles in a hole punch for the irises.
- Position each piece on the “face” (box), then glue once you are satisfied with placement.
- With a black marker, draw the bottom of the nose and eye lashes onto your panda.
- Add a handle with ribbon and hot glue. If desired, add a circle or square piece of decorative paper at the bottom of the handle as a finishing touch.
How to Make Paper Flowers for the Crown
Materials:
- Pink and Red Paper Scraps (patterns are OK)
- 1” Circle Punch
- Hot Glue and Glue Gun
- Small Flower Punch
(or scissors)
- Green Paper Scarps
Tips and Instructions:
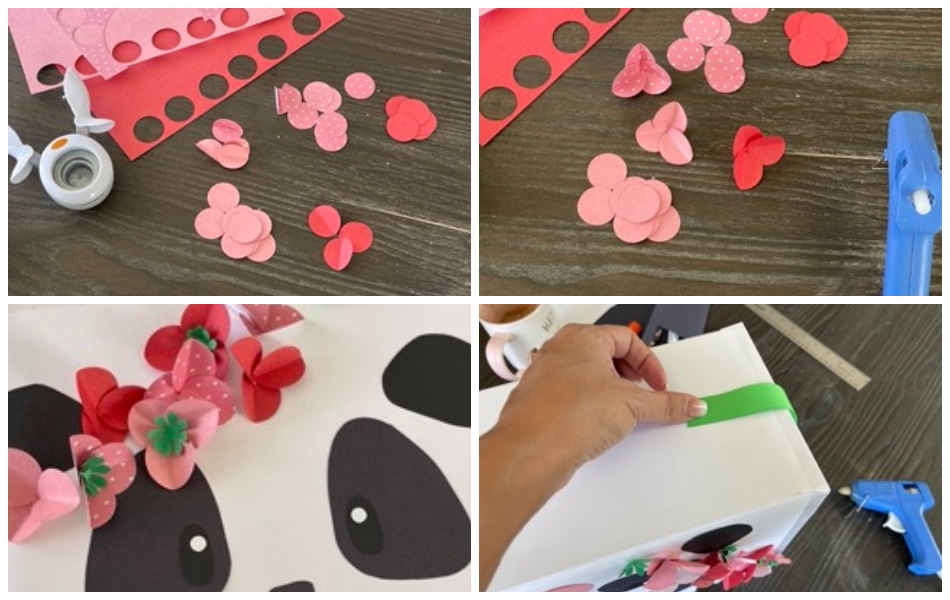
- Each flower needs three circles. If you do not have a circle punch, trace a nickel and cut out.
- Fold each circle in half.
- Place a dab of hot glue at the bottom crease of one petal. Add the other two petals to form a flower.
- If desired, use a small flower punch to make the center of the flower with green paper.
- If you do not have a flower punch, cut a green paper strip and fringe. Roll the strip and then glue it to the center of the flower.
- Place each flower creating a crown on the panda. Once satisfied with placement, glue the flowers on with hot glue.
Download the Free Panda Valentine Printable
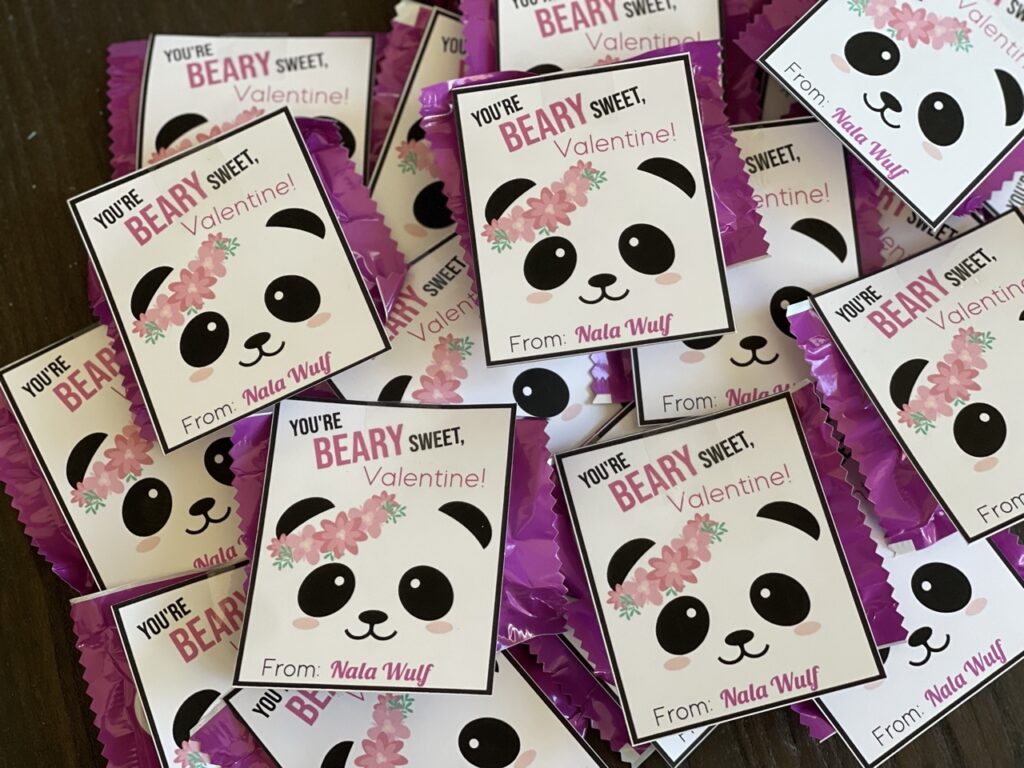
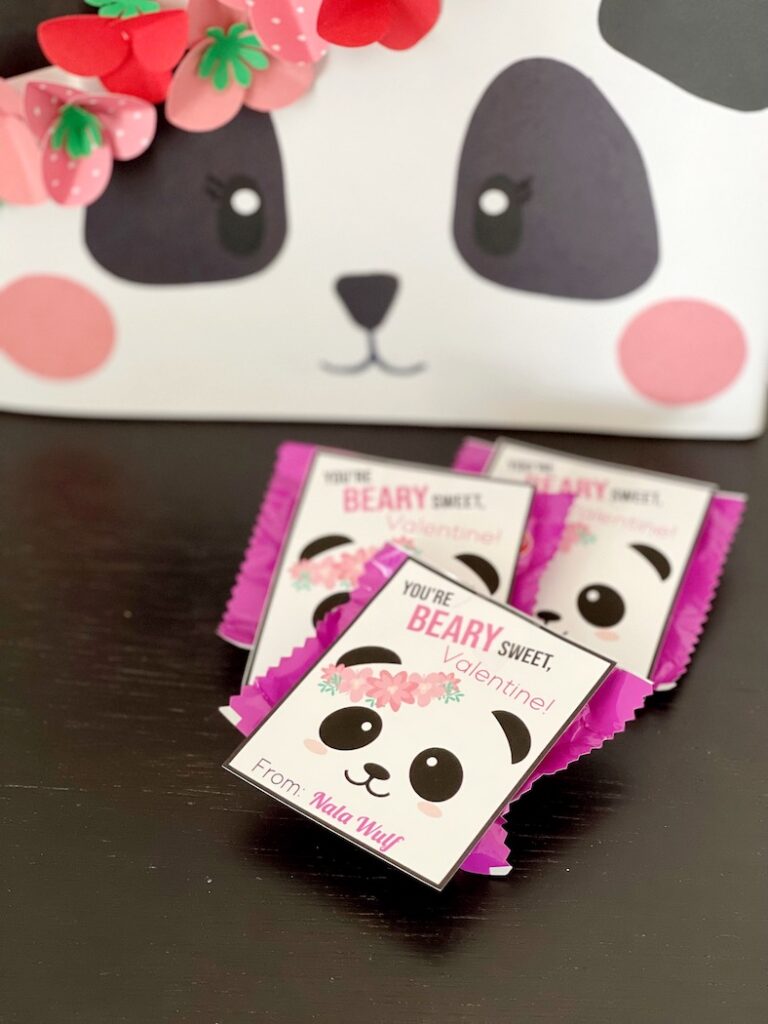
Download free matching panda school Valentines here: Panda Valentine Printable
Simply print and cut. Card stock or heavy weight paper is recommended. Tape the Valentine to a favorite candy.
Enjoy!

