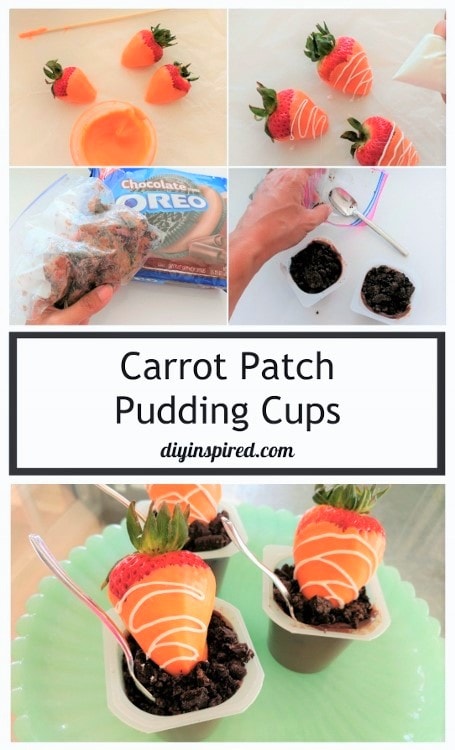
Easy Carrot Patch Pudding Cups
How to Make Carrot Patch Pudding Cups for Spring
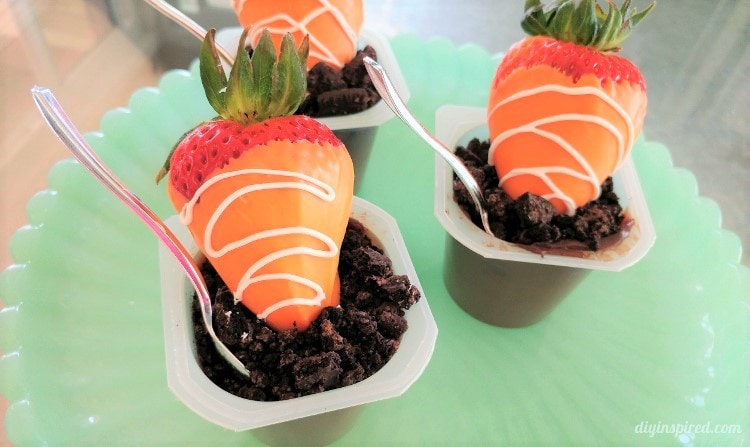
These carrot patch pudding cups are so fun and easy to make with your kids. They are great for a classroom activity or even to serve or bring to a party.
Here’s What you Need
Time: 20-30 Minutes
Materials and Ingredients:
This materials list contains affiliate links to recommended products we use. Commissions for purchases help maintain this blog at no extra cost to you! Thank you in advance!
- Washed and Dry Strawberries
- Chocolate Pudding Cups
- Chocolate Filled Oreo Cookies
- Orange Candy Melts

- White Candy Melts
- Two Microwave Safe Bowls
- Two Ziploc Bags
- Scissors
- Wax Paper
- Skewer
- Spoon


Watch the video:
Be sure to follow us on YouTube for more fun DIY crafts and tutorials.
Instructions:
- Select ripe strawberries with vibrant red color and fresh green leaves. They should be firm, not mushy or overripe.
- Wash the strawberries gently and then dry them completely with paper towels. Any moisture on the strawberries can cause the chocolate to seize and become clumpy.
- Follow the instructions to melt the candy on the bag of the package. Use a small Pyrex ramekin or bowl.
- Dip each strawberry in orange and allow them to dry on wax paper. This will prevent them from sticking and make cleanup easier.
- Hold the strawberry by the leaves or stem as you dip it into the chocolate. This will give you a good grip and keep your fingers clean.Dip each strawberry into the melted chocolate, coating it evenly. Rotate the strawberry as you lift it out of the chocolate to let any excess drip off.
- Fill a small Ziploc bag with the melted white candy, and cut a hole in the corner. Once the orange candy is dry to touch, decorate the strawberry with white zig zag stripes.
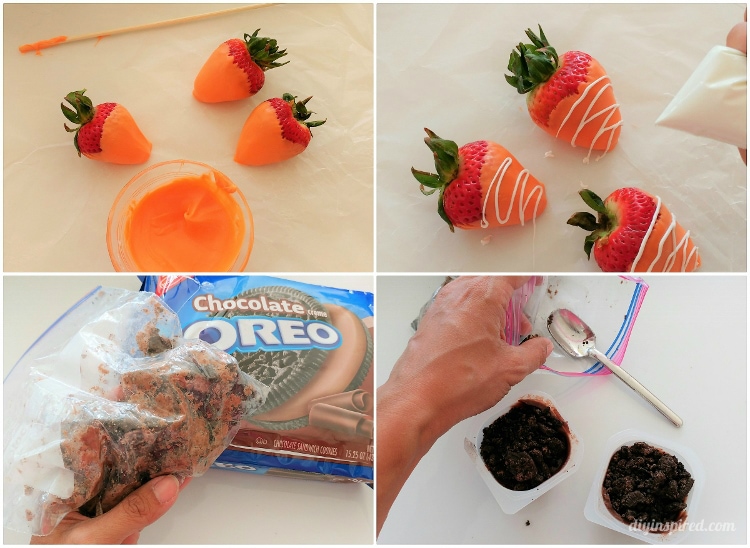
Place the cookies in a Ziploc Bag and crumble them with your hands. Spoon the crumbled cookies on top of the pudding cups.
Before serving, allow the chocolate-covered strawberries to sit at room temperature for a few minutes to take the chill off.
Place a strawberry carrot in each cup. Serve and enjoy! Enjoy them within a day or two for the best taste and texture.
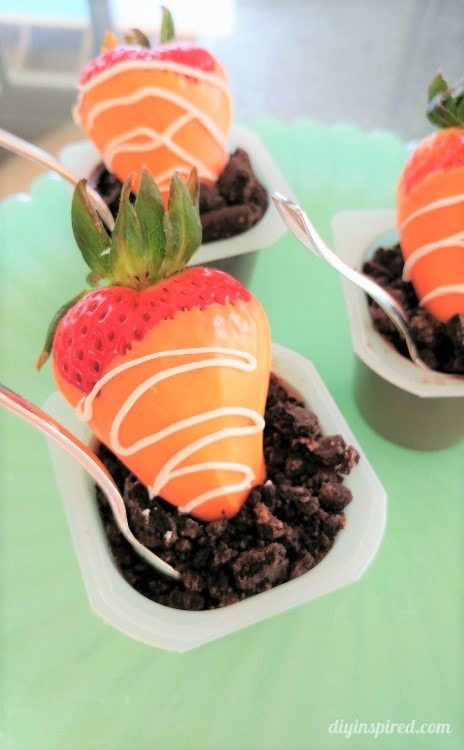
This is not only a great party dessert but it is also a fun and easy activity for a classroom, Girl Scouts, church group, etc.
Be sure to check out more Easter DIY ideas!
Like it? Pin it!
04/17


So cute and simple to make. I would love to make these for Easter brunch for the kids! Thank you for the share 🙂