Halloween Spider Lace Doilies
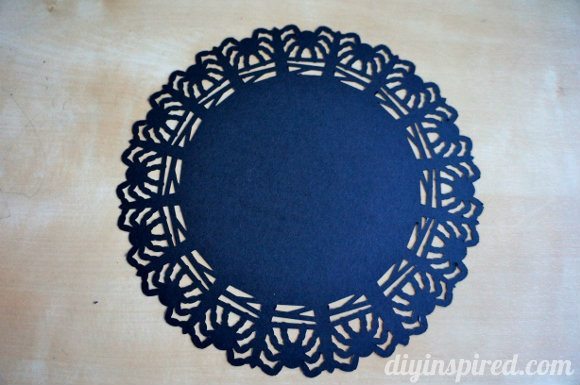
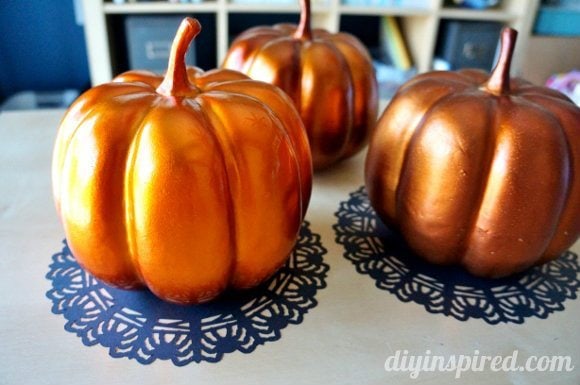
I was so excited when I received this circle edge punch and spider punch in the mail. I took the package out immediately to test it all out. I made the first spider doily and was obsessed. There were a couple tricks I learned so I thought it’d be a good idea to do a quick photo tutorial to show you how to use Martha Stewarts Circle Edge Punch to make Halloween spider lace doilies.
Materials:
- Paper Cutter (or scissors and a straight edge)
- Martha Stewart’s Circle Edge Punch
- Spider Lace Circle Edge Punch
- Black scrapbook paper
- Pencil
- Straight edge
Step One:
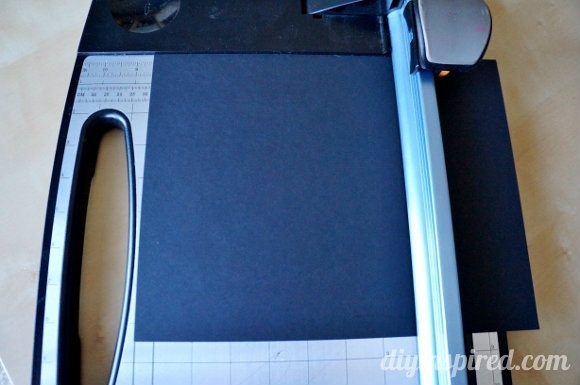
Cut your square into the desired size. I recommend making your paper slightly larger. In this example I used an 8.5”X 8.5” square to make an 8” spider lace doily. You can choose up to size 12.
Step Two:
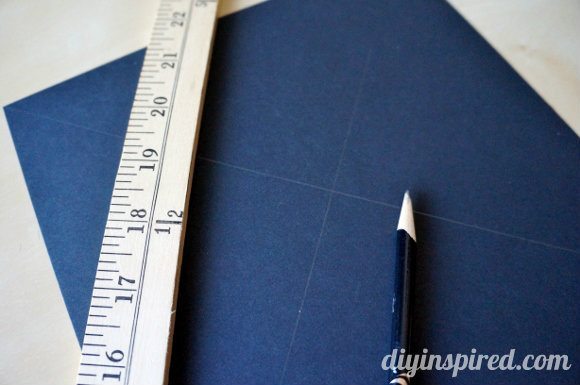
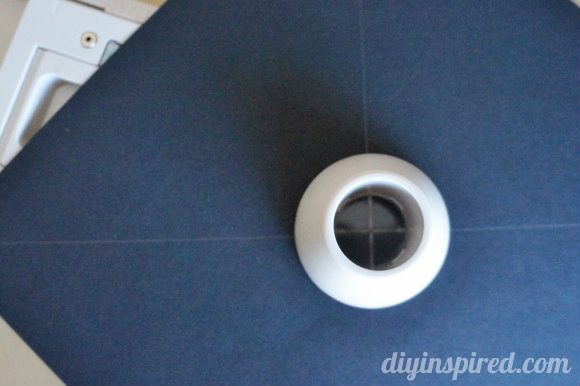
Find the center of your square and mark an “X” with a pencil as shown.
Step Three:
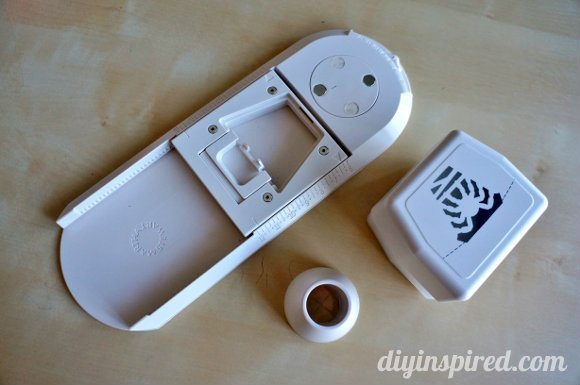
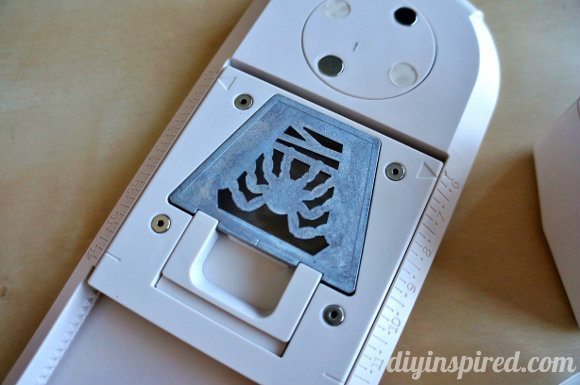
Disassemble your circle edge punch and insert the bottom metal plate for the spider punch into the base.
Step Four:
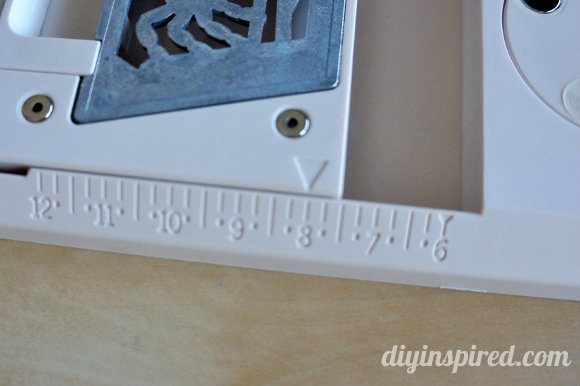
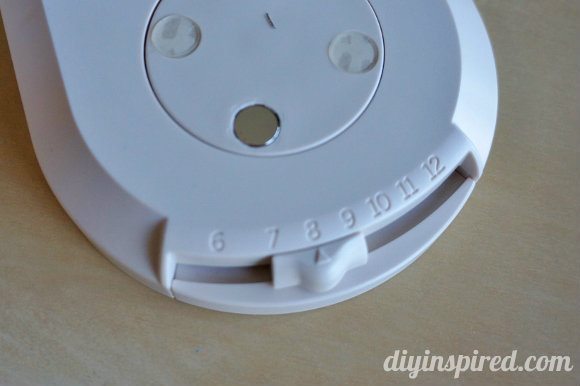
Select the desired size on both sides of the circle edge punch using the measurement switches. I chose 8” for this tutorial.
Step Five:
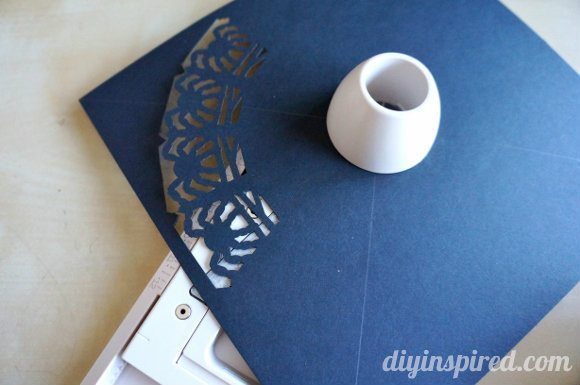
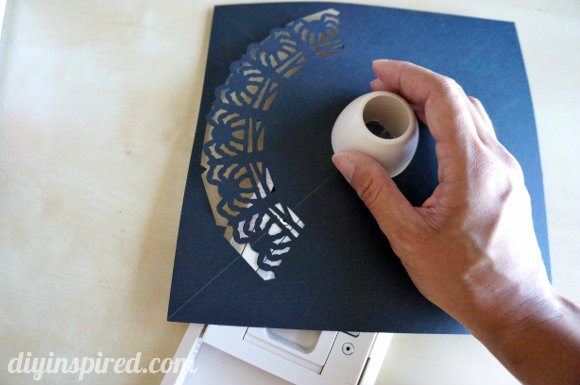
Line up your “X” under the rotating knob from the base. This is probably the hardest part! The magnet will click it in place. I always test a turn of the knob here to make sure the paper is secure.
Step Six:
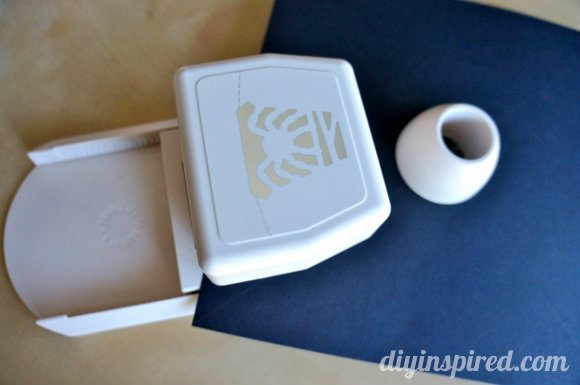
Place the punch cartridge on top of the metal plate. You will feel and hear the magnets click together.
Step Seven:
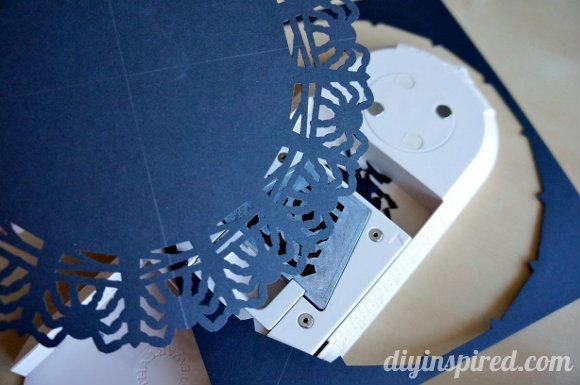
Using both of the palms of your hands, press down firmly on the punch. Rotate the knob and repeat until you complete your spider doily.
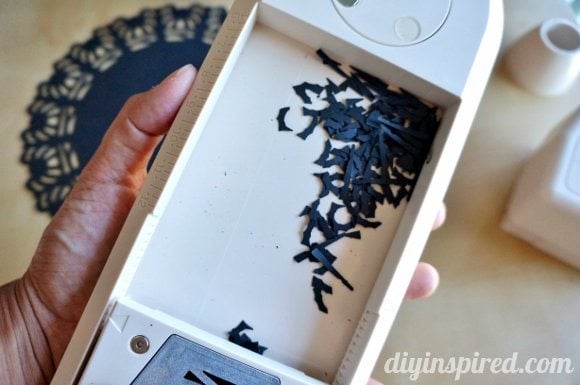
Remove the doily and rotating knob and clean and empty the base.
There you have it! Warning! Once you make one, you won’t be able to stop!





What a great way of making cheap Halloween decorations. Something you can get the children involved with too.
Thank you for sharing your spider lace dollie
Thanks Emma! And thank you for stopping by!