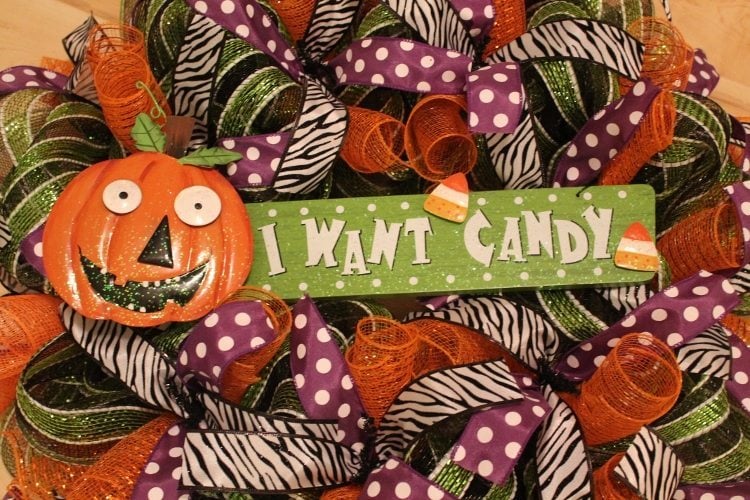
Festive Halloween Mesh Wreath Tutorial

Hey guys! I am Bev and I blog at Round and Round DIY Wreath Ideas, where I craft and share unique DIY wreath ideas. I am thrilled to be here today to share a festive Halloween mesh wreath tutorial.
All it takes to craft this wreath that will spruce up your front door for Halloween are a few simple steps and an inexpensive trip to the craft store. Let’s get started!
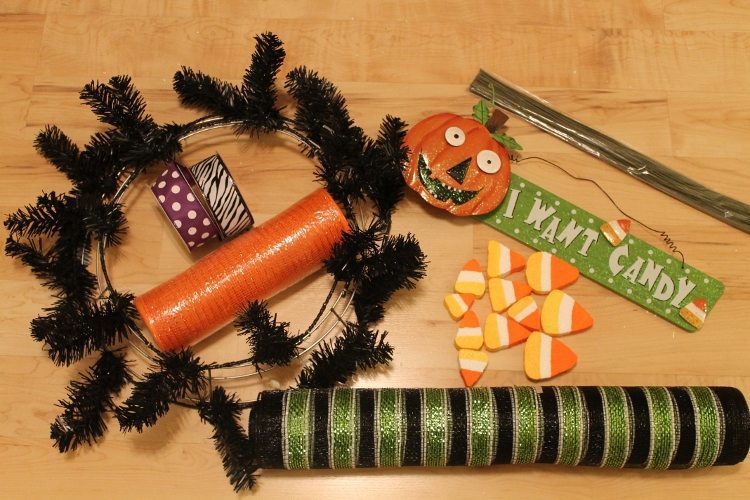
Materials you will need from your local craft store:
- 1 work wreath frame


- 1 roll 21″ deco mesh, green and black stripes
- 1 roll 10″ deco mesh, orange
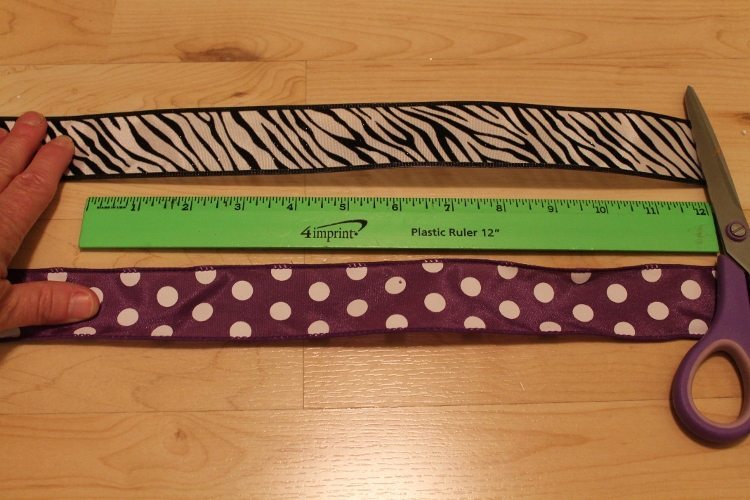
- 1 roll 1 1/2″ ribbon, purple with white polka dots
- 1 roll 1 1/2″ ribbon, white and black zebra print
- Candy corn made from Styrofoam
- Floral stem wire
- Decorative Halloween sign


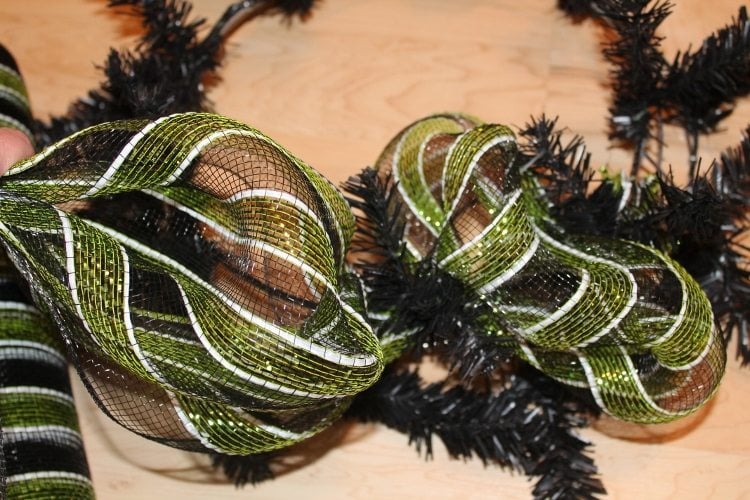
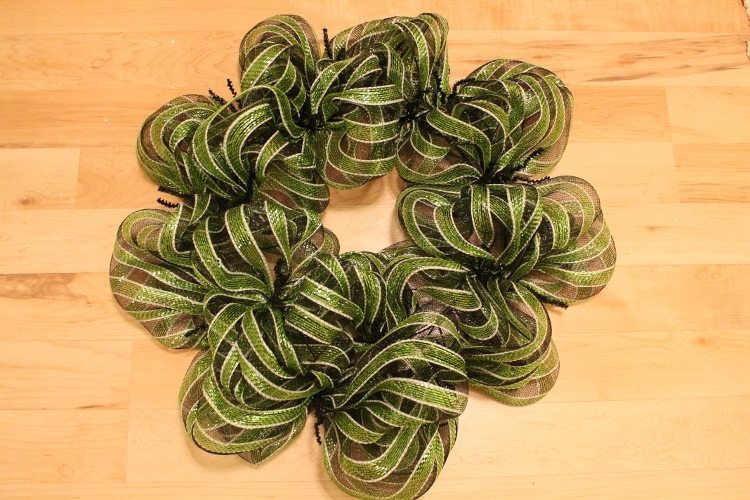
This first step is to add the mesh to the work wreath frame. Begin on the inside ring. Pinch the end of the mesh and secure it to the frame by twisting the wire sprigs on the frame around it. Then continue around, pinching the mesh every 10 to 12 inches and attaching it. Once you have added mesh around the inside ring, move to the outside ring and add it all the way around.
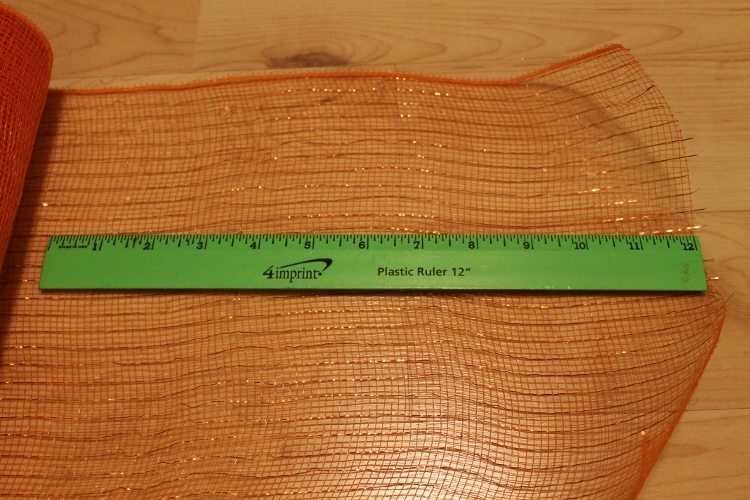
The next layer on this colorful creation is the orange 10″ wide mesh. Cut this mesh in 12″ long pieces. You will need one piece for each wire sprig on the work wreath.
Now take a piece of the mesh and roll it. Take the roll and pinch it in the middle.
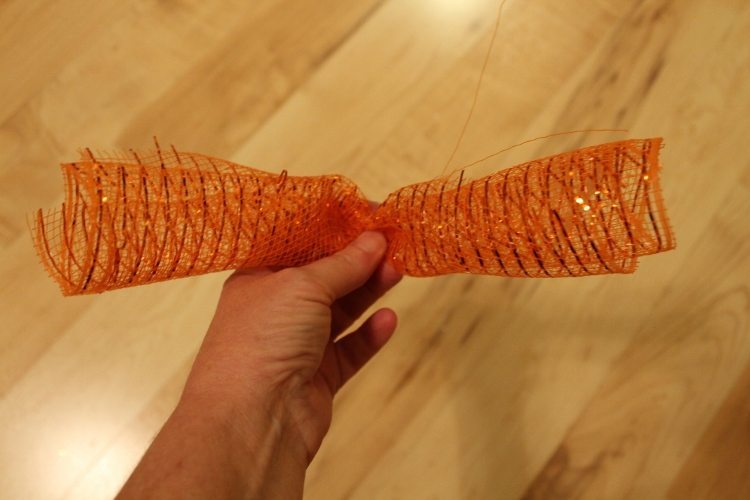
Lay the mesh over one of the wire sprigs and twist the sprig around the pinched area to attach it to the wreath.
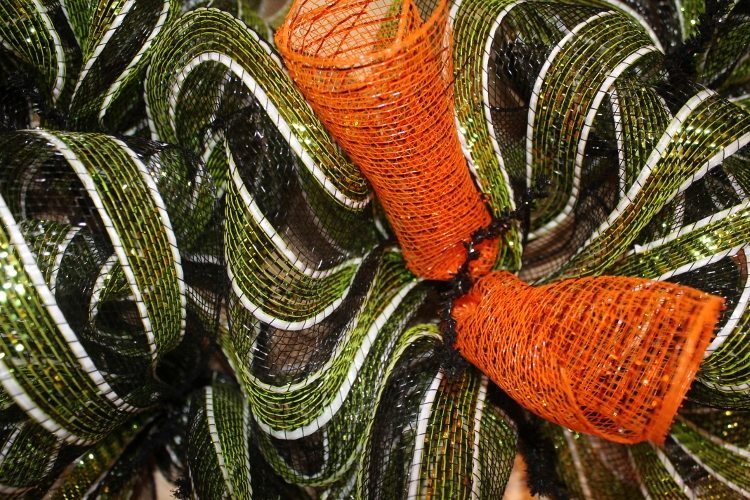
Add one piece of rolled mesh to every wire sprig on the work wreath.
Now it’s time to add color and pattern to the wreath! Cut 12″ strips of each ribbon pattern. Cut enough strips for each wire sprig on the wreath.
Take one of each patterned ribbon and pinch them together in the middle.
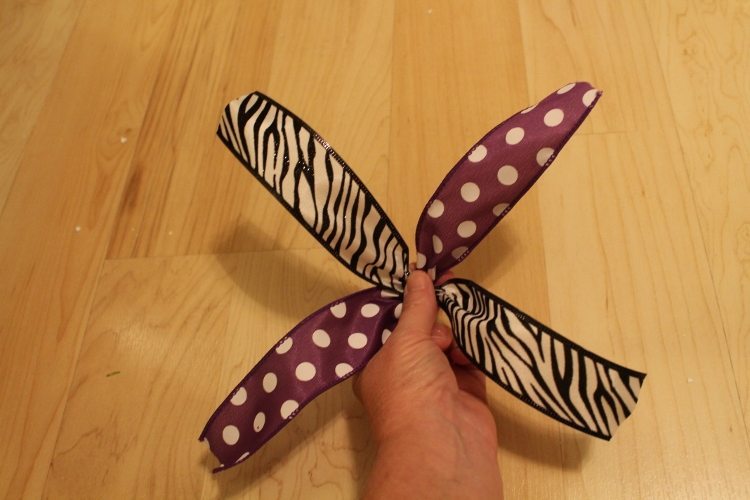
Lay the ribbon over the orange mesh and attach it using the same wire sprig. Remember to always twist the sprigs in the same direction so you don’t undo the mesh underneath.

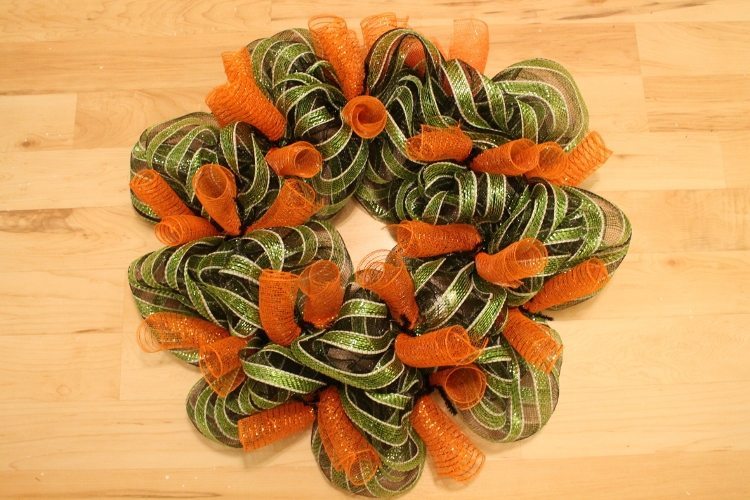
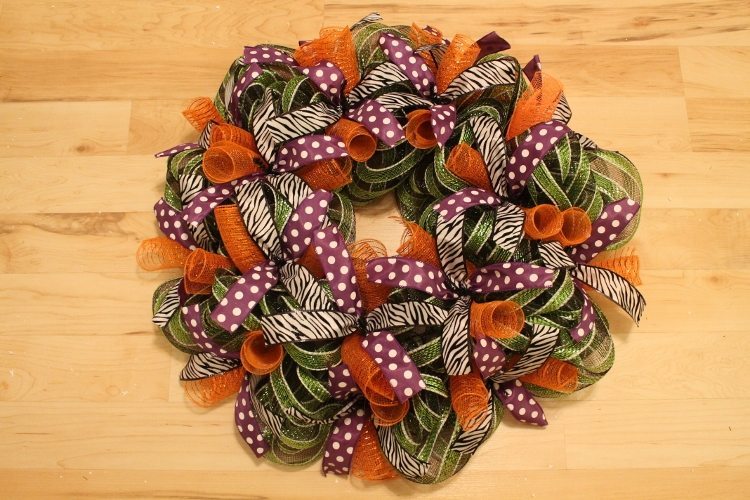
Add ribbon pieces to every wire sprig on the wreath. I love the contrast of color and the mix-match pattern of the ribbon!
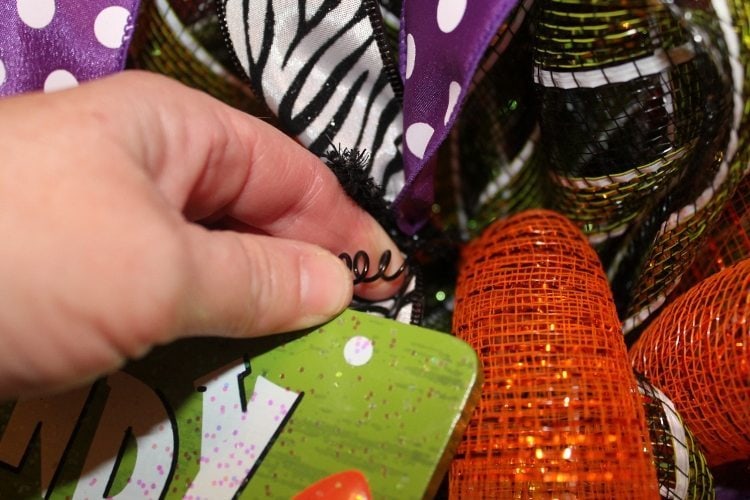
To attach our little sign we will use the wire already attached to the sign. Simply cut it in half using wire cutters.
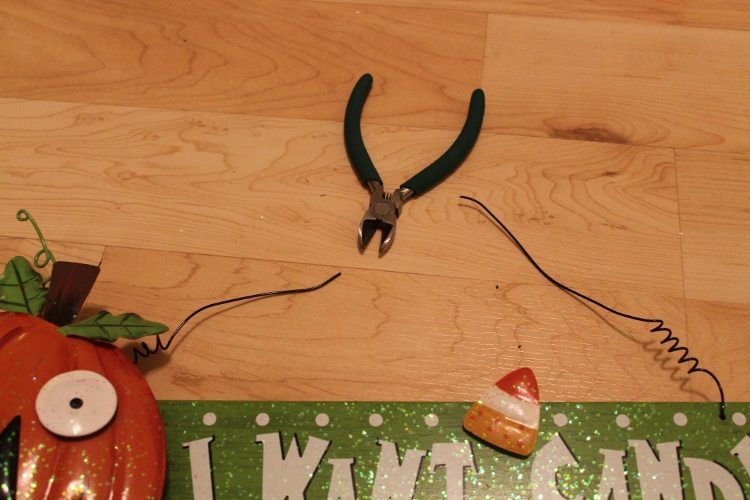
On each side of the sign take the wire and thread it down through the mesh and wrap it around the wire frame of the work wreath.
Finally, let’s add the candy corn! Take the pieces of Styrofoam candy corn and push a floral stem wire up into the bottom. Push the wire in as far as you can without it going all the way through.
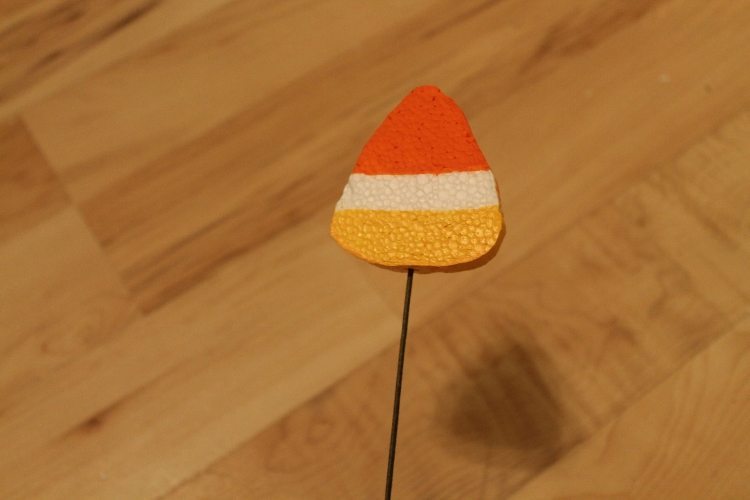
Add a dab of hot glue to the end of the stem and insert it into the mesh. Add as many of the candy corn stems around the wreath as you like. As you can see I added plenty!
Now your festive wreath is ready to hang! Thank you to Dinah for having me and thanks to you guys for following along.
Happy Halloween!
Bev