• Project Gallery
  • DIY
    • Recycled DIY
    • Upcycled DIY
    • Repurposed DIY
    • Refurbished DIY
    • DIY Furniture
    • Repurposed Furniture
    • Thrift Store Transformations
  • Crafts
    • Wood Crafts
    • Paper Crafts
    • Photo Crafts
    • Kids Craft Ideas
    • Doll Crafts
    • Felt Crafts
    • Stenciling
    • Gift Wrapping
    • Printables
  • Party
    • Birthday Party
    • Baby Shower
    • Bridal Shower
    • Wedding
    • Team Sports
    • Sweets and Treats
    • Cocktail Corner
  • Holidays
    • Father’s Day
    • Fourth of July
    • Back to School
    • Halloween
    • Halloween Costumes
    • Thanksgiving
    • Elf on the Shelf
    • Christmas
    • New Years
    • Valentine’s Day
    • St. Patrick’s Day
    • Easter
    • Earth Day
    • Teacher Appreciation
    • Mother’s Day
  • Home & Garden
    • Storage & Organization
    • Cleaning Tips
    • Gardening
    • Makeovers
    • Kid Stuff Makeovers
    • DIY Tips & Tricks
    • DIY Artwork
    • Curb Appeal
  • Health & Beauty
    • Health & Wellness
    • Bath & Body
  • Nav Social Menu

    • Facebook
    • Instagram
    • Pinterest
    • Twitter
    • YouTube

DIY Inspired

Repurpose, Reinvent

  • About
  • Contact
  • Advertising
  • Featured
  • Disclosure

DIY Furniture Trash To Treasure

Wooden Side Table Makeover

Easy DIY Upcycled Furniture Idea: Wooden Side Table Makeover

This article, Wooden Side Table Makeover is sponsored by Mohawk. All opinions are 100% my own.

Wooden Side Table Makeover

One of my best friends moved in to a new place and wanted to change her décor. I spotted this old wooden side table she had and asked her if she needed me to give it a makeover to match her new design. With a little love and a few easy steps, this little wooden side table makeover was a breeze.

Time: 1-2 hours plus dry time

Materials:

  • Sandpaper
  • Mohawk Epoxy Putty Stick
  • Spray Paint
  • Fabric
  • Scissors
  • Rotary Cutter
  • Cutting Mat
  • Measuring Tape
  • Spray Adhesive

Instructions:

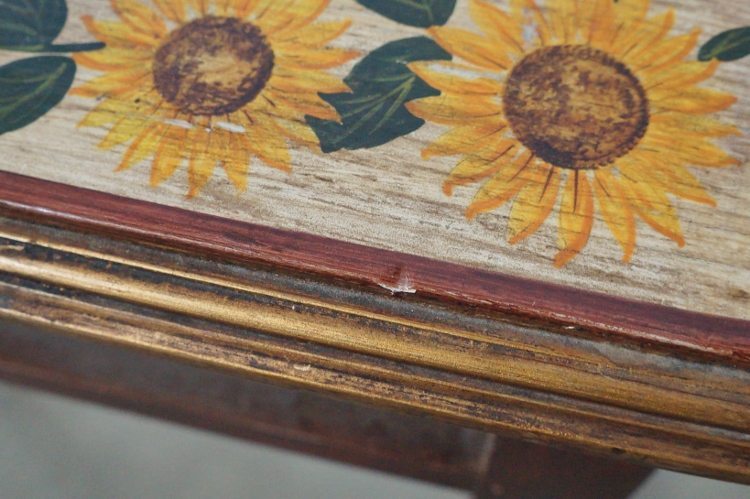
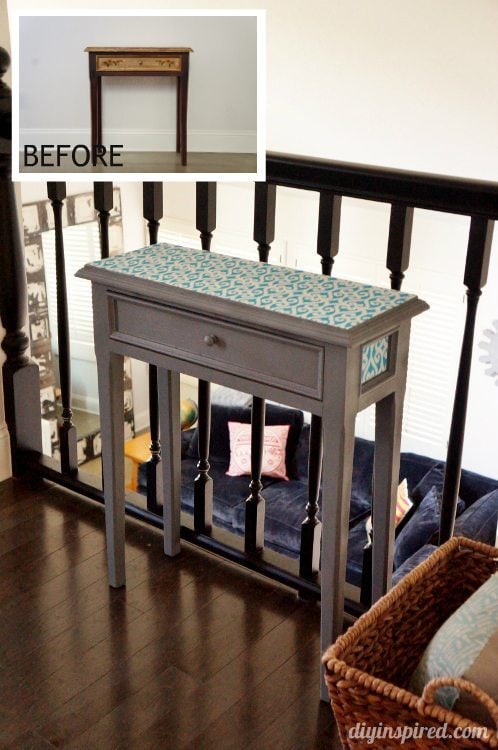
Here is the table before. It had quit a few gauges and scratches.

Wooden Side Table Before

Wooden Side Table Top Before

Wooden Side Table Scratches

Wooden Side Table Damage

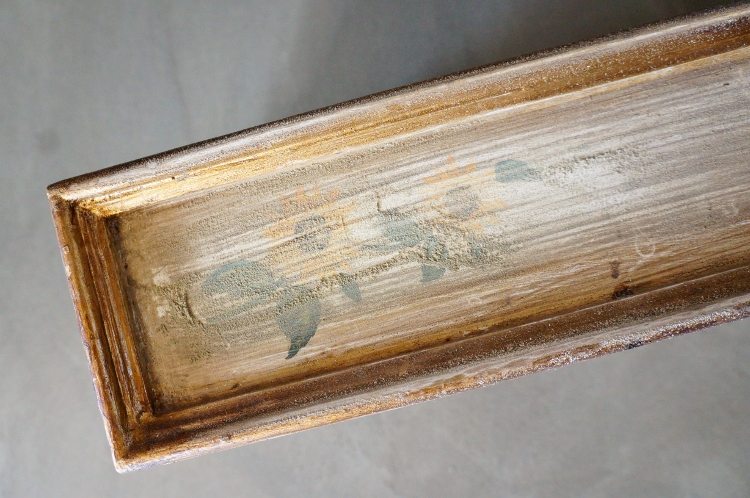
The first thing I did was removed the drawer and lightly sanded down the whole piece.

Wooden Side Table Makeover 120 Grit Sandpaper

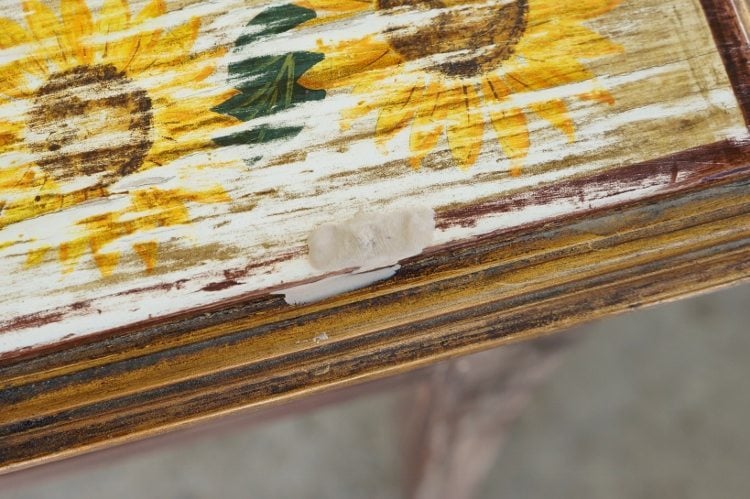
After I cleaned off all dust and debris, I applied Mohawk epoxy putty in all the gauges, cracks, and nicks on the top and legs. The epoxy stick comes in many colors to match your wood, however since I planned on painting over this, I used beige. When applying the putty, knead it with your fingers first and apply a generous amount to the surface that needs repaired.

Wooden Side Table Makeover With Mohawk Epoxy

Wooden Side Table Epoxy

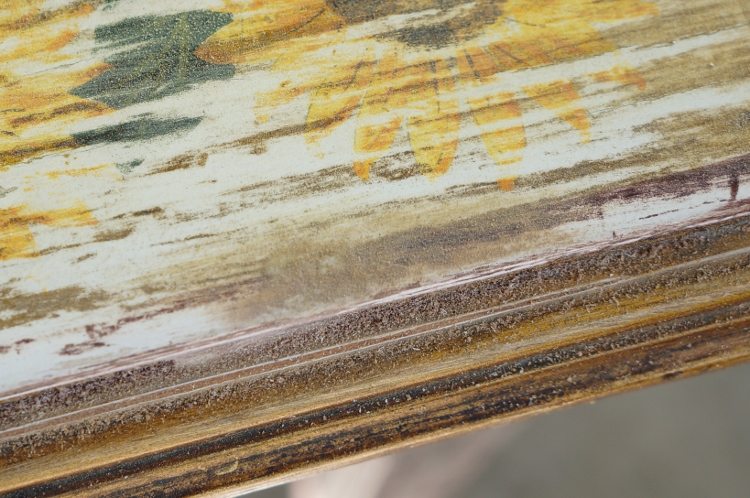
Next I lightly sanded over the puttied areas to create a smooth surface with 120 grit sandpaper.

Wooden Side Table Sanded

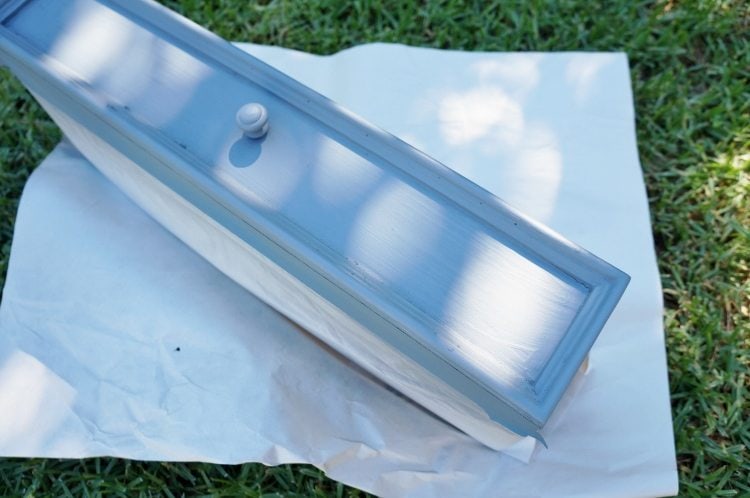
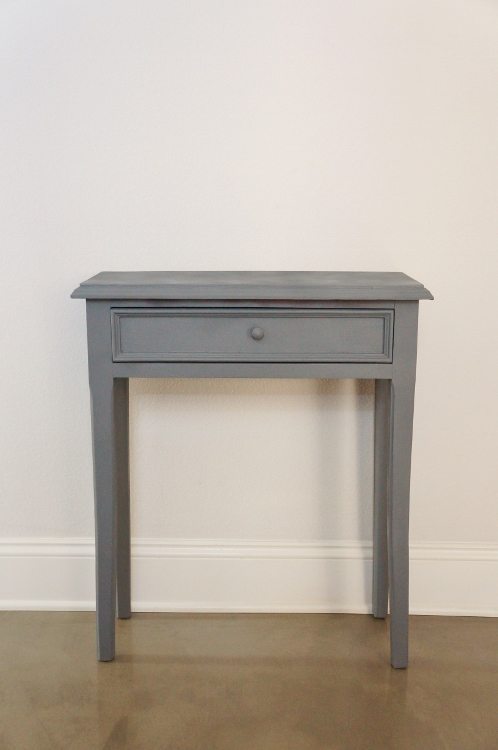
Once I cleaned off the debris and dust, I spray painted the drawer and base with Krylon’s chalkboard slate gray. I did several light coats.

Wooden Side Table Spray Painted

The piece looked nice gray, however after looking at it, I wanted to add a little color and pattern to match my friend’s décor.

Wooden Side Table Painted

I measured and cut fabric to fit the top of the table as well as the sides. A rotary cutter to cut the fabric is a ideal for this piece.

Wooden Side Table Fabric Cover

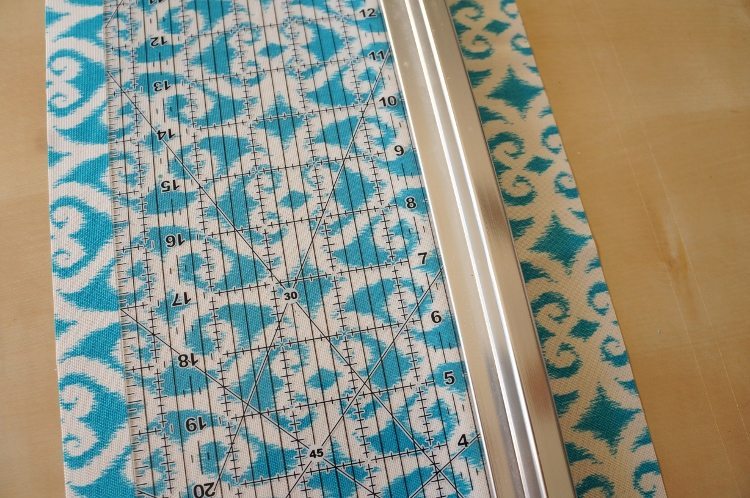
I used spray adhesive to attach the fabric.

Fabric Top Side Table

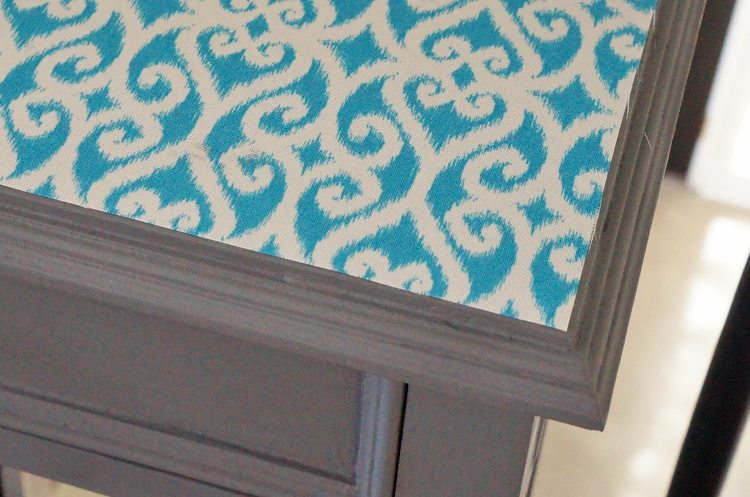
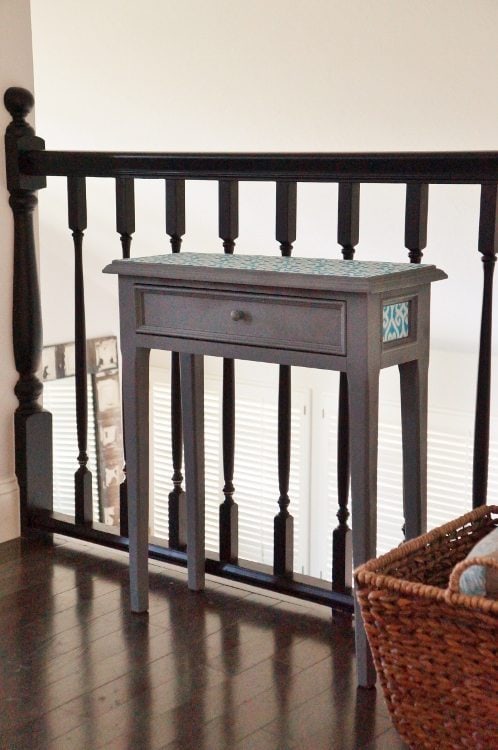
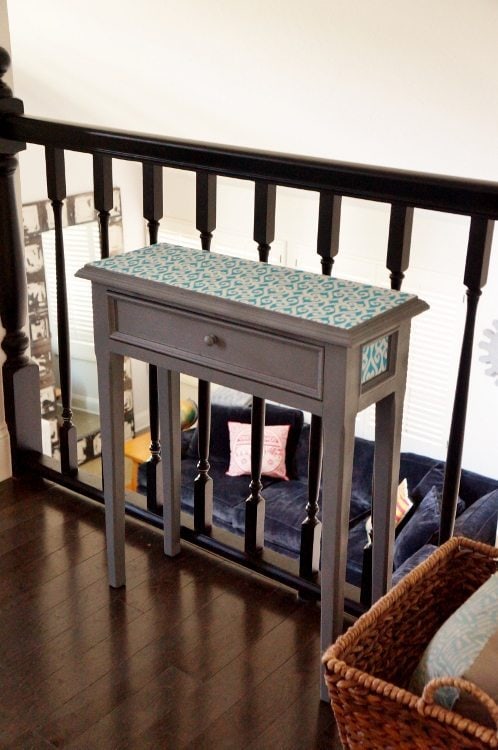
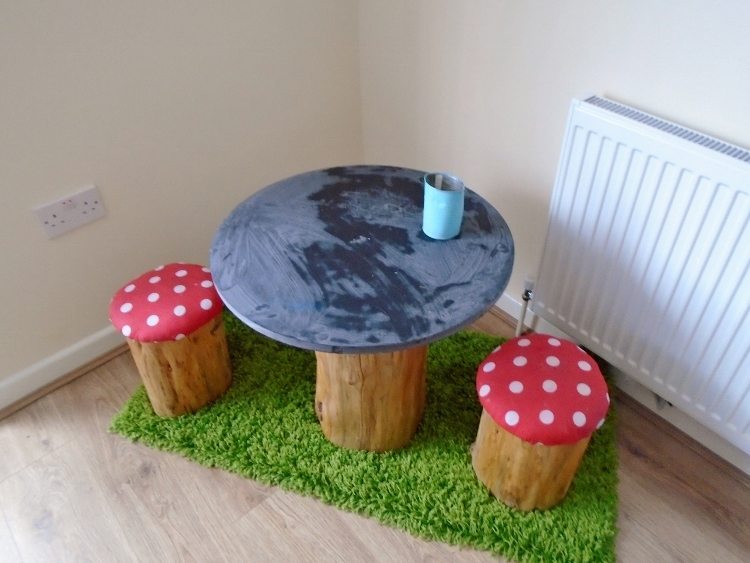
Here are a few AFTER photos.

Wooden Side Table Upcycle

Wooden Side Table Makeover After

Wooden Side Table Makeover DIY Inspired

Check out my guide for why you should buy furniture secondhand. It also includes a list of trash to treasure project ideas.

Thank you to Mohawk for sponsoring this post. Be sure to check out all their products for your wood, fabric, and leather DIY projects including touch ups, polish, cleaner, and more.

Wooden Side Table Makeover Before and After

You May Also Like:

  • How to Choose Sandpaper Grit
  • How to Pick and Apply Paints
  • Upholstered Bench Makeover
  • Kid’s Upcycled Bench
  • Share
  • Twitter


23 Comments

Join our Community of Crafters!

Stay updated and never miss a thing!

Disclosure and Privacy Policy
Previous Post: « Festive Halloween Mesh Wreath Tutorial
Next Post: Over 75 Elf on the Shelf Ideas »

Reader Interactions

Comments

  1. T Berokoff says

    October 28, 2015 at 8:08 am

    Did you put any finish spray over the fabric?

    Reply
    • Dinah Wulf says

      October 28, 2015 at 8:59 am

      I did not. This piece is more decorative so I don’t think it’ll get a lot of “traffic”.

      Reply
  2. Sharon Garofalow says

    October 28, 2015 at 9:33 am

    So cute! I always think I need to buy new pieces but I really should think about giving my pieces a little makeover!! Love how this turned out!

    Reply
    • Dinah Wulf says

      October 28, 2015 at 10:26 am

      Thanks, Sharon! It was a lot of fun.

      Reply
  3. linda(burlap+blue) says

    October 28, 2015 at 1:47 pm

    This is AMAZING! Love the pop of color and pattern!

    Reply
    • Dinah Wulf says

      October 28, 2015 at 4:44 pm

      Thank you Linda! My best friend wanted gray and teal. I thought it worked out nicely!

      Reply
  4. Kat@Home. Made. Interest. says

    October 28, 2015 at 2:33 pm

    Love this simple refresh. Using fabric on top was a great idea.

    Reply
    • Dinah Wulf says

      October 28, 2015 at 4:45 pm

      Thank you, Kat! I’ve made a few fabric lined projects before and it is surprisingly durable!

      Reply
  5. Jenna says

    October 29, 2015 at 4:07 am

    Awesome makeover! That little putty stick looks so handy!

    Reply
    • Dinah Wulf says

      October 29, 2015 at 7:25 am

      Thank you, Jenna! It is much easier because it’s compact. You don’t get your fingernails dirty either because it’s a stick versus a tub.

      Reply
  6. sarah says

    October 29, 2015 at 7:21 am

    I love what you did with this little side table! The putty stick looks so much easier to work with than my tub of putty. I can’t wait to give it a try.

    Reply
    • Dinah Wulf says

      October 29, 2015 at 7:25 am

      Thank you, Sarah for stopping by! Yes! The stick is WAY better than a tub, and easier to store.

      Reply
  7. Amy Anderson says

    November 1, 2015 at 4:14 pm

    What a beautiful makeover!

    Reply
    • Dinah Wulf says

      November 2, 2015 at 10:29 am

      Thank you, Amy!!

      Reply
  8. Audra @ Renewed Projects says

    December 14, 2015 at 6:53 am

    Awesome makeover!Love the fresh new look.

    Reply
    • Dinah Wulf says

      December 14, 2015 at 9:05 am

      Thank you so much, Audra!

      Reply
  9. Pauline Molinari says

    December 17, 2015 at 11:12 am

    I love how your table turned out! The colors are fab! Thanks for sharing your crafty inspiration on this week’s Monday Funday Party!

    Reply
  10. Rebecca says

    December 18, 2015 at 9:23 am

    Very nice makeover, and the table looks like it goes with her decor perfectly. I love the pop of color the fabric gives.

    Reply
    • Dinah Wulf says

      December 18, 2015 at 9:24 am

      Thank you, Rebecca! It was so plain without the fabric I had to do something! 🙂

      Reply
  11. Connie Creatively Renewed says

    December 18, 2015 at 1:56 pm

    Love the way this came out. I have a few pieces to refurbish and this gives me inspiration.

    Reply
    • Dinah Wulf says

      December 19, 2015 at 7:26 am

      Thank you so much, Connie! I’m ready for some new ones. Thanks for stopping by!

      Reply
  12. Erlene says

    January 3, 2016 at 7:06 pm

    What a great makeover! I’ve never heard of Epoxy putty stick, so learned something new. Hope you can come and share on Merry Monday again.

    Reply
    • Dinah Wulf says

      January 4, 2016 at 8:47 am

      Thank you, Erlene! I will!!

      Reply

Leave a Reply Cancel reply

Your email address will not be published. Required fields are marked *

This site uses Akismet to reduce spam. Learn how your comment data is processed.

Primary Sidebar

Welcome!

DIY Inspired Profile Picture 2015Thank you for visiting! I'm Dinah and I'm honored to have had an exciting career in blogging over the last 11 years. {Read more about me here}

Join our Community of Crafters!

Stay updated and never miss a thing!

Disclosure and Privacy Policy

Stay updated and never miss a thing!

Footer

You might also love these

DIY Classroom Mobile Phone Holder

Classroom Smart Phone Drop Station

How to Make Cotton Stems

DIY Fabric Covered Switchplates

DIY White and Gold Nightstands

Over Ten Years of Do-It-Yourself Inspiration

DIY Paper Flower Party Decor

Accordion Flowers How To

Copyright © 2022 · Divine theme by Restored 316

Copyright © 2005–2022 DIY Inspired. Installed and customized by TCN Design Studio