How to Melt Crayons with a Torch
How to Melt Crayons with a Torch to Make New Fun Shapes
This article, How to Melt Crayons with a Torch, is sponsored by Bernzomatic®. All opinions are 100% my own.
Since the kids and I are staying at home all day, we are getting more and more creative. Our love for crafting as well as our desire to try new things has led us to this fun way to upcycle some old crayons. Every year, the school supply buying list requires a new box of crayons. That means, last years crayons get stuffed in a drawer. This fun craft project helps give those old forgotten crayons new life.
Sure, you can always melt crayons in an oven, however using a Bernzomatic ST2200T torch is WAY more fun. Plus, you can make smaller shapes, which would otherwise be too difficult to melt in an oven. With adult supervision, this is also a great craft for older kids.
Watch the How to Melt Crayons with a Torch Video
Watch us in action as the three of us, make all different types of shapes from doughnuts to dinosaurs. Also, if you like the little Krayon Kreme doughnut box in the video, after you watch, keep scrolling to get your free printable download.
Here’s What You Need
Time: 30-60 Minutes
Materials
- Old Crayons
- Tongs
- Metal Cookie Sheet
- Silicone Molds
- Bernzomatic ST2200T
- Bernzomatic Butane
- FREE Krayon Kreme Doughnut Box Printable
Instructions
Remove all paper from the crayons.

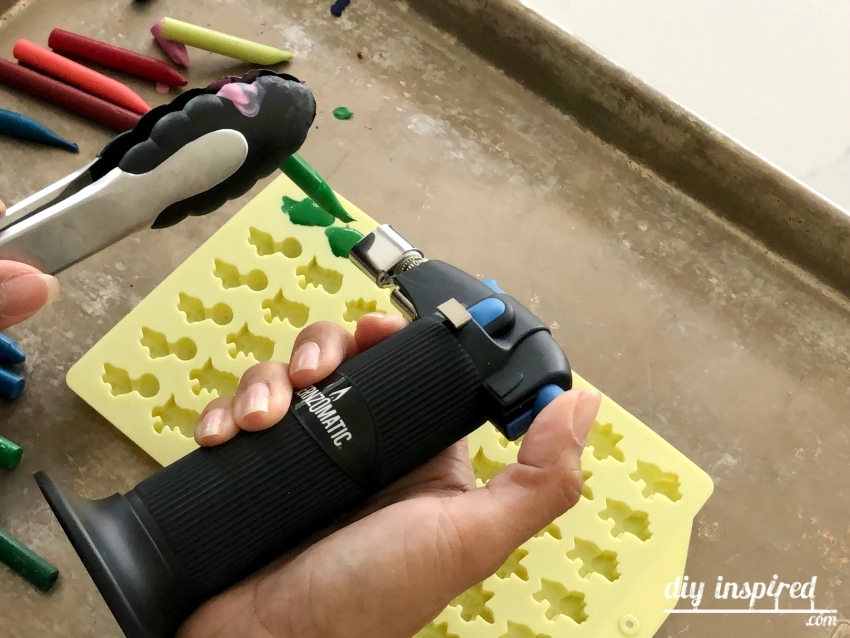
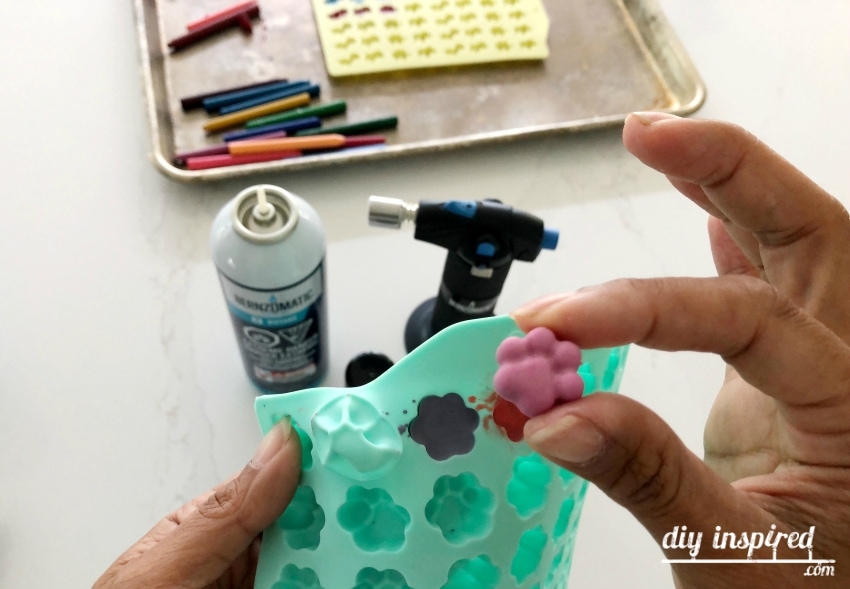
Place the silicone mold on top of a metal cookie sheet to protect your work surface. Fill your Bernzomatic ST2200T with Bernzomatic Butane. Here is an Amazon Affiliate link for the BPA free silicone molds I used in this tutorial.

Grab the end of a crayon with a pair of tongs in one hand and ignite the torch in the other hand. Hold the tip of the crayon about 2-3 inches directly above the mold and allow the crayon to drip into the mold until it is full.
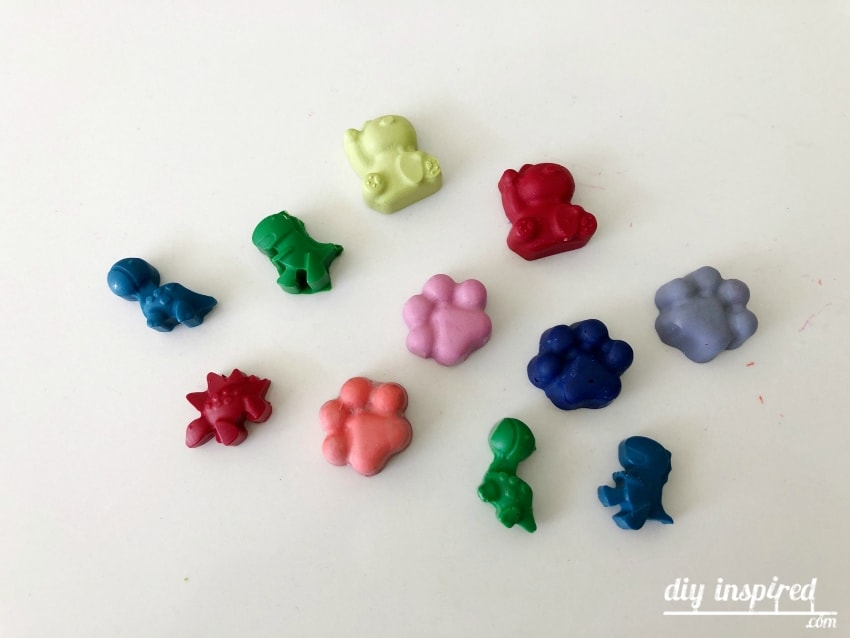
Allow the crayons to dry completely, about 10-15 minutes (depending on the size of the mold). Once the crayon is dry, remove it from the mold. They will easily pop out.
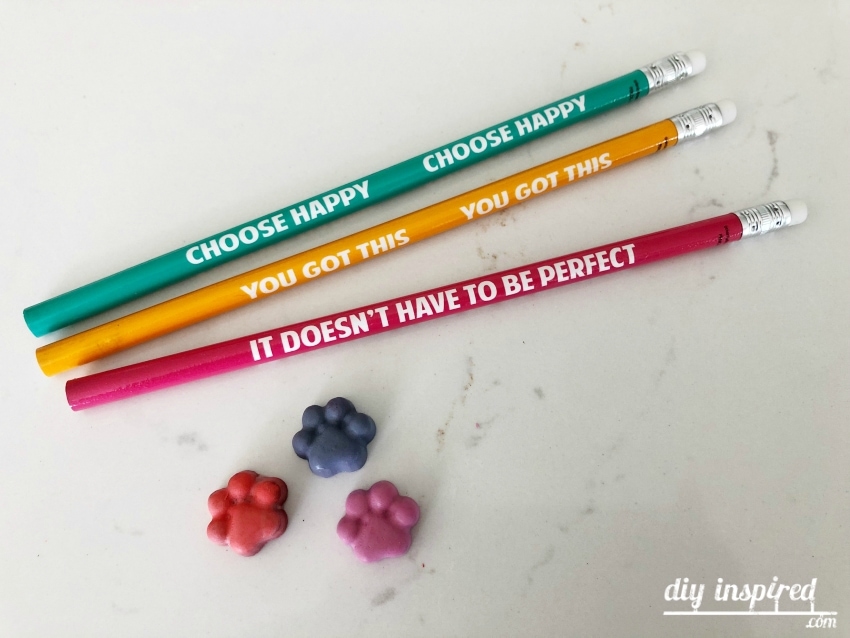
We made little dinosaurs, animal paw prints, and doughnuts!
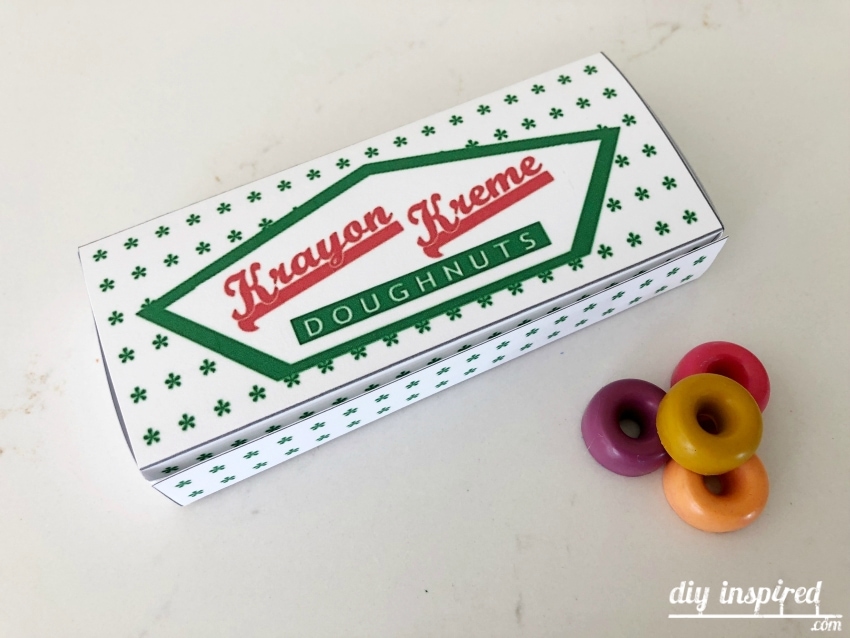
Get Your FREE Printable Doughnut Box Template
The first thing my daughter Mia said after she made the doughnut crayons was, “I need a doughnut box for these!” Per her request, I made this adorable little Krayon Kreme box for you to print, cut, and fold.
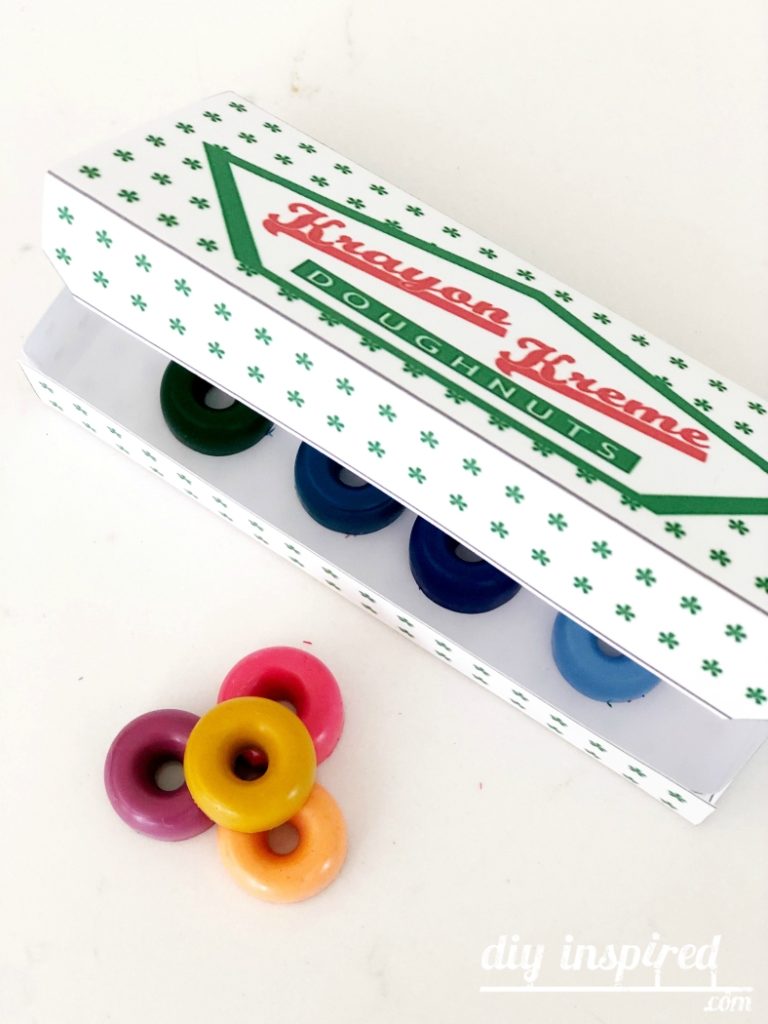
Simply cut along the outer edge, fold along the lines, and use tape or glue to hold it together.
Get it Here: FREE Printable Doughnut Box Template
You can use these as party favors or class gifts, or even as a cute gift for teachers and friends at the end of the school year. My girls thought these new shapes were more fun to use than regular crayons. I hope you try it!
Need More Creative Torch Projects?
Before you go check out my post, Clever Ways to Use a Torch Including 14 Unique Projects, and watch the YouTube video below!