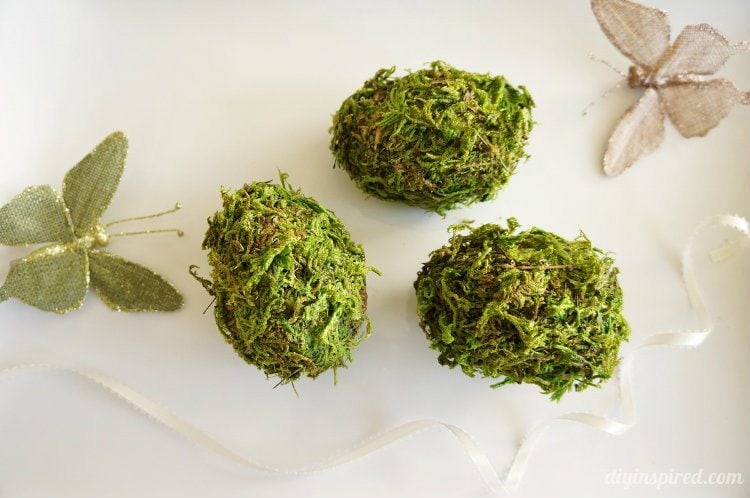
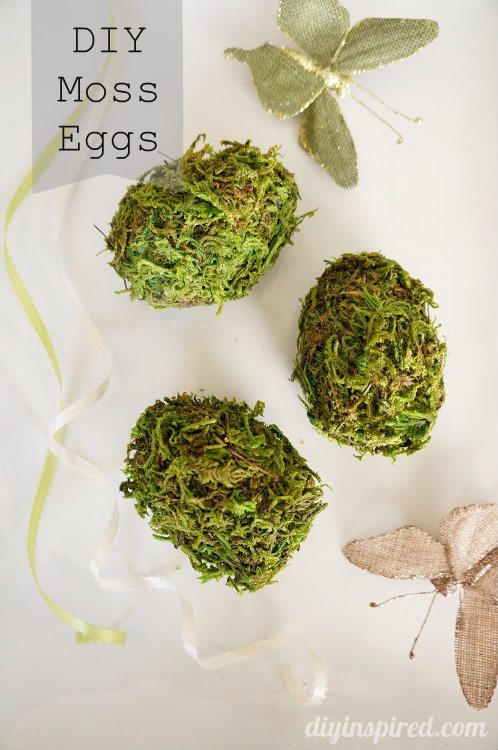
Tips for Making DIY Moss Eggs
Tips for Making DIY Moss Eggs Out of Plastic Easter Eggs
OK, so this project is easy, BUT I realized that after making a few of these, there are some tips to consider when making these moss eggs because it’s messy and at times a little frustrating because the moss sticks to your hands. So, here are my tips for turning these ordinary plastic eggs into moss eggs.
Time: 30 Minutes (plus dry time)
Materials:
This materials list contains Amazon Affiliate links for recommended products.
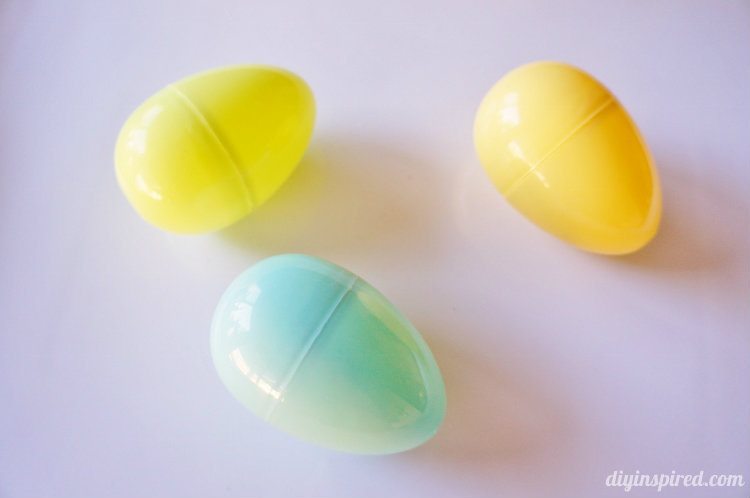
- Plastic Easter Eggs

- White Glue
- Foam Brush
- Moss


So this seems pretty self-explanatory to make, and they are, but with these tips it’ll definitely make this project a little simpler.
Tip #1:
Glue the plastic eggs together. You don’t have to wait for them to dry, but if you do not glue them together, they may come a part as you are putting the moss on.
Tips #2:
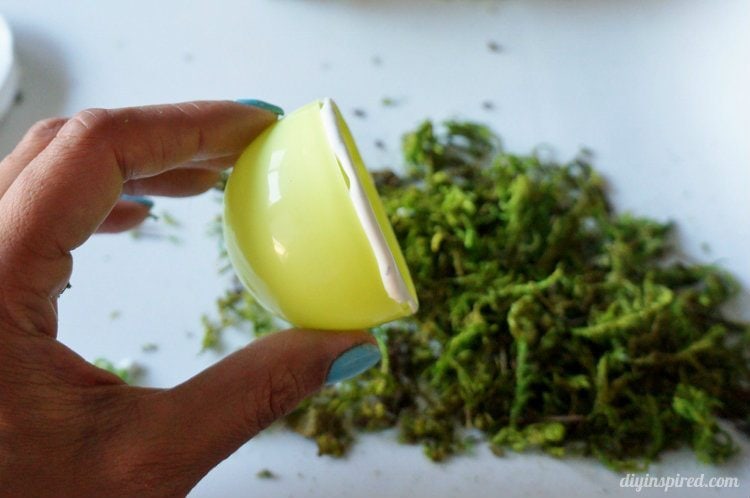
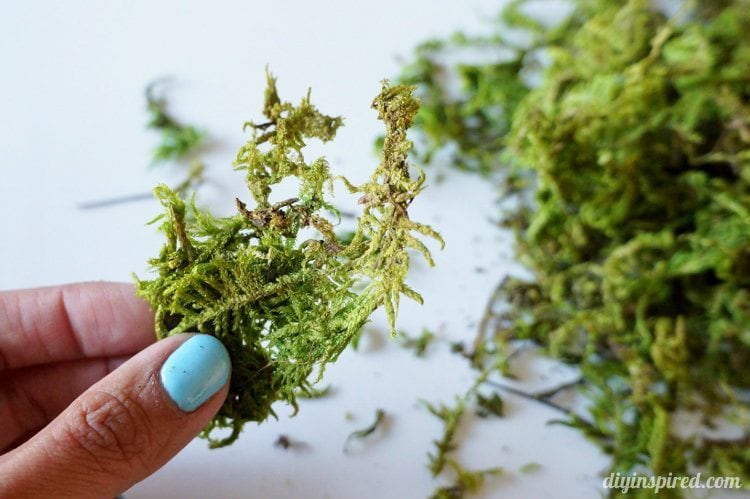
Take the time to separate and dismantle and large chunks of moss. Break each piece into small bits and remove and dried leaves or sticks as you go.
Tip #3:
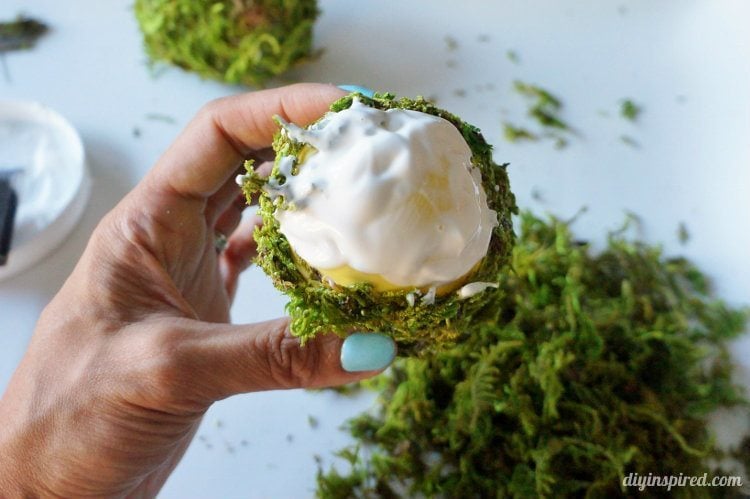
Be generous with the glue. Place a lot of glue on the egg, then when applying the moss, grab more than what seems necessary. This will help keep the glue from getting on your hands, preventing any debris from sticking to you.
Tip #4:
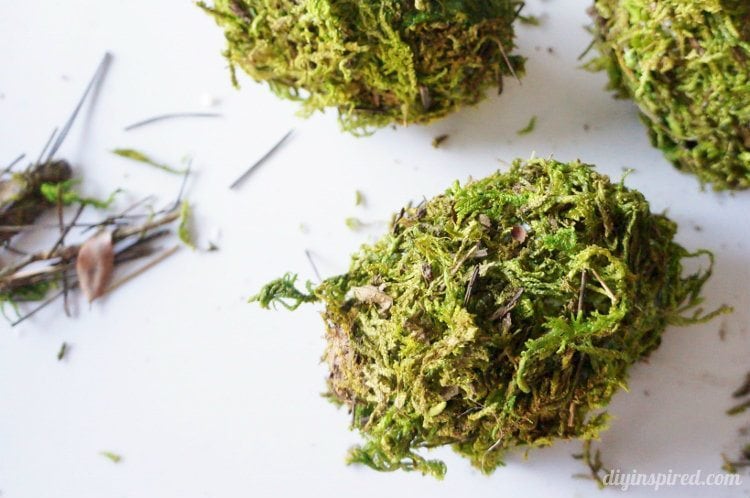
Now that you applied more moss than needed, allow the eggs to dry completely. You can trim the excess moss off afterwards.
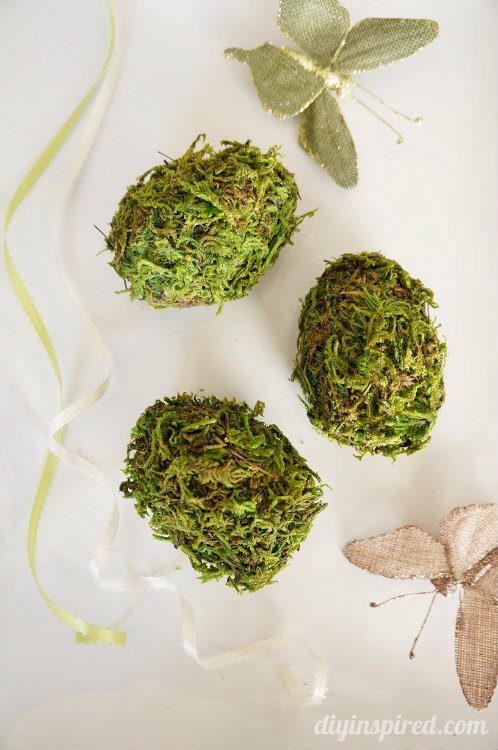
Hopefully these tips will help you from making the mistakes I made when making these. They are super quick, inexpensive, and easy and a great way to upcycle a plain plastic Easter egg!

More Easter Ideas:
- Mini Plastic Cup DIY Easter Baskets
- How to Hollow Out an Egg
- Ribbon Craft Flower Arrangement
- Jelly Bean Martini Recipe
- No Sew Easter Kitchen Towel
- Spring Bunting and Gift Box Set
Like it? Pin it!
Article updated and improved from March 2015.
So pretty, Dinah! And so clever!
Thank you Steph!! Messy but easy! Ha!