DIY Candy Box Treat Boxes

I was lucky enough to take a tour of the We R Memory Keepers booth at CHA last month. I received the Candy Box Punch Board and couldn’t wait to try it out. The product was pretty self-explanatory, but the directions were a good reference tool. Here is how I made these DIY Candy Box Treat Boxes.
Materials:
- Candy Box Punch Board

- Scrapbook Paper

- Glue or Double-sided tape
- Ribbon or twine


Instructions:
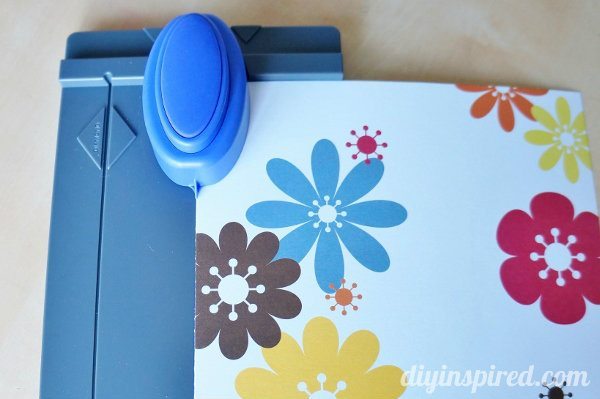
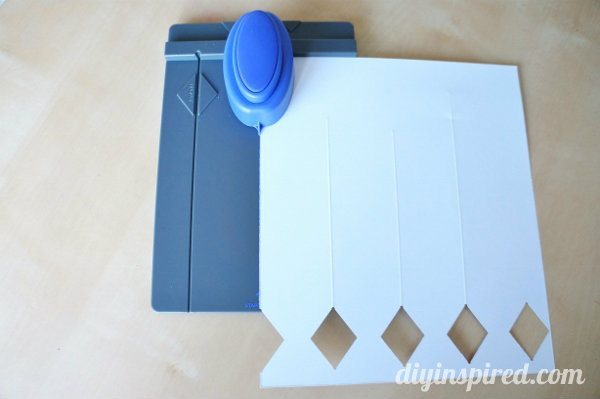
The width of the box will always be 7”, but you can choose any length up to 12”. The 7” side goes horizontally on your punch board. The left side of your paper will align with the guide on the punch board as well.
Simply push firmly down on the punch and then mover the paper to the left.
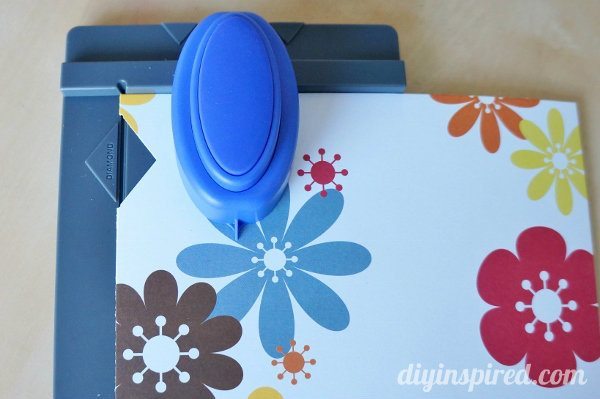
Once your paper covers the mark, use your bone folder to score it. By the way, the bone folder comes with your Candy Punch Board!
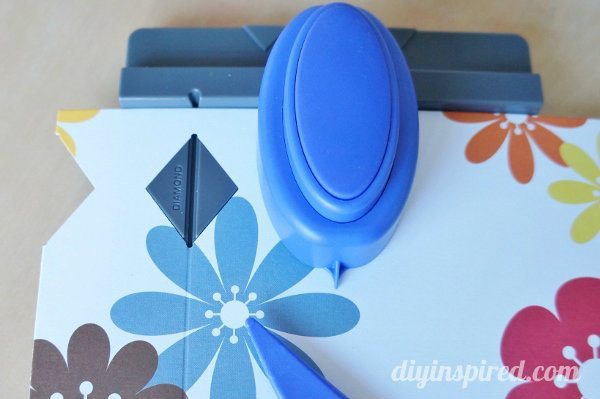
Repeat the punch on the other side.
You can also add scalloped edges if desired by using the other side of the punch.
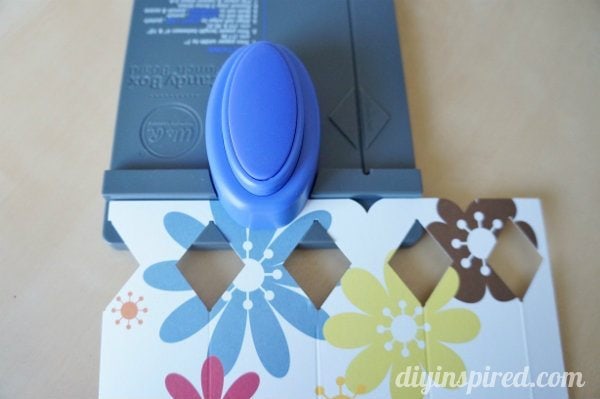
Here is a close up of the scalloped edge.
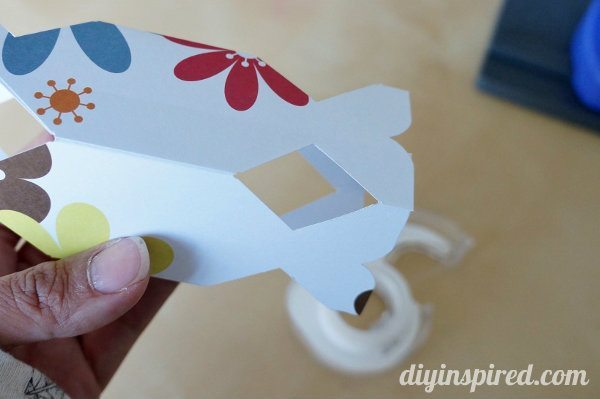
Next, you glue or tape the box together.
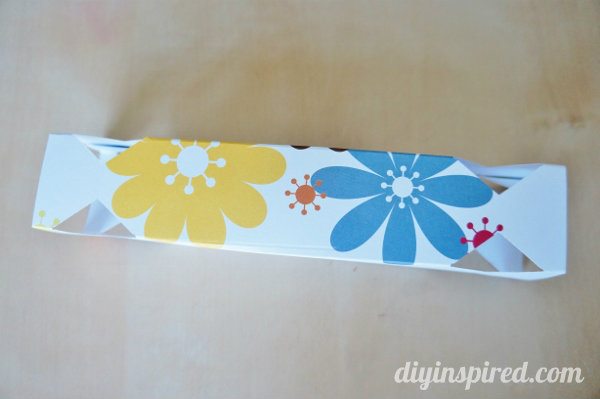
Tie one side of the box with ribbon. Fill it with treats, and then tie the other end.

Aren’t they adorable? There are so many possibilities for colors, patterns, and themes. They are perfect for weddings, parties, and even teacher gifts. You can decorate your boxes with messages, stickers, ribbon, or whatever you want!!!!
Thank you to We R Memory Keepers for sending me this board!