DIY Chalkboard Clothespin Tags
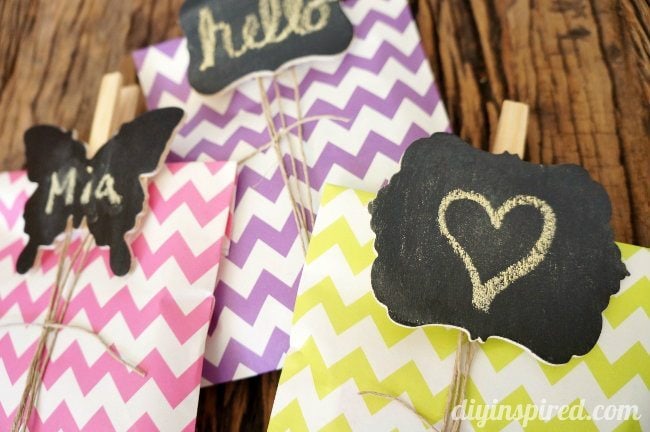
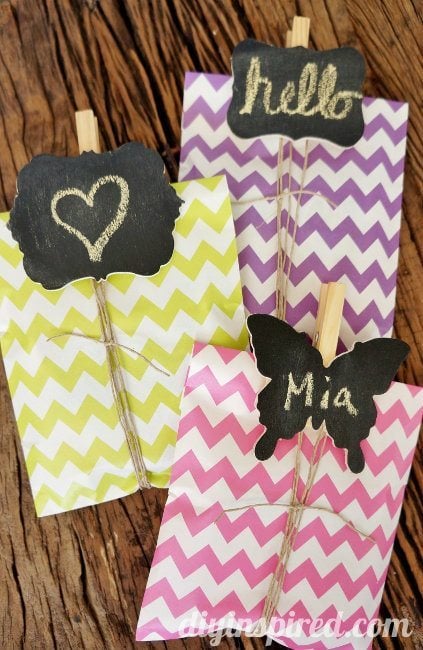
These cute little versatile DIY chalkboard clothespin tags are perfect for creative gift wrapping, party favors, name place cards, or even gardening or home organization labels. They are inexpensive to make and you only need a few materials.
Materials:
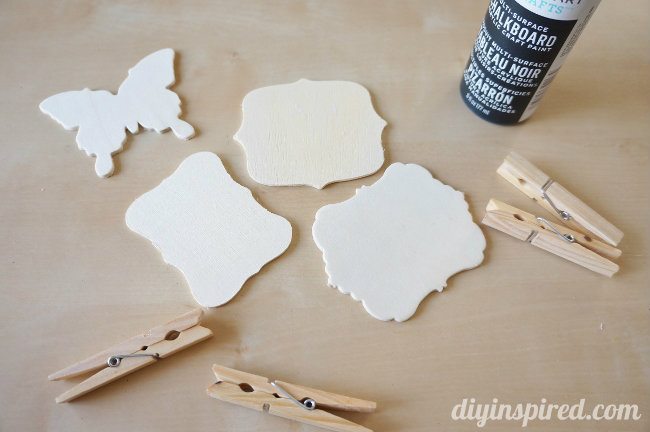
- Wooden Shape Cut-Outs
- Chalkboard Paint

- Foam Paint Brush
- Scrap Paper
- Clothespins
- Glue
- Chalk


I found these cute little wood cut-outs at Michael’s for .29 each but then I got 15% off of that, so they were roughly four for a dollar.
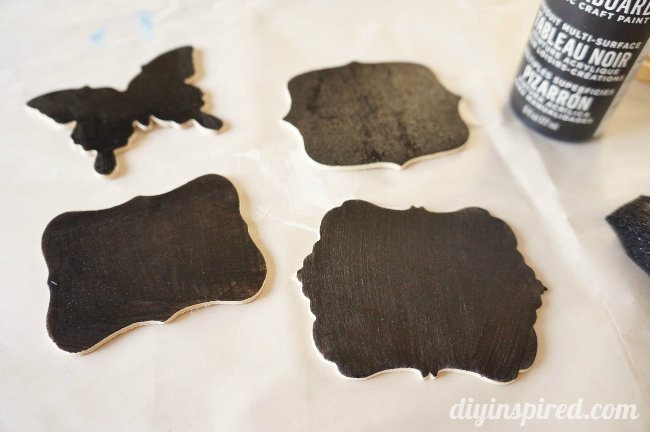
I painted one side using a foam brush. I like using this type of brush because the edges stay nice and neat so that only the front of the wooden cut-out is painted.
Tip: You may have noticed on previous posts, I like to save packing paper and reuse it. It’s easy to store and doesn’t take up much space and it’s perfect for protecting any craft workspace. I use it especially when I do kids crafts that involve paint with my daughter.
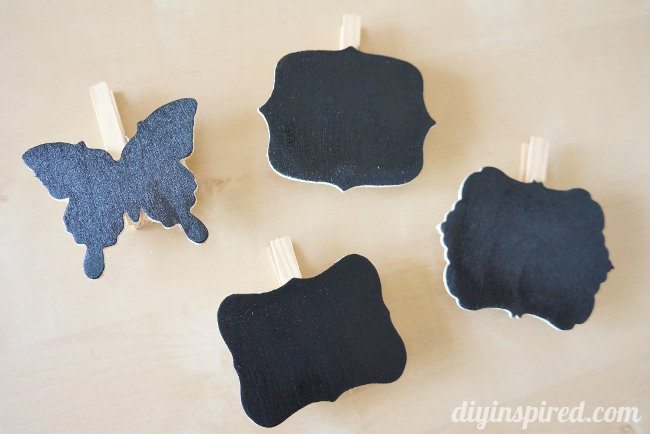
Two coats will suffice, but I did three, allowing one hour in between each coat. I find that waiting works best when working with chalkboard paint.
Lastly, I glued each painted chalkboard tag to a clothespin. You can use any type of glue. I personally prefer hot glue in this craft.
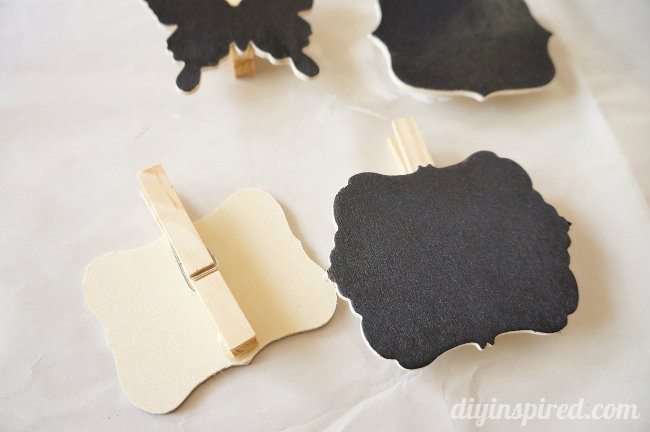
Tip: I noticed after the fact that it was easier to glue on the wood cut-out BEFORE painting it so that it is easier to hold while painting and less messy on your fingers!
I used these for little party favors but you can use them for several purposes. They would be adorable as place cards settings for a dinner party or even a wedding or shower. You can also use them to label and organize craft supplies as well.
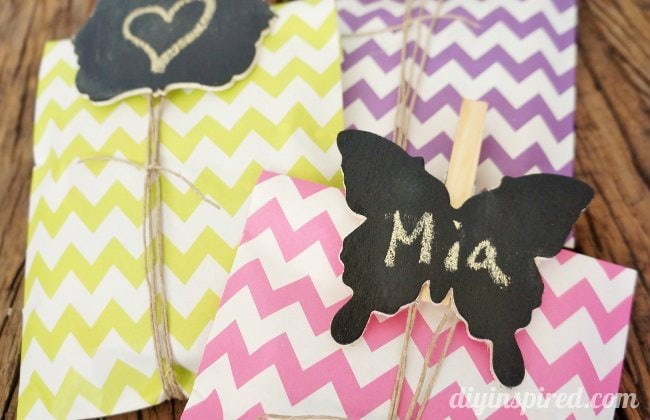
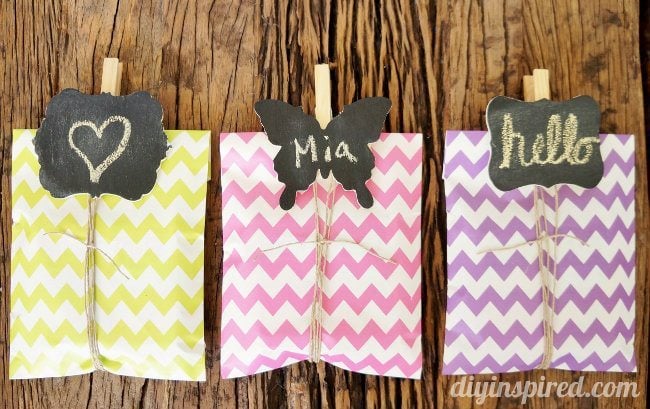
Here are a few more after photos.