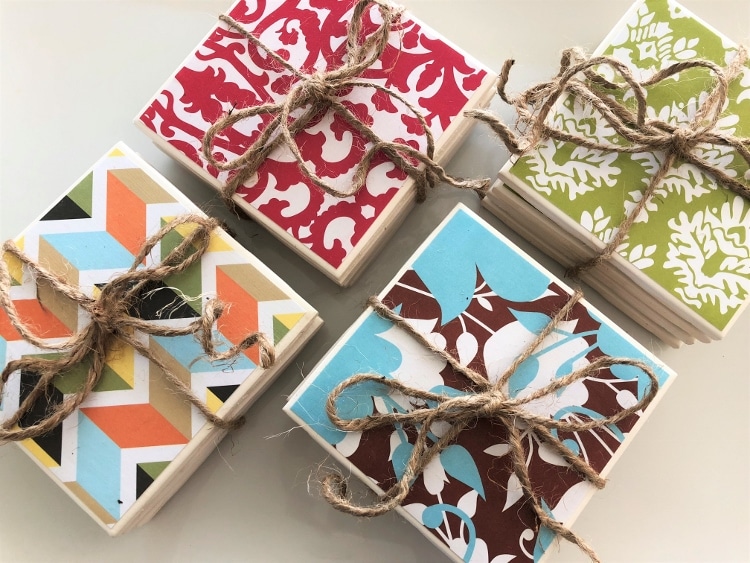
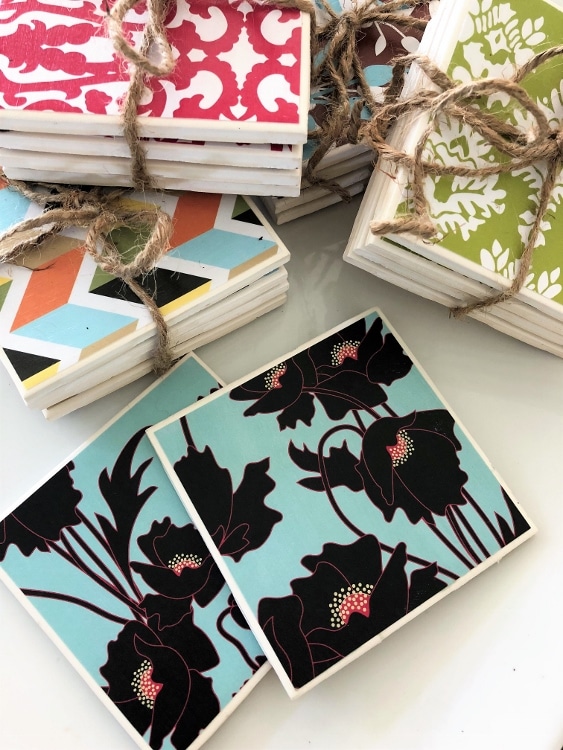
DIY Repurposed Ceramic Tile Coasters
How to Make Coasters out of Ceramic Tile using Mod Podge
Repurpose, reinvent!
This has been my motto for the last 7 years. As you can tell I love a great deal and this project is a fun one that turned out GREAT.
It started with a box of 80 ceramic tiles I found at the Habitat for Humanity ReStore for $4.99. I picked them up for a DIY Workshop I was doing for them at the Grand Opening of their third Los Angeles store.
They were a hit! People loved them and it was something they felt that was easy enough for them to do at home. Also, you can customize the design by using:
- Scrapbook Paper
- Newspaper Clippings
- Leftover Wallpaper
- Magazines
- Damaged Book Pages
- Recycled Maps
- Photos for Friends and Family
Here is how to make them.
Easy DIY Coasters
Time: 20 Minutes (excluding dry time)
Materials:
This list contains helpful affiliate links of products that I recommend and use.
- Ceramic Tiles
- Dishwasher Safe Mod Podge
- Foam Paint Brush
- Scrapbook Paper
- Paper Cutter
or Scissors and Ruler
- Felt or Cork or Rubber
- Strong Adhesive
Instructions:
First, the tiles I used here are recyclable ceramic wall tiles from the ReStore. I measured them and cut the scrapbook paper to size which was 4”X4”. A paper cutter made this step very quick and easy.
Next, using a foam brush I brushed on the Mod Podge on the top of the tile. Make sure that it is evenly covered to avoid bubbles. Use the light in the room to look for even brush strokes and coverage.
Then, place the paper on top and smooth it out using your fingers or a straight edge.
Pro Tip: A credit card works great to smooth out the top. If you are using delicate paper like newspaper, be careful not to tear it.
Brush on an even top coat. You will need 2-3 coats. Here’s the kicker…you have to wait an hour or two in between coats. I use this Mod Podge not because it is dishwasher safe, rather, it will protect your coaster design from condensation from your glass.
Lastly, add felt or cork or rubber stops on the bottom four corners. I used felt furniture circles. Even though they are sticky, I used DAP RapidFuse to make it extra secure because they tend to fall off without it.
Here is a video tutorial I made.
These are great gifts for:
- Mother’s Day
- Hostess Gift
- Birthdays
- Christmas
- Neighbor Gifts
- Housewarming
You can package them up with these simple DIY wood burned wooden spoons! This is a fun wood burning project that is very easy to do.
You May Also Like
Here are a few more upcycling ideas from things you can find second hand shopping or from items found around the house!
Three Easy Thrift Store Upcycles
24 Cheap Recycled Crafts for Adults to Make
Trash to Treasure DIY Serving Tray How To
12 Thrift Store Housewares Transformations
Like it? Pin it!
I would love it if you shared this idea on Pinterest! Thank you in advance!

