Halloween Monster Wreath
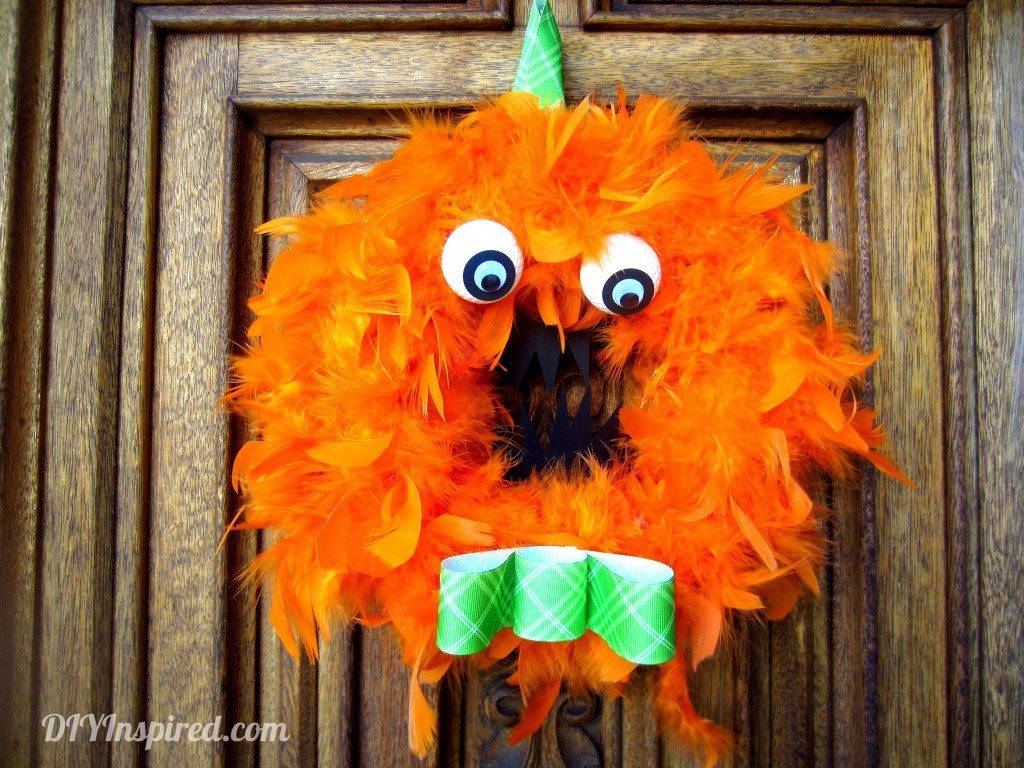
I heart Halloween AND I also heart dollar bins! This Halloween Monster Wreath cost me about $7.00 to make. It’s a fun craft you can do with your kids. You can get creative and mix your colors to make your Halloween Monster your own. Here is a short video tutorial if you’d like to watch it. If not, continue reading the step by step instructions!
Materials:
- Foam wreath
from the craft store or dollar store (I found mine at the $1 bin at Target)
- 4 feather boas
(I got mine at the .99 store during the Halloween season)
- 8 Straight pins
- 2 plastic balls
(golf or ping pong work great)
- 2 Googly eyes
- Scrapbook paper (and color of your choice for the eyes and mouth)
- Scissors
- Hot glue gun and glue sticks
- Ribbon of your choice
Step One:
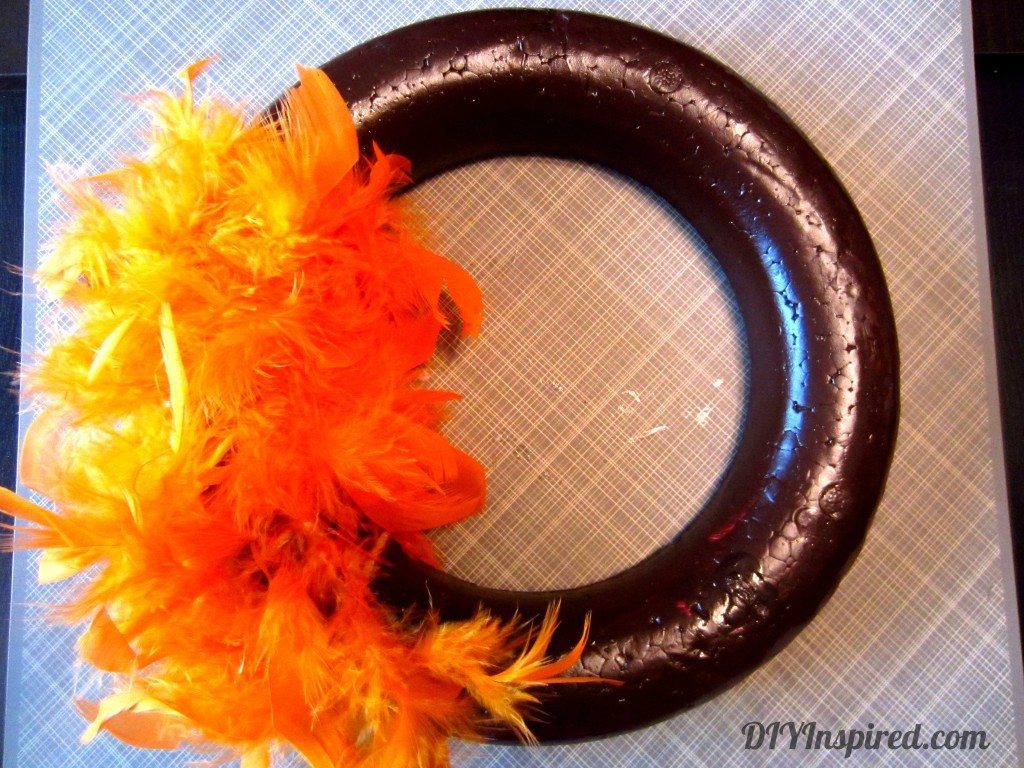
Pin the end of your feather boa to the back of the wreath. Continue wrapping it until you reach the other end. Pin the other end into the back of the wreath. Repeat this step with the other three boas until your wreath is covered.
Step Two:
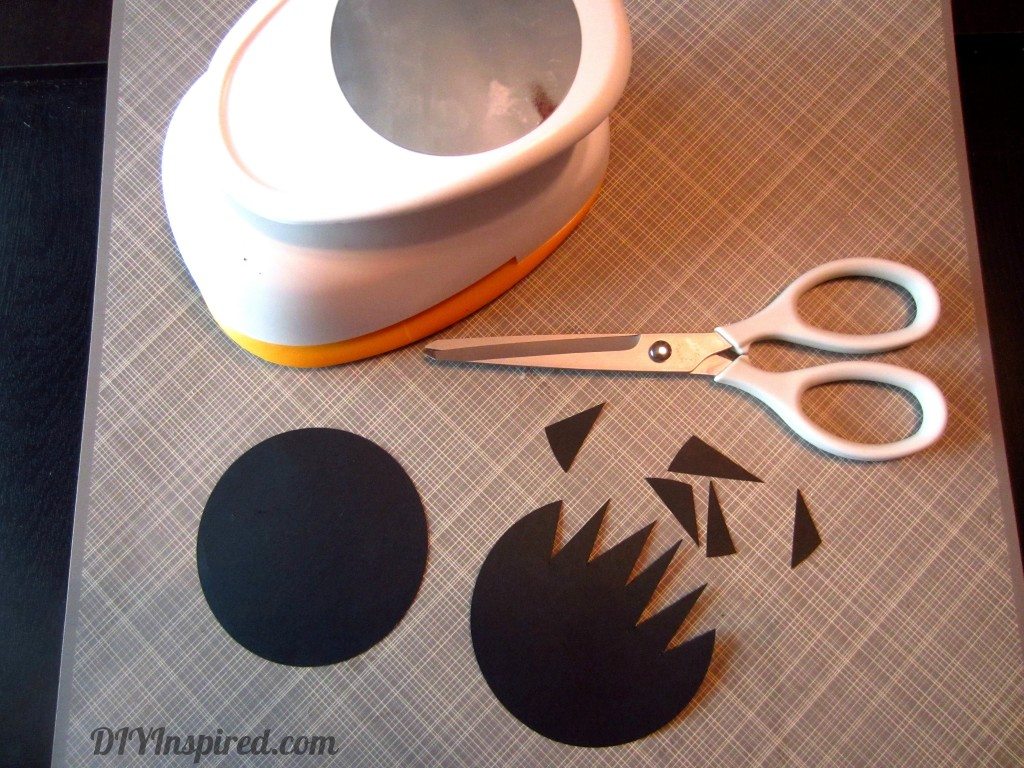
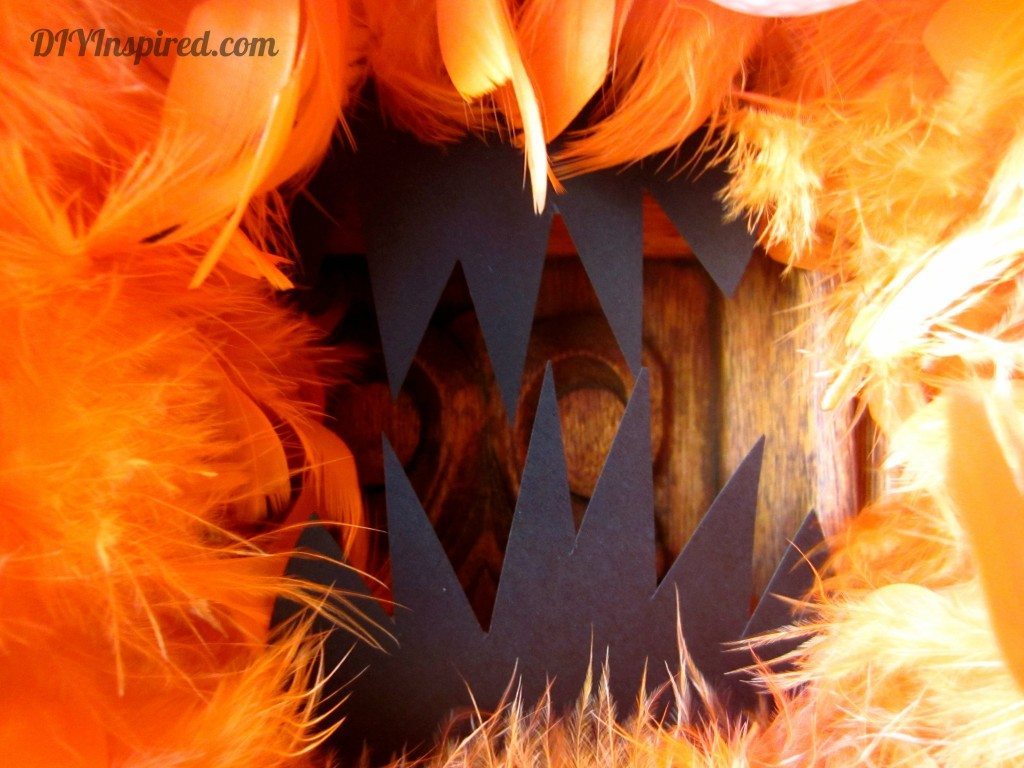
Make the mouth. I used a 3.5 inch circle punch to make it easier, however you can just use paper and scissors. Cut two jagged pieces. It doesn’t have to be perfect! I’ve never seen a monster with perfect teeth! Glue each set of teeth to the back of your wreath using hot glue.
Step Three:
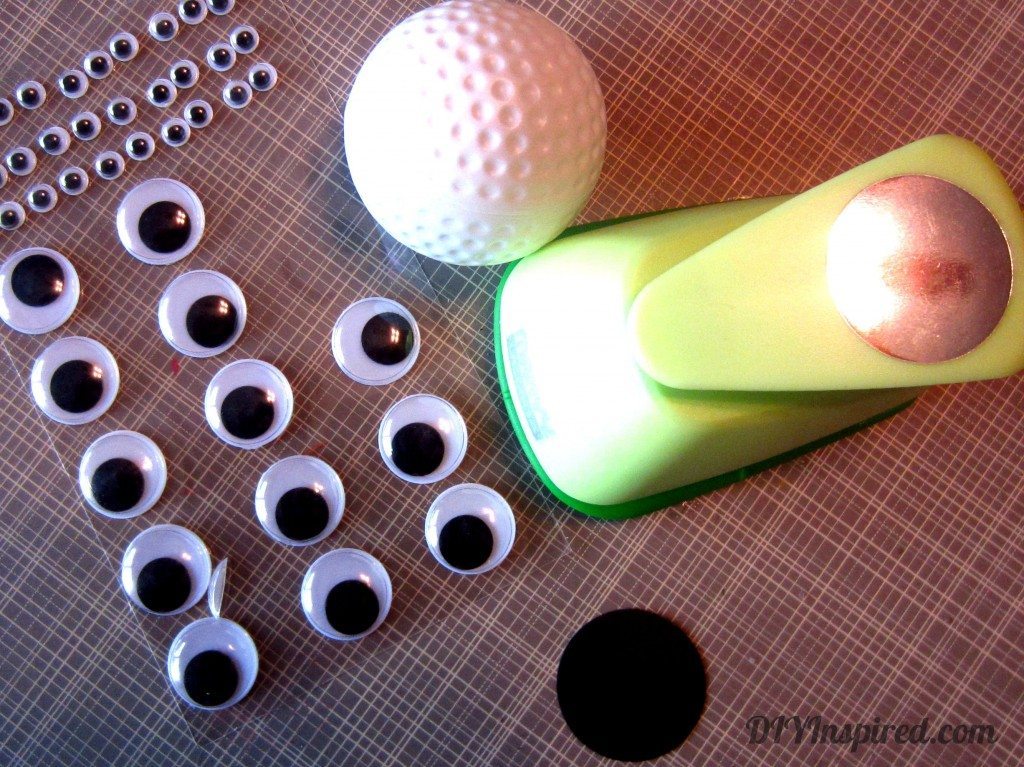
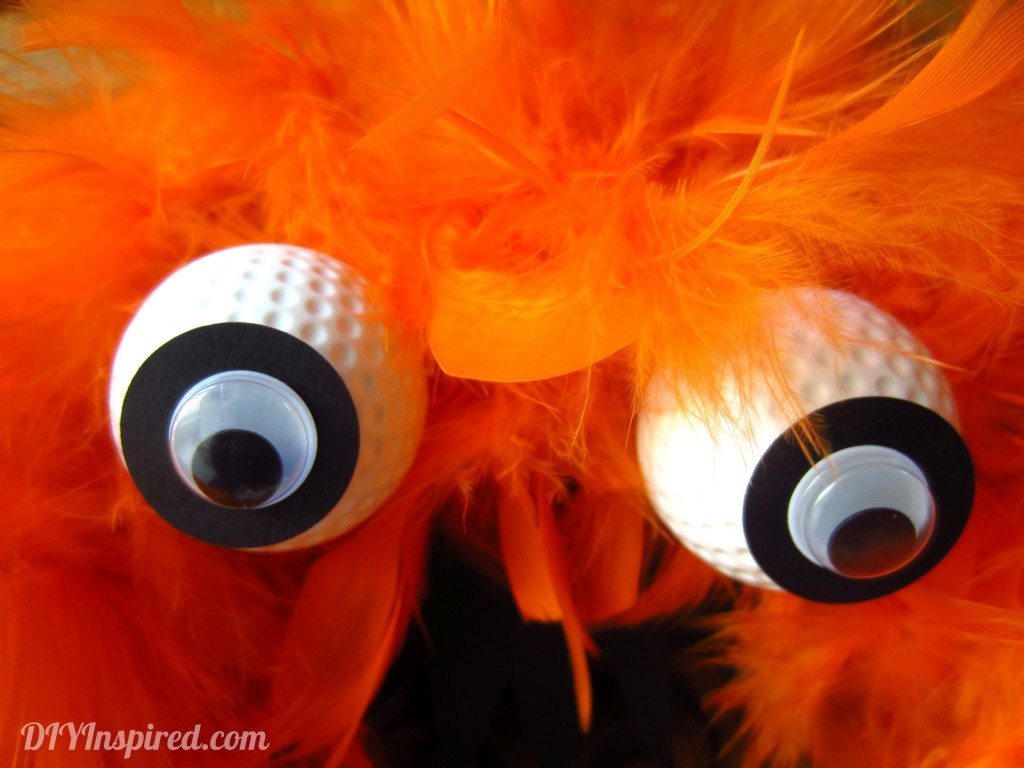
Make the eyes. I used another circle punch, plastic golf balls from a golf themed baby shower I did, and googly eyes. You don’t have to use plastic balls to cut down on cost. Scrapbook paper works well too!
Step Four: (optional)
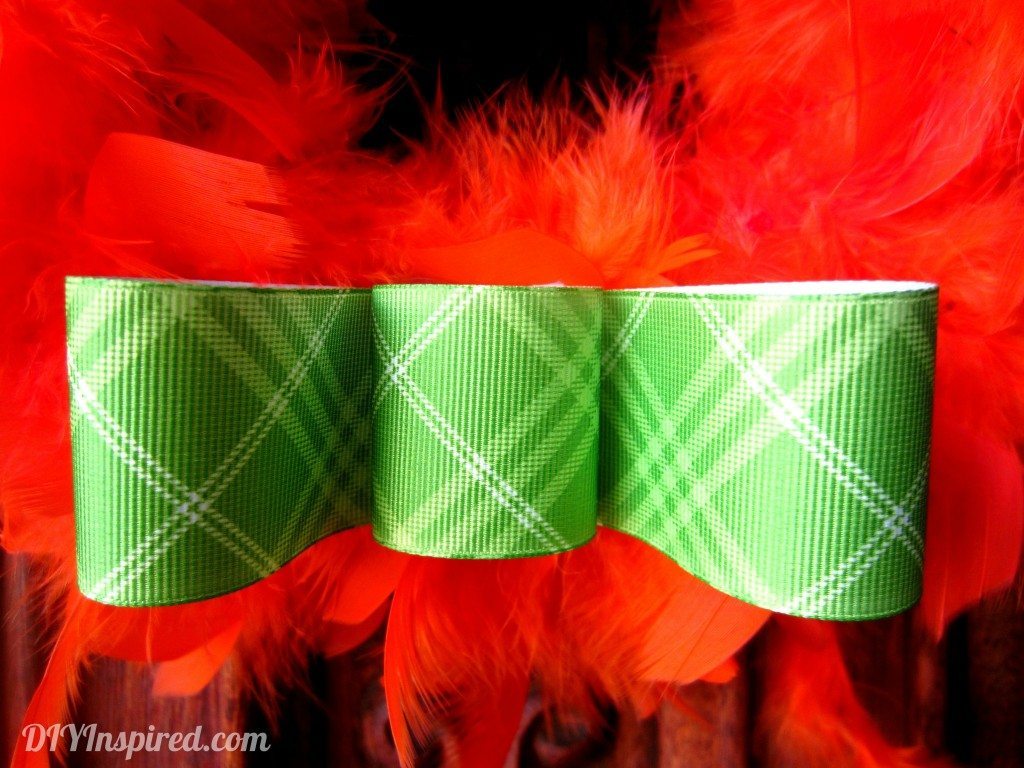
Dress your monster. I added a bow tie for a little character. Feel free to add whatever you want. Maybe even add some arms or legs. It’s up to you!
For more video tutorials, subscribe to my YouTube Channel!


One Comment