How to Make an Easy DIY Cake Pop Stand
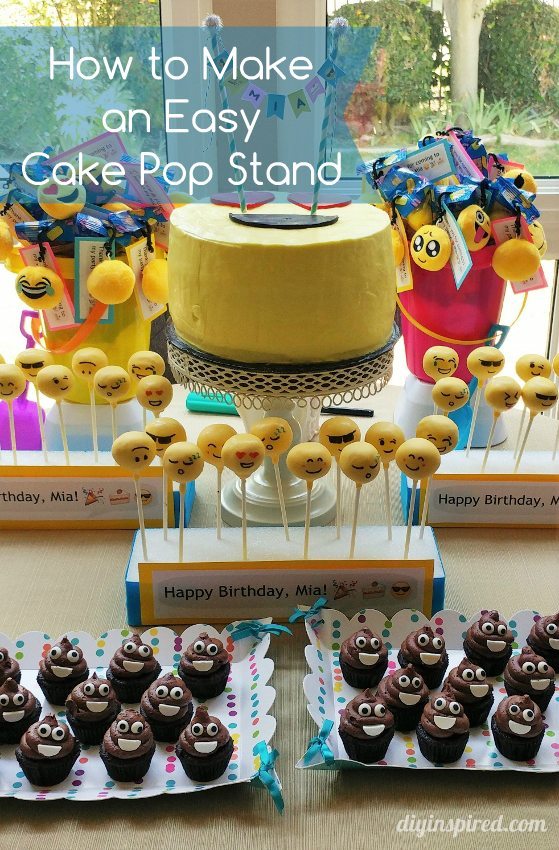
This year for my daughter’s emoji birthday party, she requested cake pops. Believe it or not, I have never served (or made) cake pops before! I did hire a wonderful friend from Sweet Tooth Cravings and More to make them for me. Of course now I had to make cake pop stands. I played around with some idea but this seemed to be the cheapest and easiest DIY cake pop stand I could make.
Materials:
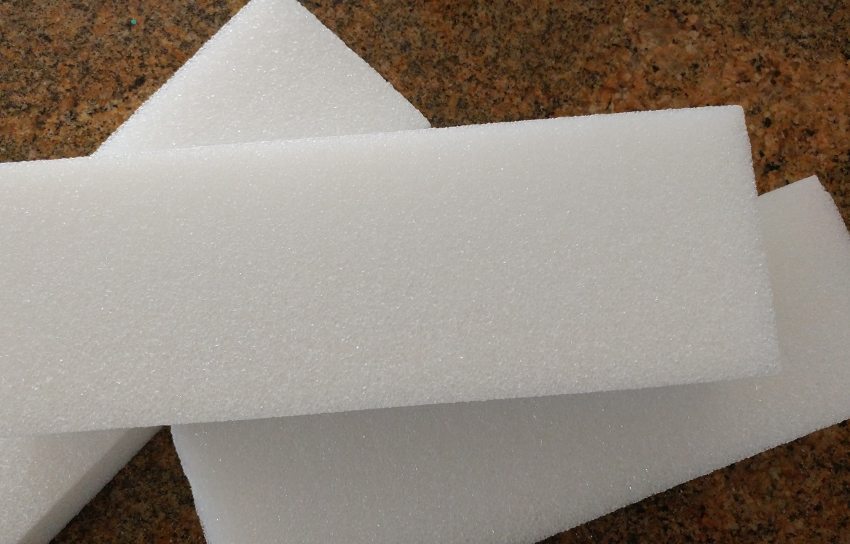
- Smooth Foam Block 12” X 4” X 2”

- Ribbon
- Straight Pins
- Decorative Paper (optional)
- Hot Glue


Instructions:
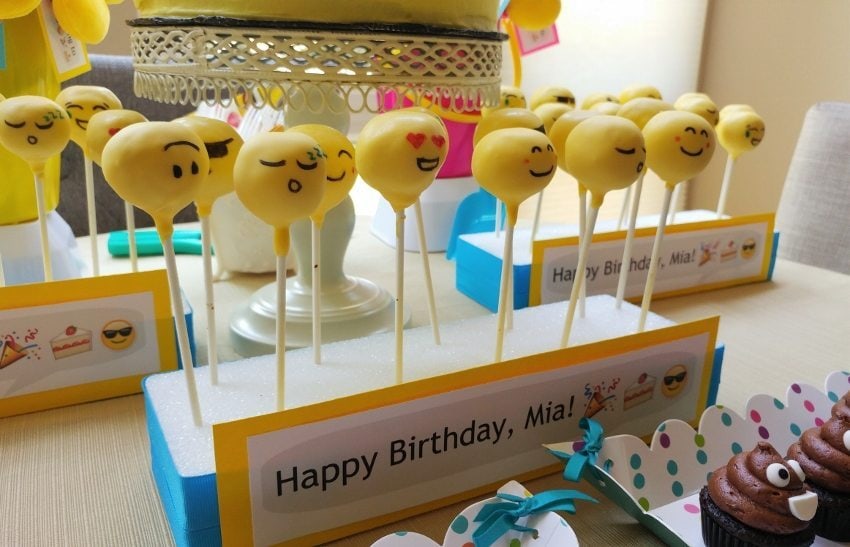
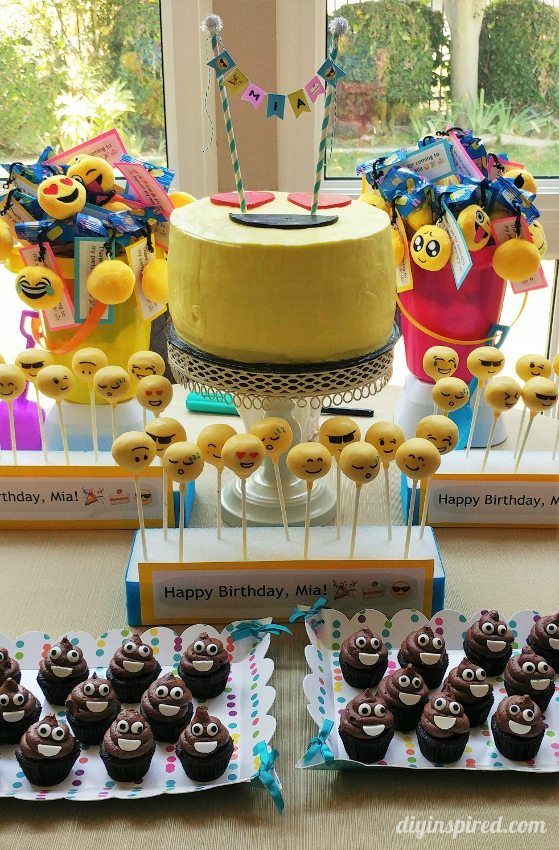
Instead of going for height, I went more economical and made three small stands. I found this saved me several dollars, plus I could spread them out on the table to make the dessert table look nice. The least expensive foam block that made the most sense was 12” X 4” X 2”. These were $3.99 apiece.
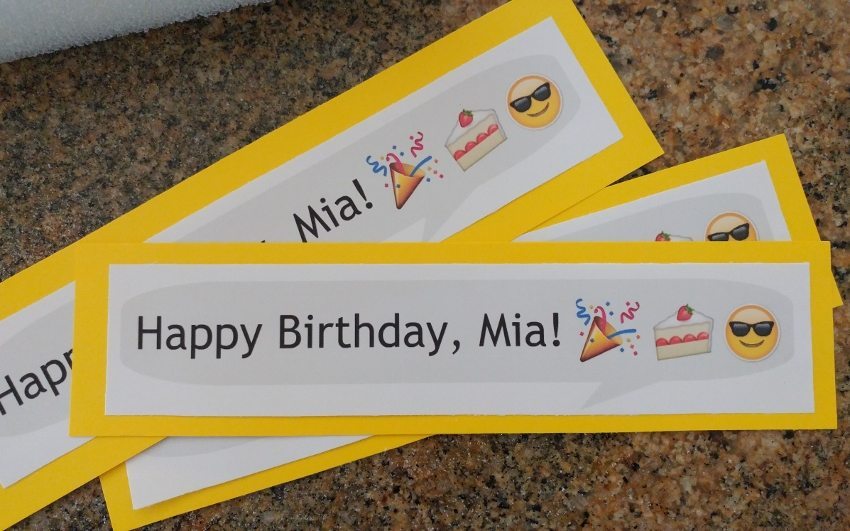
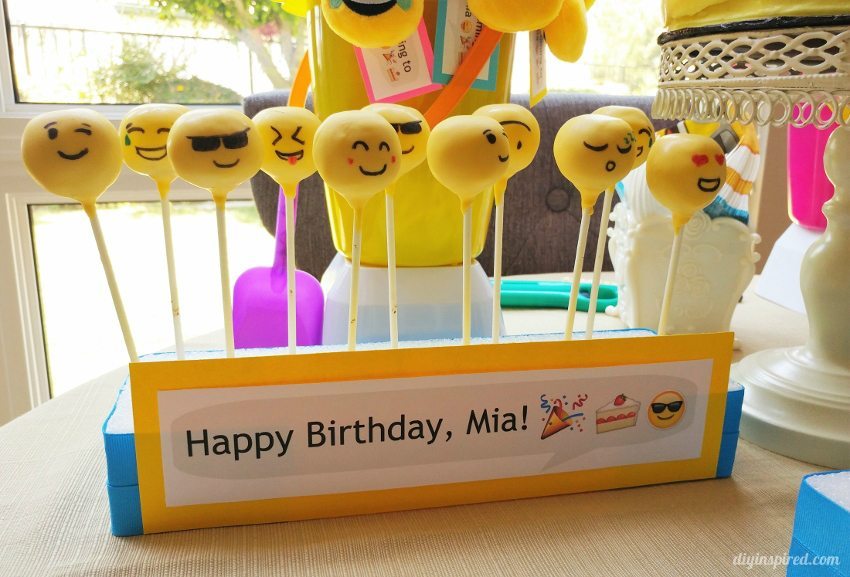
I made these signs for my daughter’s emoji themed birthday but you can use any decorative paper or scrapbook paper that you like to match your party theme.
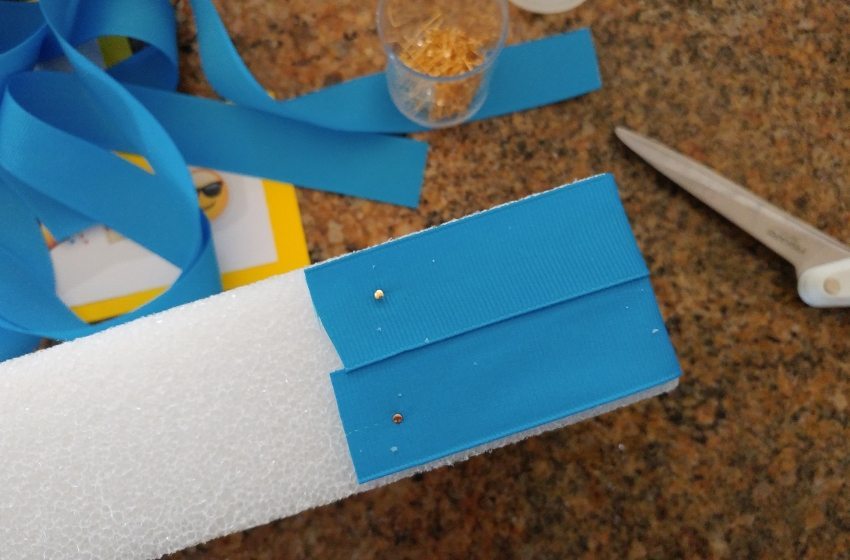
I used 1” wide ribbon. The length of the ribbon should be about 25” long. I didn’t cover the whole front side so I didn’t waste ribbon. Secure the ribbon with a straight pin. Use two pieces of ribbon, or one piece of 2” wide ribbon.
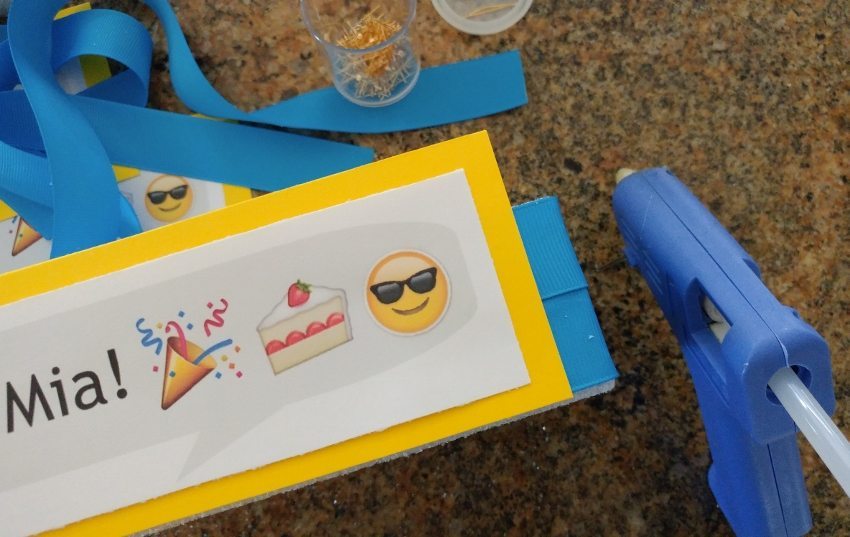
Next, glue the sign onto the ribbon on the front of the stand.
Here is the final look. As I mentioned, you can use and color paper and ribbon to match your party decorations. I like the look of having three stands on the table.
In case you missed it, check out the cardboard emoji decorations and emoji party favors (free thank you printable) I made. I will show you the rest of the party next week!