Painted Upcycled Garden Tools
Easy Painted Upcycled Garden Tools from the Thrift Store
At Habitat for Humanity not long ago, I found these garden tools for about $3-$4 apiece. I snatched them up and took them home thinking in my head that, “these are great. I need them, but I can make them prettier…” Ha! So, here is my quick and super easy tutorial for how to make painted upcycled garden tools.
You can do this and add a pop of color to other things like:
- Rakes and Hoes
- Wooden Spoons
- Broom Handles
- Serving Utensils
These also make great gifts for:
- Birthdays
- Mother’s Day
- House Warming
- Christmas
Instructions
Here’s how to make them in just a few easy steps. You only need a few materials.
Time: 30 minutes (excluding dry time)
Materials:
This materials list contains Amazon affiliate links to products I have used and recommend.
- Garden Tools

- Acrylic Paint
- Paint Brush
- Painter’s Tape


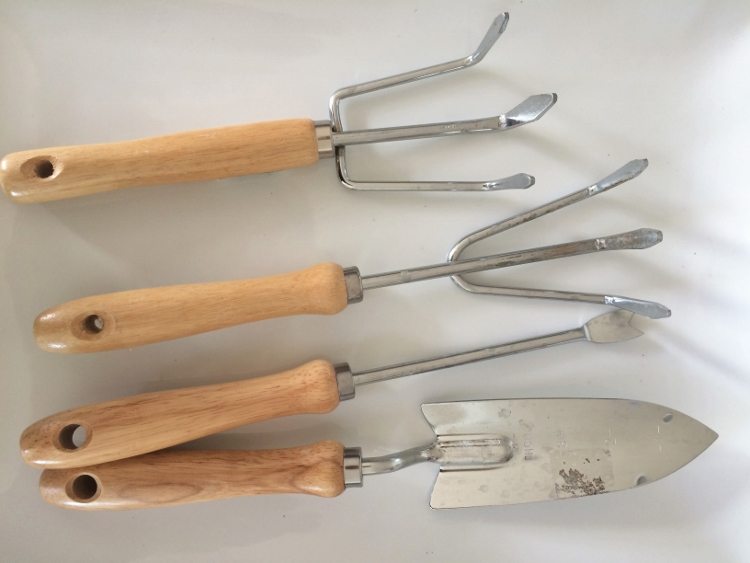
Here are the tools I found at Habitat for Humanity Restore. Find a location near you. The hardest part of this was taking that darn stubborn price tag off of the wood handle. Here are a few tips for taking price tags off (all of which I had to do for these).
Removing the Price Tags
- Blow dry it to melt the stickiness, making it easier to peal.
- Soak them in warm soapy water and then rub off with a sponge
- Use nail polish remover to get the price tags off and then wash them clean
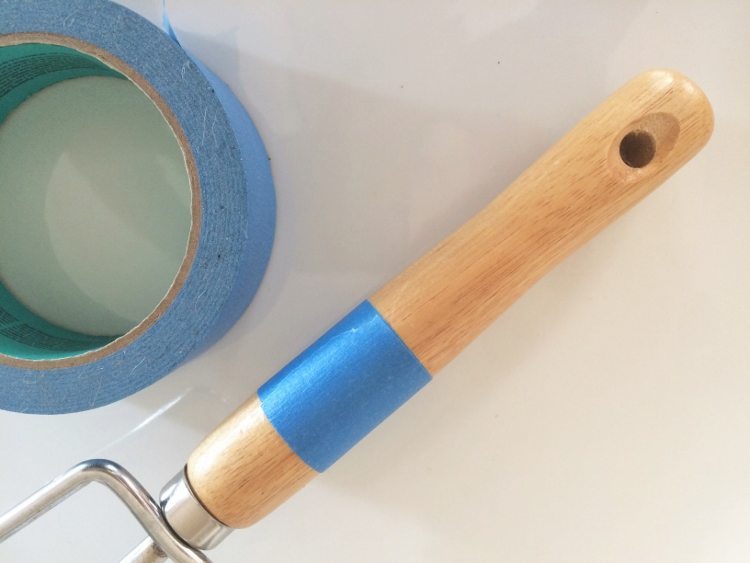
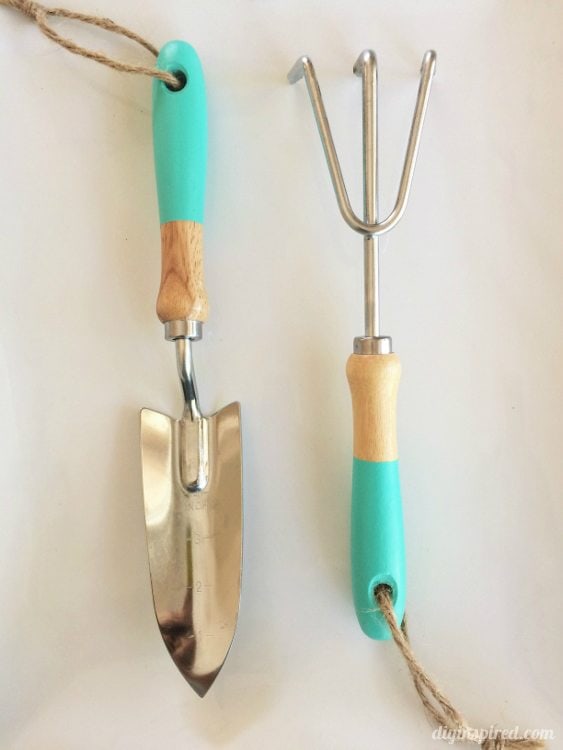
One the tools were dry and clean, I taped the handles with painter’s tape measuring about four inches from the end of the handles. Press the tape firmly onto the handles to prevent bleeding.
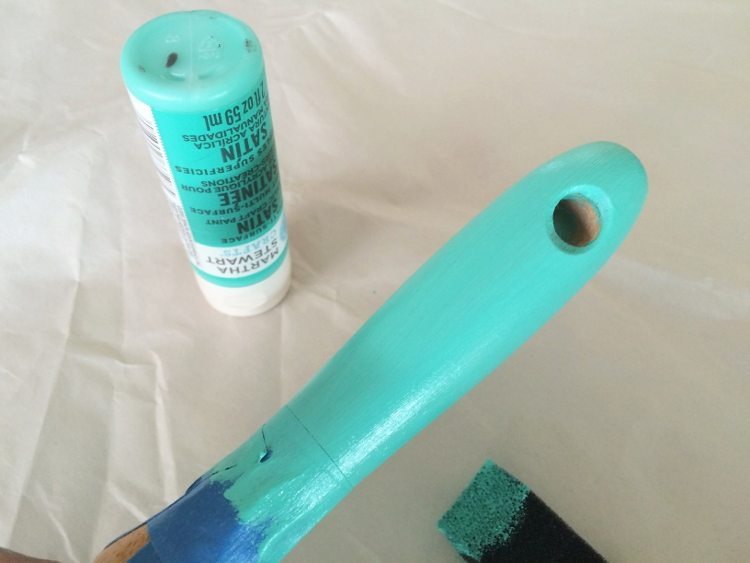
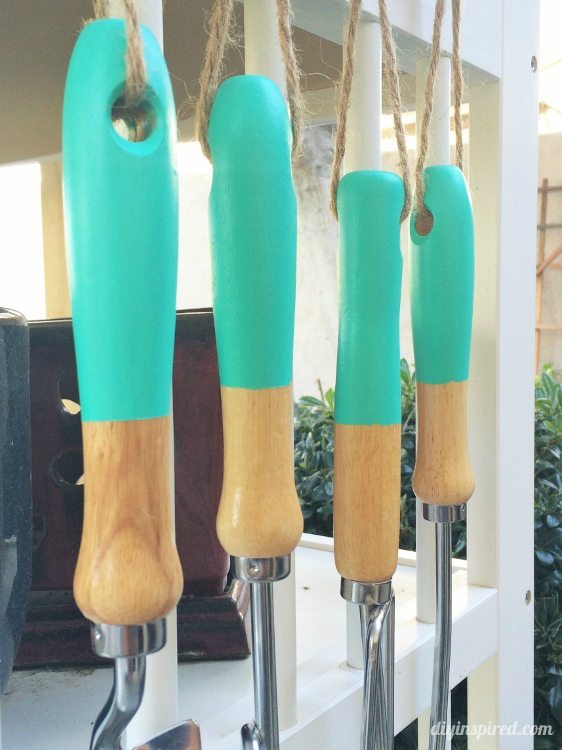
Next, I painted four coats of Martha Stewarts Satin Craft Paint in Diving Board Plongeoirs Trampolin (say that 3 times fast), allowing 15 minutes in between each coat.
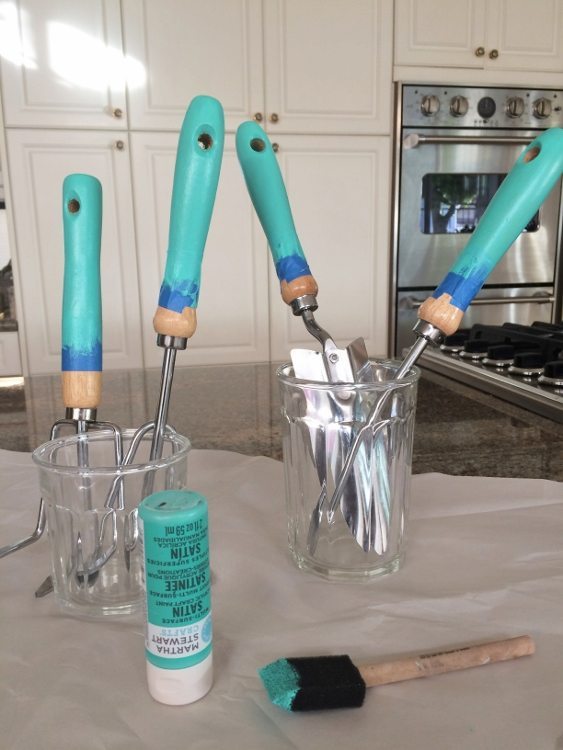
Tip: To let the handles dry, I set them upright in glasses so the paint on the handles didn’t touch any surface. You may have to balance them to prevent the glass from tipping over.
Lastly, I removed the painter’s tape after the last coat and once they were dry, I added some twine to hang them on the side of the potting bench I made out of a changing table.
By the way, check out that potting bench post! I did a repurposing challenge to makeover an IKEA changing table and it ended up in Parent’s magazine!
Other Ideas
I love the pop of color for Spring! You can also:
- Play around with different colors
- Add different colored stripes
- Add a pattern by hand painting over the top
Now I’m ready to plant more succulents… Ha!
Another Fun DIY Idea
Check out these wooden spoons I made too! These make a great house warming gift as well.
You May Also Like
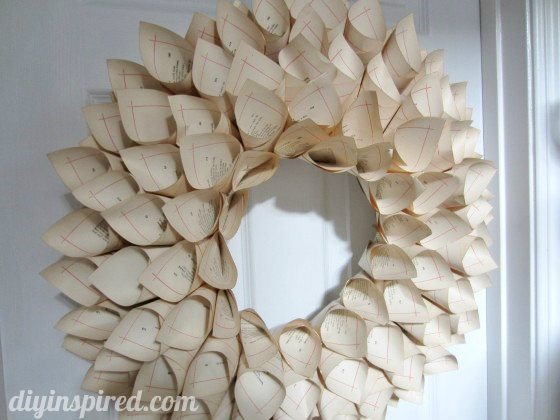
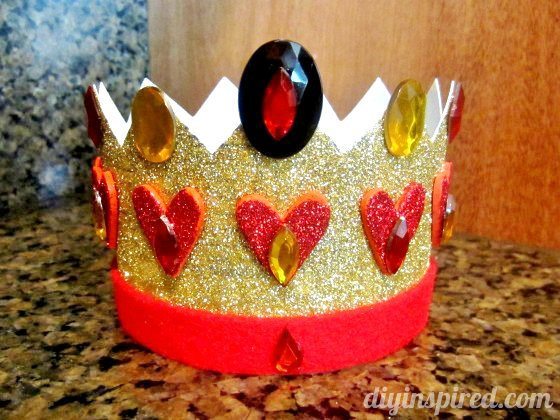
Before you go, here are few more easy DIY ideas. The American flag is one of my favorites and one that I made out of fence pickets.


This is such a creative idea! I think these are so pretty, I would have a hard time getting them dirty. I must make this.
Thank you so much, Sherry! I just couldn’t help myself!
These are so cute! I’d love to garden with them. Pinned and tweeted. Thanks for sharing at Merry Monday, hope to see you again next week!
Thank you so much! I’ll be there! 😉
These are so dang cute! They would make an awesome gift set for a gardener!
Thank you, Meg!!