Stenciled School Spirit Shirts
If you know a child in elementary school you can probably relate to this post. As you know, buying clothes provided by the school can get quite expensive. Being the budget conscious crafty mama that I am, I decided to help my best friend find a DIY alternative to these pricey shirts and made our own Stenciled School Spirit Shirts. I love stenciling projects and have done quite a few.
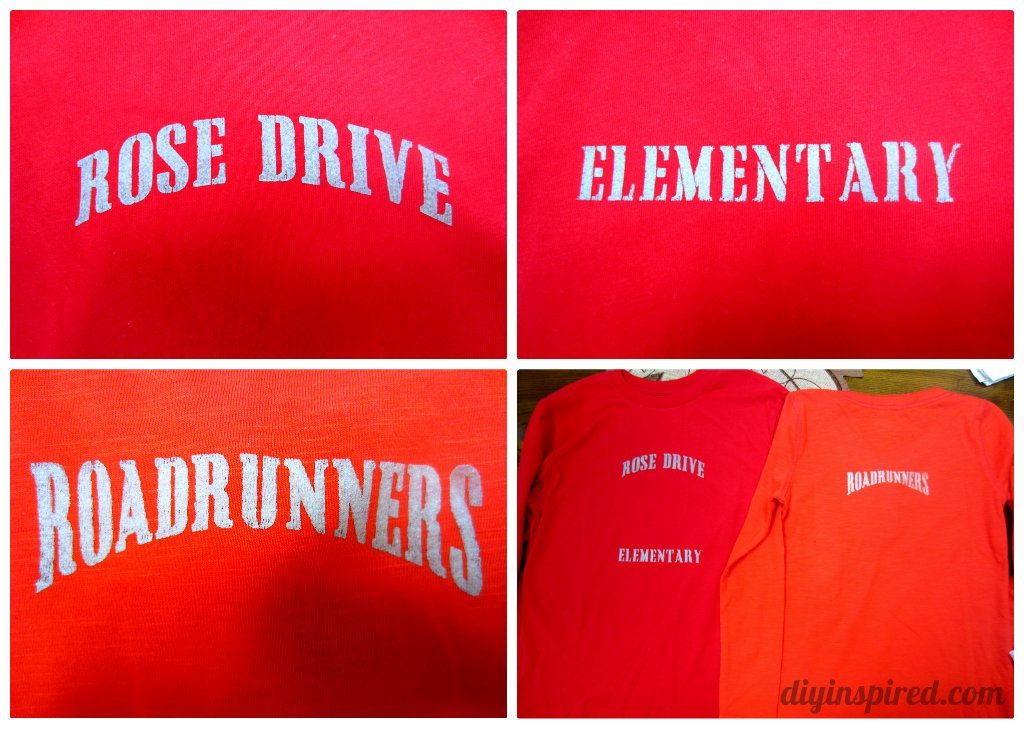
I decided to make some custom stencils for this project with the school name, the mascot, and the girl’s names. My trusted go to is Stencils Online. I found them when I made my own burlap stenciled placemats. I have used them for most of the stencil projects that I have done on this blog because their product lasts over-time, they are easy to store, and also very easy to clean.
Here are the materials you will need:
- Clothing items
- Fabric craft paint
- Spouncers
- Paper plate
- Custom stencils
- Paper towels
- Cardboard
The first thing I did was design my stencils at Stencils Online custom stencil design studio. I have to tell you that these stencils were so much fun to make. You can choose from a variety of fonts, sizes, and even shapes. The shirts we were making are for a 5 year old so the five inch size was the perfect size to fit across the chest or back of a t-shirt. I designed my words, ordered them and they arrived at my front door in no time.
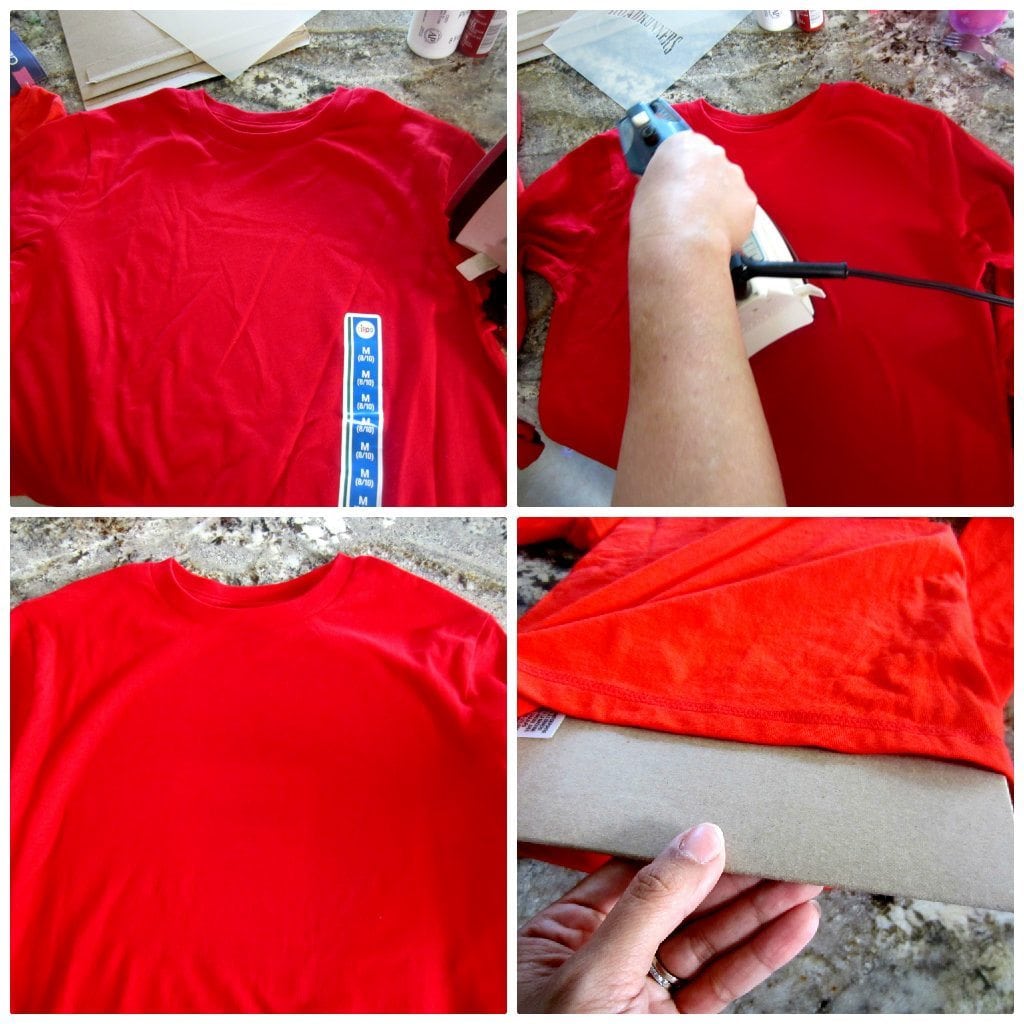
To start the project, I find it best to iron the article of clothing using a little bit of spray starch. This is an optional step. It doesn’t have to be perfect, but the stencils and paint will apply very nicely if ironed first. We placed a piece of cardboard under the shirt, if the shirt had buttons to ensure a flat stenciling surface.
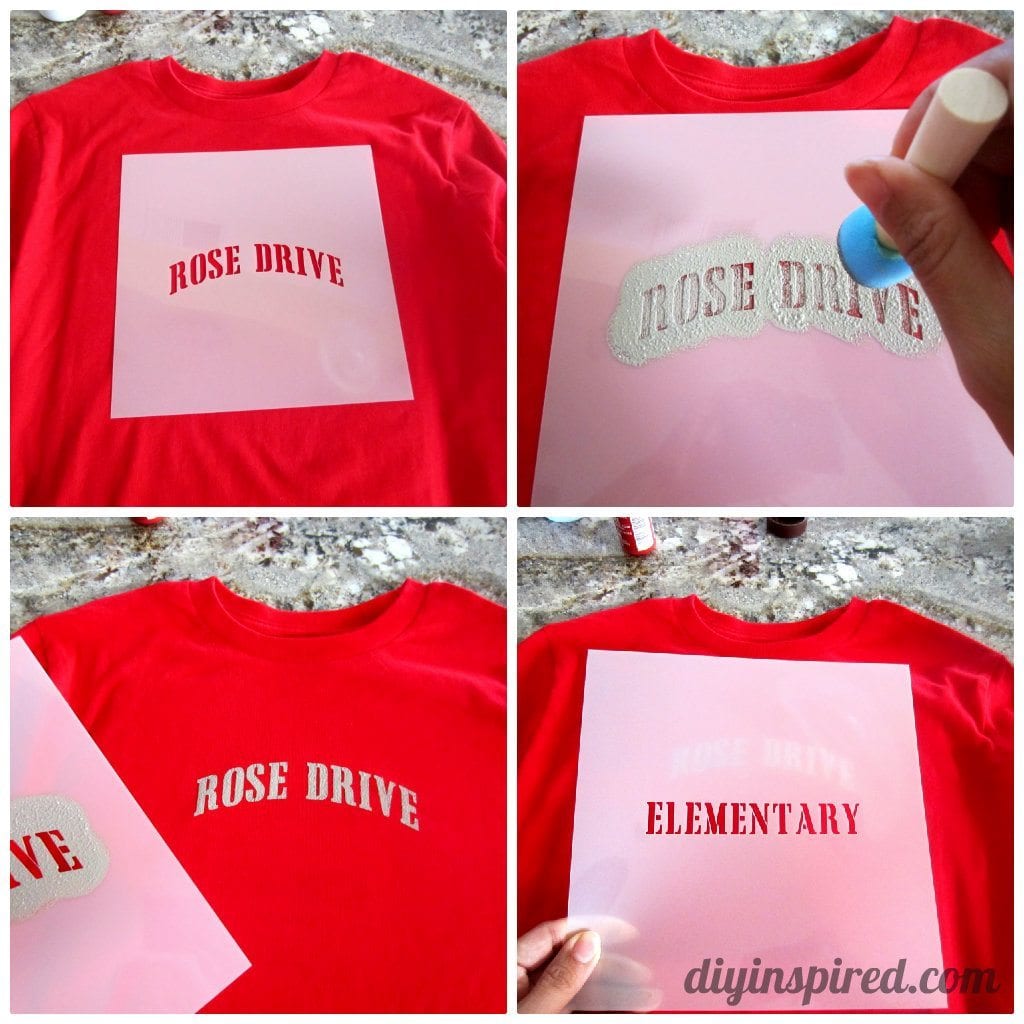
Next, place your stencil on the desired area. Saturate the spouncer with craft paint, and dab the excess onto the plate before stenciling the shirt. Stencil the word onto the shirt by using a straight up and down motion holding the stencil in place with the other hand.
Allow your shirts to dry completely (approximately 15 minutes).
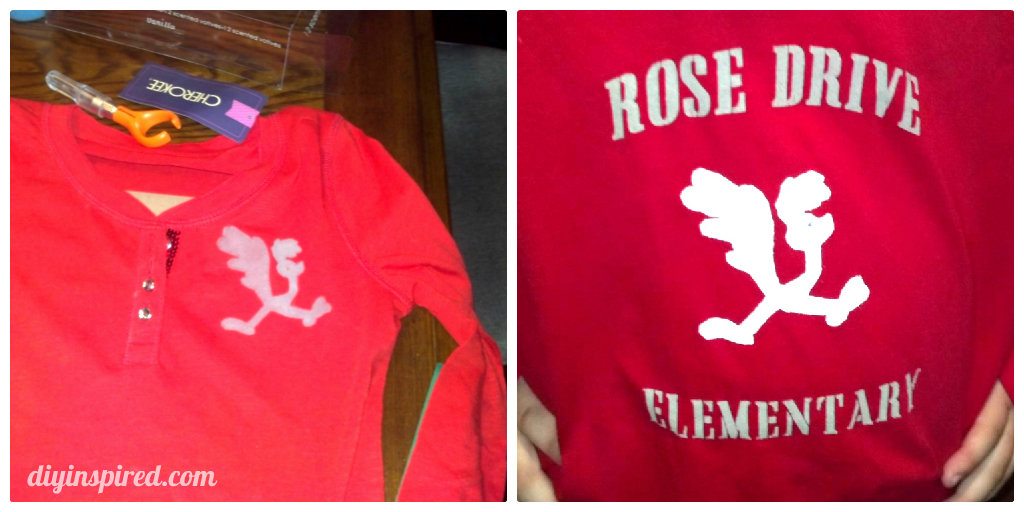
We decided that we wanted to add the school mascot to the shirts. We created our own stencil by recycling a plastic container, finding an image on Google images, tracing it, and using an exact-o knife to cut it out.
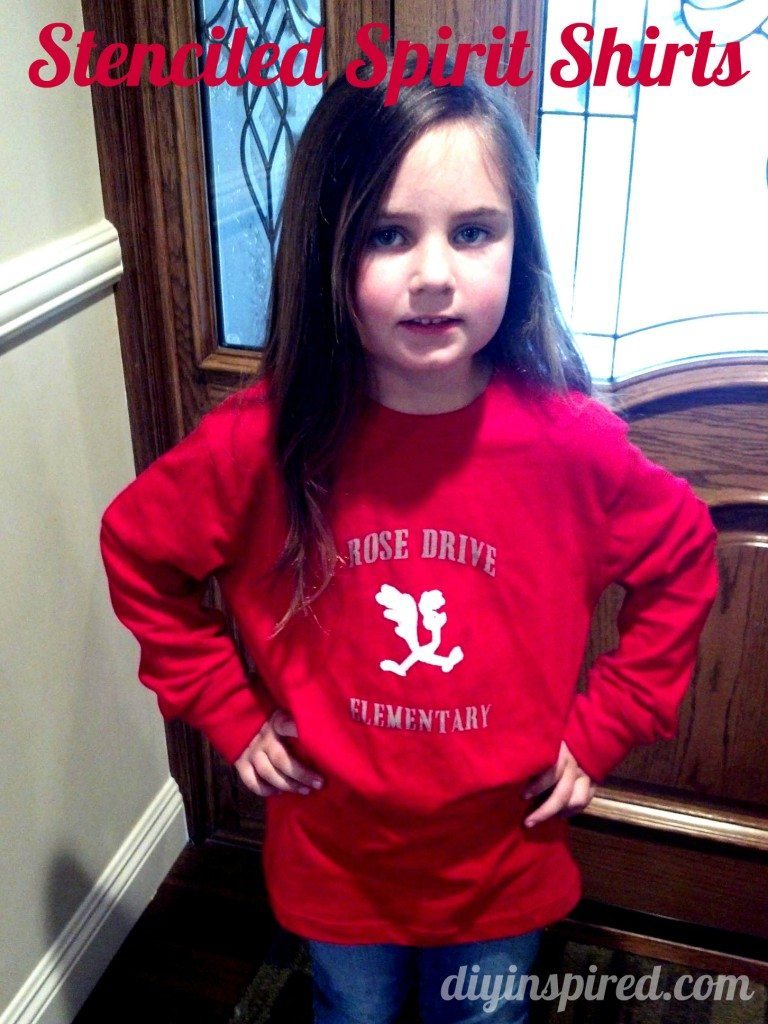
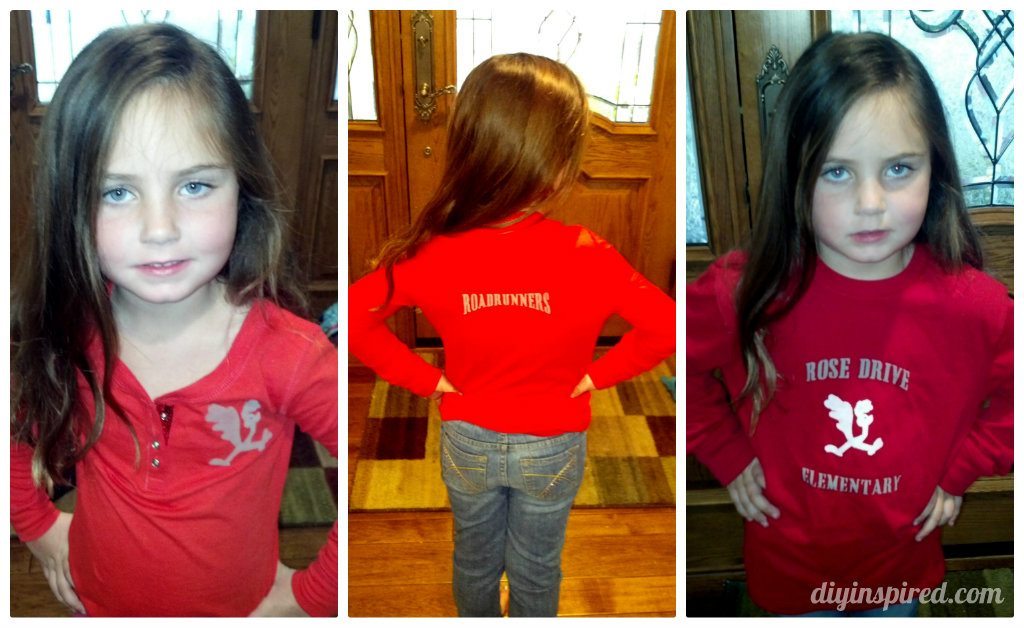
Here are some after photos with our lovely model, Tiffany!

Great idea having the stencil to reuse for her elementary school years will save lots of money :). I will even be making scarfs for christmas presents for her teachers and office staff!
Great idea!