Butterfly Birthday Party Invitation in a Box
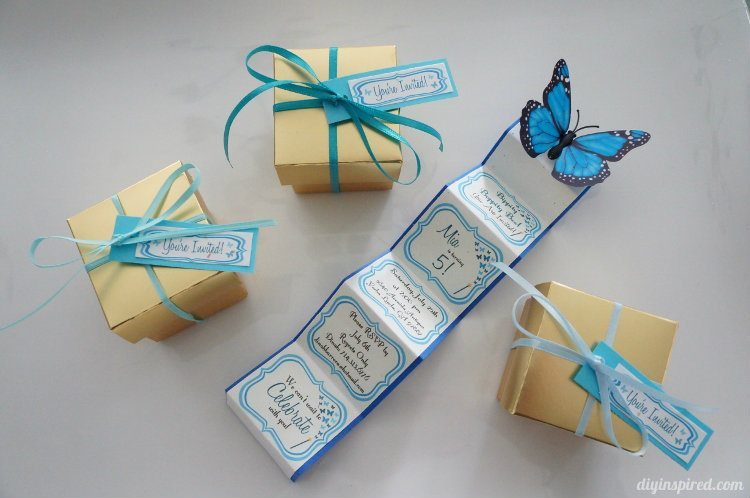
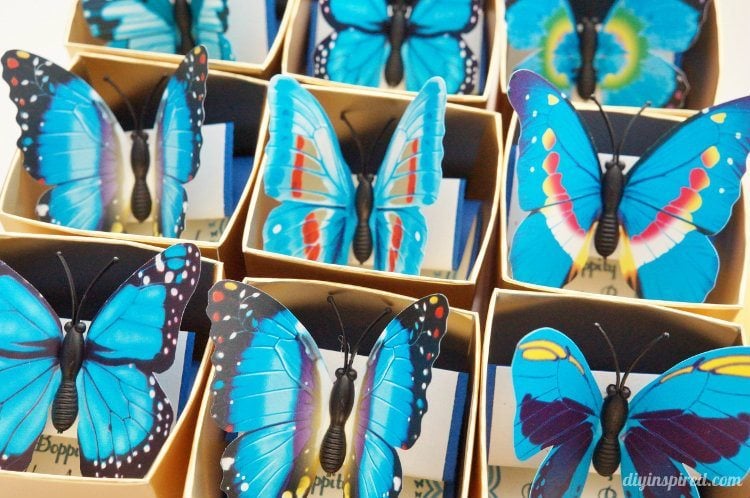
OK, so I may have gone a little over board but I couldn’t help it! I had an idea, got some great deals on the supplies, and went for it! My crazy idea turned into these beautiful blue butterfly birthday party invitations in a box.
This year for my daughter’s fifth birthday she requested a Cinderella theme. “No Mommy. Not the cartoon Cinderella, the MOVIE Cinderella!” Got it. We had just seen the 2015 movie and my daughter LOVED it. In the movie, her father brings her a blue origami butterfly home from his travels and gives it to Cinderella, who cherishes it forever. There are hints of butterflies throughout the movie, including all over Cinderella’s beautiful ball gown gifted by her Fairy Godmother. So, her Cinderella party this year will have lots of blue butterflies.
I already made some pretty butterfly paper lanterns as well in case you missed it. For these invites, you will need:
- Gold Boxes
- Blue Ribbon
- Blue Craft Butterflies
- Blue and White Paper
- Paper Cutter
- Double Sided Tape or Glue
- Scissors
- Hot Glue and Glue Gun
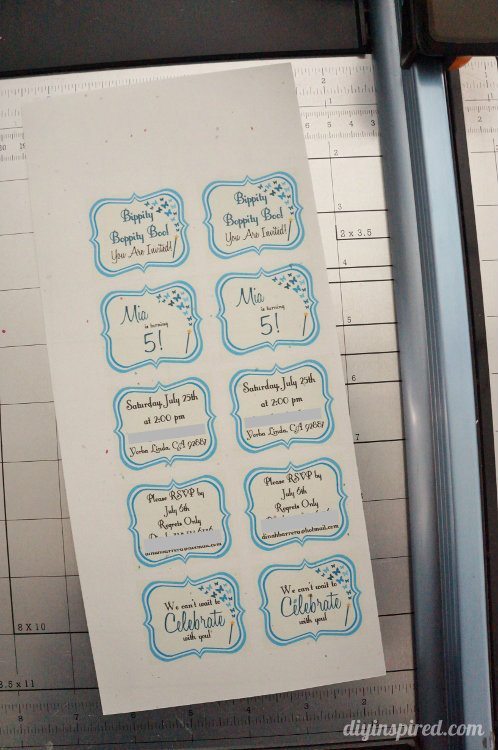
I designed the invitation in five windows:
- Bippity Boppity Boo! You are invited!
- Mia is turning 5!
- Date, time, address
- RSVP Information
- We can’t wait to celebrate with you!
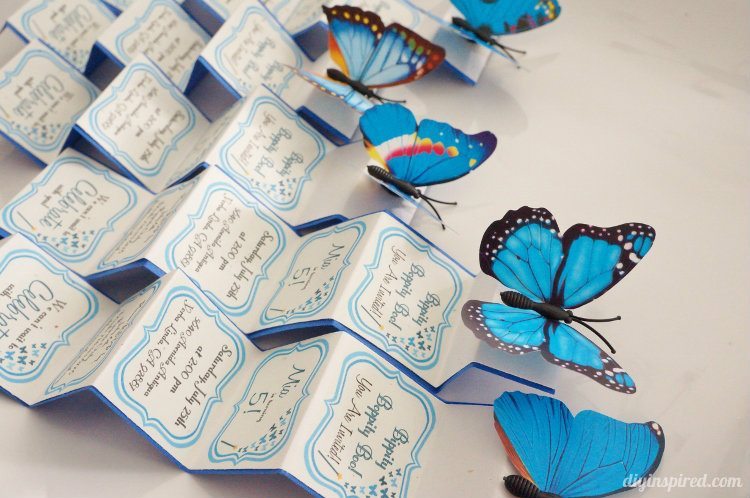
I was able to fit three invites on one sheet of paper. They should be about 1.75” wide. I printed and cut them all out in strips leaving the top and bottom. I also cut out a blue strip to use as a boarder about 1.9” wide. I folded and taped them like an accordion.
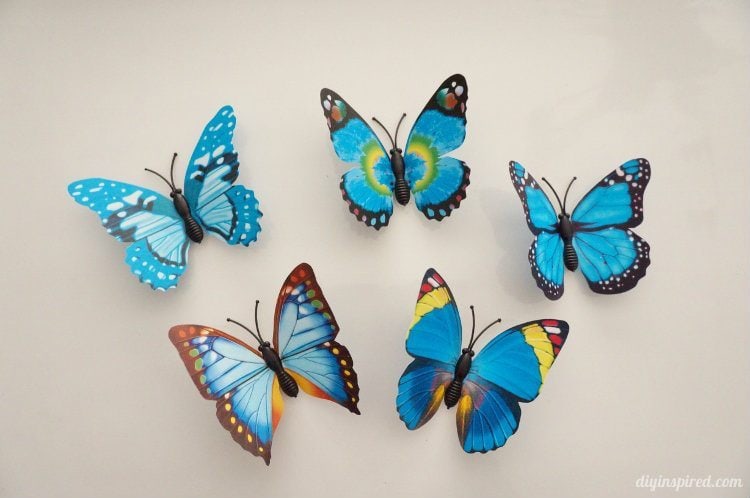
I found these blue butterflies on Amazon. They are actually wall decals. I used the small ones for the invites and I will use the larger butterflies for party decorations.
I hot glued the butterfly to the top of the invitations. Hot glue will insure that it will stay intact while it is pulled out of the box.
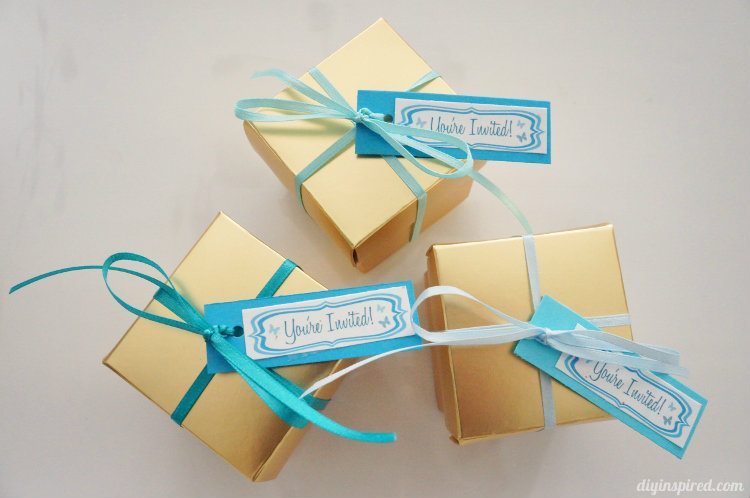
I folded them all up and placed them snugly in the 2”X2” box.
I tied them up with ribbon and made a little “you’re invited” tag to go with it.
This is how it will look when the recipient opens the box:
Don’t forget to check out the paper butterfly lanterns I made too!


Super cute and pretty idea! …coming from The Scoop! ~Rhonda
This is awesome! Such a beautiful and unique invitation. Pinning and sharing! Visiting from DIY Dunday Showcase:)
This is so incredible! What a lovely invite. Thank you for sharing with us at the Brag About It Link Party!
So pretty! What a fun idea! Thanks for linking up with us at the #HomeMattersParty and I hope you’ll join us again!
Do you have a link to an editable format for the acutal invite?
Hi Sarah! Unfortunately I don’t. Graphic design isn’t my strong suite and I’m unsure of how to make it editable.
May I ask where did you get the boxes from?..I love the butterfly invite idea…my daughter is having a butterfly party March 2016so I’m trying to get ideas…
Hi Lucero! I bought them at Michael’s Craft Store in the Wedding Section. Hope this helps!
I love this invitation and plan to use it for my daughter’s birthday. Can you tell me what you did to get the blue border around each section and the little butterflies inside. Thanks a million. I love your creativity.
Hi Valorie! Thank you so much! I put the directions in the tutorial above. Let me know if you can’t find it! I’m so happy you like them.
Can you share what program you used to create these invitations? I’m in love!!!
Thanks, Courtney! I actually used iPiccy.com. It’s a free program. So happy you like them!!
I will try to make this. I fell in love with this invitation as soon as i see this. My daughter is turning 1 next month.
I’m so happy you like it! Happy birthday to your baby girl!
Hello. I went on the site you said you used to design these and couldn’t figure it out. Any tips to help me get similar results?
Hi Megan! I tried to find the frame template I made, but had no luck, so I will do my best to explain! You have to make five separate designs for each section of the invitation. You can make a base first (frame with the butterflies), save it, and then upload it to add the info you want. To make the frame, click “make a design” and then click “add a vector sticker” (the heart icon). Choose a frame from the labels section and work from there. I hope this helps!!
I’m not very good with the computer. Would you be interested in making the invitation part, that I can print out?
Hi Rayleen! So sorry! I don’t have a printable for this one.