• Project Gallery
  • DIY
    • Recycled DIY
    • Upcycled DIY
    • Repurposed DIY
    • Refurbished DIY
    • DIY Furniture
    • Repurposed Furniture
    • Thrift Store Transformations
  • Crafts
    • Wood Crafts
    • Paper Crafts
    • Photo Crafts
    • Kids Craft Ideas
    • Doll Crafts
    • Felt Crafts
    • Stenciling
    • Gift Wrapping
    • Printables
  • Party
    • Birthday Party
    • Baby Shower
    • Bridal Shower
    • Wedding
    • Team Sports
    • Sweets and Treats
    • Cocktail Corner
  • Holidays
    • Valentine’s Day
    • St. Patrick’s Day
    • Easter
    • Earth Day
    • Teacher Appreciation
    • Mother’s Day
    • Father’s Day
    • Fourth of July
    • Back to School
    • Halloween
    • Halloween Costumes
    • Thanksgiving
    • Elf on the Shelf
    • Christmas
    • New Years
  • Home & Garden
    • Storage & Organization
    • Cleaning Tips
    • Gardening
    • Makeovers
    • Kid Stuff Makeovers
    • DIY Tips & Tricks
    • DIY Artwork
    • Curb Appeal
  • Health & Beauty
    • Health & Wellness
    • Bath & Body
  • Nav Social Menu

    • Facebook
    • Instagram
    • Pinterest
    • Twitter
    • YouTube

DIY Inspired

Repurpose, Reinvent

  • About
  • Contact
  • Advertising
  • Featured
  • Disclosure

Crafts DIY Party Ideas Trash To Treasure

Alice in Wonderland Flowers

How to Make Alice in Wonderland Flowers for a Birthday Party Centerpiece

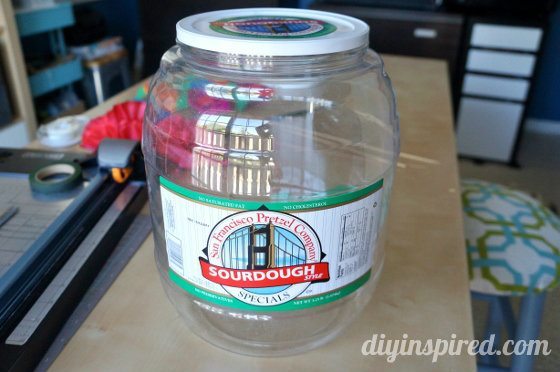
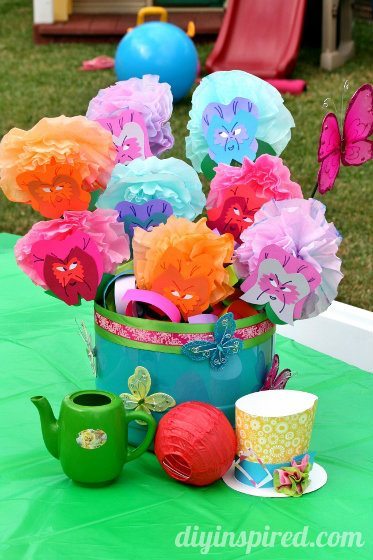
My best friend is having an Alice In Wonderland themed party for my God daughter’s first birthday. I decided that I wanted to make a paper flower centerpiece for her using a recycled pretzel container and some dyed coffee filter flowers.  This was my original inspiration. First let me show you how to make the vase. These instructions contain affiliate links for recommended products.

Materials for Flower Vase:

  • Large plastic container (I used a pretzel container from Costco)
  • Craft paint
  • Paint brush
  • Craft knife
  • Scissors
  • Embellishments (ribbon, craft butterflies)

Instructions for the Centerpiece Vase:

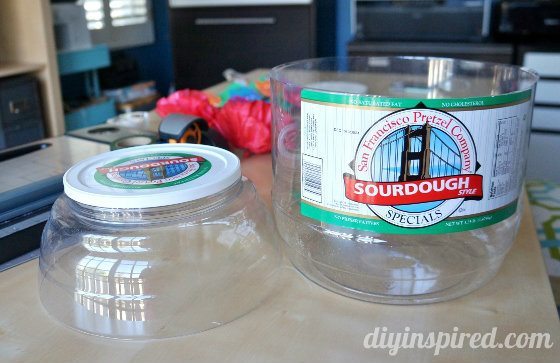
Cut the plastic container to the desired size. I found it easiest to puncture the container with a craft knife first and then use scissors to cut the rest.

diy-recycled-container-vase

diy-recycled-container-vase (1)

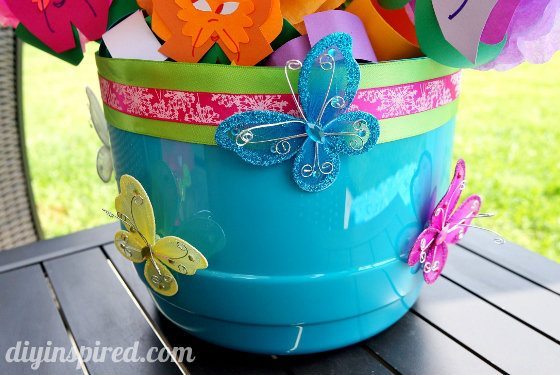
Remove the stickers and paint the inside of the container with craft paint and embellish it with ribbon.  I also used craft butterflies. Painting the inside will give it a nice glossy finish.

alice-in-wonderland-paper-flowers (1) (560x375)

Materials for Alice in Wonderland Flowers:

  • Dyed Coffee Filter Flowers
  • Scrapbook paper and/or cardstock
  • Scissors
  • Glue
  • Hot glue and glue gun
  • Double-sided tape
  • Sharpies
  • Skewers
  • Floral Tape
  • Styrofoam

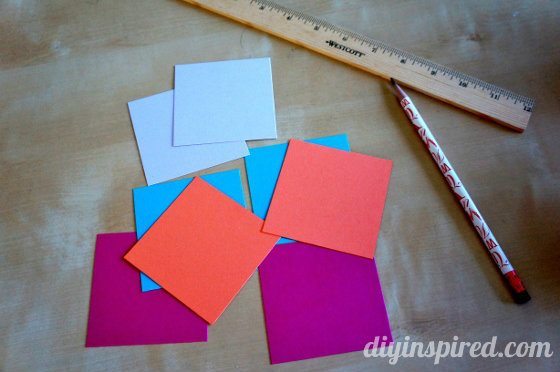
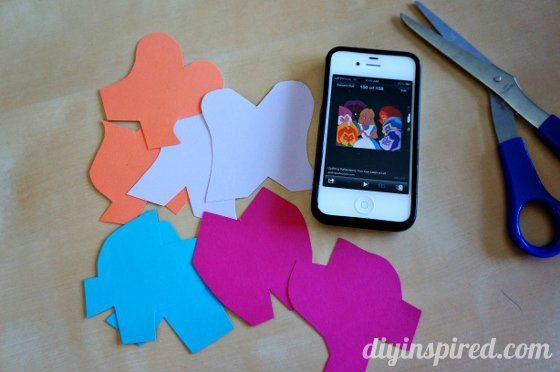
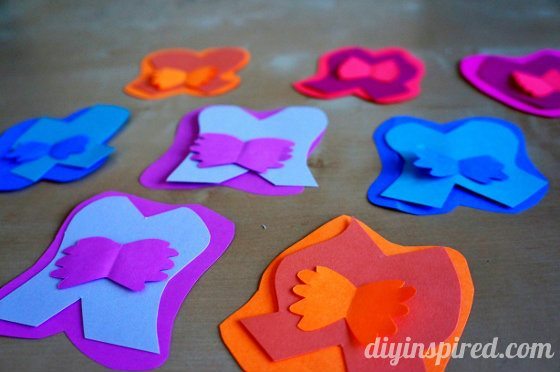
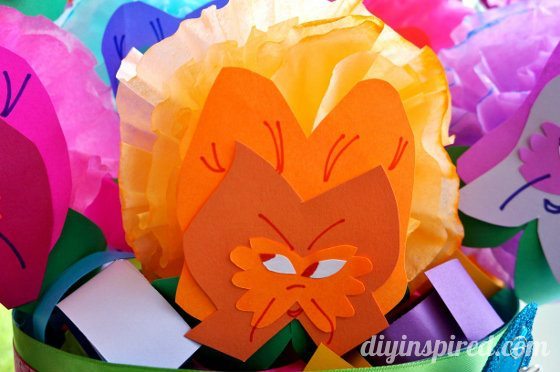
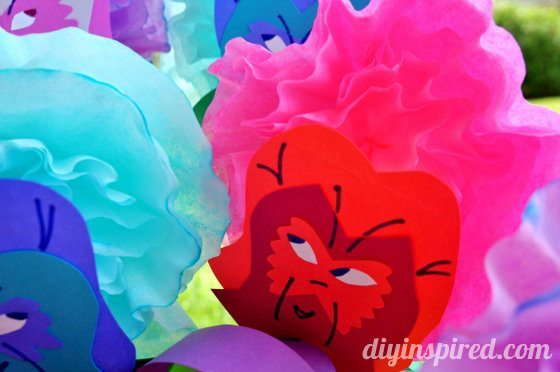
Photo Instructions:  I thought photo instructions would be self-explanatory. I just cut and trimmed as I went, using the inspiration photo on my phone as a guide.

Note: I started with a 3”X3” piece of cardstock.

alice-in-wonderland-paper-flowers-with-faces (1) (560x372)

alice-in-wonderland-paper-flowers-with-faces (2) (560x372)

alice-in-wonderland-paper-flowers-with-faces (3) (560x372)

alice-in-wonderland-paper-flowers-with-faces (4) (560x372)

alice-in-wonderland-paper-flowers-with-faces (5) (560x372)

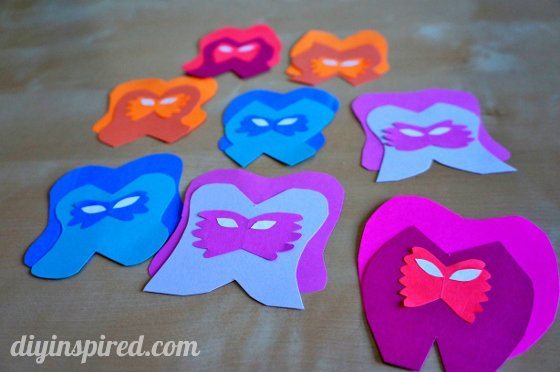
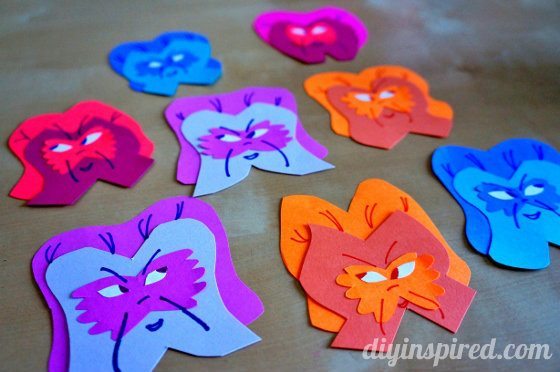
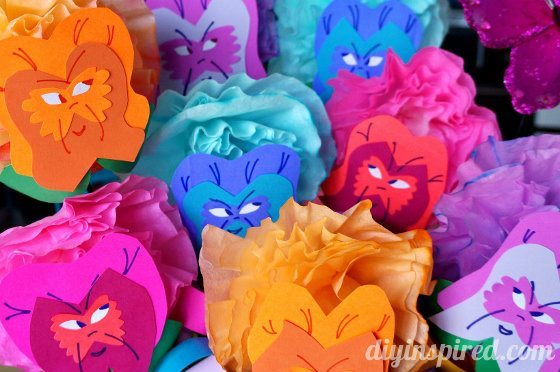
Here are few close ups of the faces.  I hot glued the paper flowers onto the floral wrapped skewers and inserted them into Styrofoam hidden inside the vase.

alice-in-wonderland-paper-flowers (3) (560x372)

alice-in-wonderland-paper-flowers (2) (560x372)

Here are a couple after photos.

paper-flowers-with-faces (560x372)

alice-in-wonderland-paper-flowers (4) (560x402)

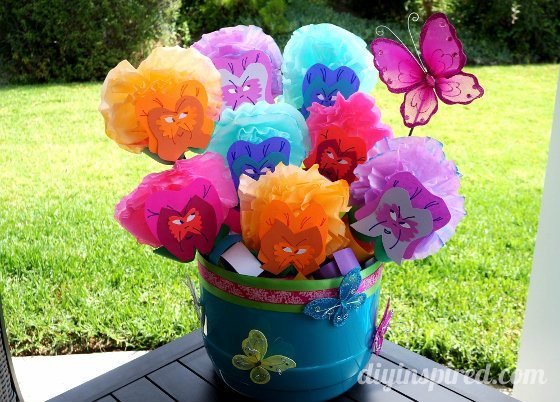
Here they are at the actual Alice in Wonderland First Birthday Party!

Alice-in-wonderland-first-birthday-party-13

You may also like a this Vintage Inspired Alice in Wonderland Mad Hatter Tea Party!

  • Upcycled Thrift Store Teapots
  • Upcycled Thrift Store Tea Cups
  • Mad Hatter Tea Party Hat Decoration
  • Mad Hatter Tea Party Chair Centerpieces
  • Mad Hatter Tea Party Centerpieces & Ideas
  • Share
  • Twitter


14 Comments

Join our Community of Crafters!

Stay updated and never miss a thing!

Disclosure and Privacy Policy
Previous Post: « My Crafty Toolbox
Next Post: DIY String Art »

Reader Interactions

Comments

  1. Sherry says

    June 7, 2013 at 8:04 am

    These flowers are so cute! Love them!

    Reply
    • Dinah Wulf says

      June 7, 2013 at 12:14 pm

      Thank you Sherry! I was truly wining it! 😉

      Reply
  2. Danni says

    October 23, 2014 at 6:16 pm

    How did you put the faces on the filter flowers? It doesn’t really say how….. Was it on the side of the flower? The top? Were they glued, taped?

    Reply
    • Dinah Wulf says

      October 24, 2014 at 9:10 am

      Hi Danni! I glued them on the top of the flower with hot glue, and then glued the flower sideways onto the skewer.

      Reply
  3. Christie says

    November 11, 2014 at 6:32 am

    How did you make the coffee filter flower?

    Reply
    • Dinah Wulf says

      November 11, 2014 at 6:37 am

      Here you go, Christie! https://diyinspired.com/alice-in-wonderland-theme-party-red-paper-flowers/

      Reply

Trackbacks

  1. DIY Mad Hatter Top Hat - DIY Inspired says:
    October 8, 2014 at 10:02 pm

    […] Alice in Wonderland Flowers […]

    Reply
  2. DIY les fleurs d'Alice aux pays des merveilles. | Natacha Birds says:
    December 30, 2014 at 9:47 am

    […] les adore (même si elles sont méchantes)… Alors en fouillant sur google je suis tombée sur ce blog dont j’ai adoré le DIY. J’ai été jalouse de l’idée et j’ai eu envie de […]

    Reply
  3. Alice in Wonderland Party Part 2 - Simply Creative Ways says:
    May 4, 2015 at 4:06 am

    […] My best friend and fellow blogger over at DIY Inspired created this amazing centerpiece that I used on the kids table!  Click the link to see how she repurposed a plastic container and tissue paper to make these Alice in Wonderland Flowers.  […]

    Reply
  4. Recycled Plastic Container Crown - DIY Inspired says:
    May 12, 2016 at 10:37 am

    […] Alice in Wonderland Flowers […]

    Reply
  5. Alice in Wonderland Activities - I am the Maven® says:
    May 25, 2016 at 8:31 am

    […] in Wonderland Sugar Cookies with Royal Icing | Hezzi D’s Books and Cooks 2. Alice in Wonderland Flowers | DIY Inspired 3. Alice’s Timepiece Necklace | The Farm Girl Gabs 4. Alice in Wonderland Card […]

    Reply
  6. DIY Disney Princess Costumes - DIY Inspired says:
    September 28, 2016 at 8:33 am

    […] Alice in Wonderland Flowers […]

    Reply
  7. Mad Hatter Tea Party Centerpieces & Ideas - DIY Inspired says:
    January 18, 2017 at 11:09 am

    […] Alice in Wonderland Flowers […]

    Reply
  8. Mad Hatter Tea Party Chair Centerpieces - DIY Inspired says:
    January 18, 2017 at 11:11 am

    […] Alice in Wonderland Flowers […]

    Reply

Leave a Reply Cancel reply

Your email address will not be published. Required fields are marked *

This site uses Akismet to reduce spam. Learn how your comment data is processed.

Primary Sidebar

Welcome!

DIY Inspired Profile Picture 2015Thank you for visiting! I'm Dinah and I am a full time Mother, Blogger and Writer. I'm honored to be named one of Mashable's 10 Mom Blogs Full of Inspiring Advice. {Read more about me here}

Join our Community of Crafters!

Stay updated and never miss a thing!

Disclosure and Privacy Policy

Stay updated and never miss a thing!

Footer

You might also love these

Recycled Jar Utensil Holder Printables

10 Mason Jar Craft Ideas

Stenciled Coat Rack for a Kid's Room

Clever Coat Hangers

Handmade Holiday Gifts for Friends

DIY Recycled Water Bottle Beads

Easy Nursery Decor Idea

Sleep Under the Stars DIY Star Wall Art

Fall Wreath in a Basket

Hanging Fall Wreath DIY

Copyright © 2021 · Divine theme by Restored 316

Copyright © 2005–2021 DIY Inspired. Installed and customized by TCN Design Studio

We use cookies to ensure that we give you the best experience on our website. If you continue to use this site we will assume that you are happy with it.OkRead more