• Project Gallery
  • DIY
    • Recycled DIY
    • Upcycled DIY
    • Repurposed DIY
    • Refurbished DIY
    • DIY Furniture
    • Repurposed Furniture
    • Thrift Store Transformations
  • Crafts
    • Wood Crafts
    • Paper Crafts
    • Photo Crafts
    • Kids Craft Ideas
    • Doll Crafts
    • Felt Crafts
    • Stenciling
    • Gift Wrapping
    • Printables
  • Party
    • Birthday Party
    • Baby Shower
    • Bridal Shower
    • Wedding
    • Team Sports
    • Sweets and Treats
    • Cocktail Corner
  • Holidays
    • Father’s Day
    • Fourth of July
    • Back to School
    • Halloween
    • Halloween Costumes
    • Thanksgiving
    • Elf on the Shelf
    • Christmas
    • New Years
    • Valentine’s Day
    • St. Patrick’s Day
    • Easter
    • Earth Day
    • Teacher Appreciation
    • Mother’s Day
  • Home & Garden
    • Storage & Organization
    • Cleaning Tips
    • Gardening
    • Makeovers
    • Kid Stuff Makeovers
    • DIY Tips & Tricks
    • DIY Artwork
    • Curb Appeal
  • Health & Beauty
    • Health & Wellness
    • Bath & Body
  • Nav Social Menu

    • Facebook
    • Instagram
    • Pinterest
    • Twitter
    • YouTube

DIY Inspired

Repurpose, Reinvent

  • About
  • Contact
  • Advertising
  • Featured
  • Disclosure

DIY Artwork Kid Stuff Makeovers

Displaying Kids Artwork

Displaying Kids Artwork with Metal Clips DIY

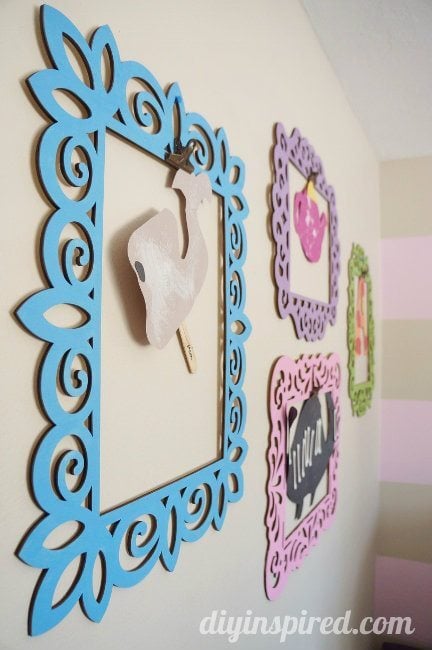
I had made this artwork display idea a while ago when we were decorating my daughter’s room in our old house. Now that she’s getting a little older, I have been slowly changing her room a little to adapt to her tastes and maturity. Oh, and did I mention I wanted to do it on a budget?  This meant making some slight changes to things she already had, including these frames I made for displaying kid’s artwork.

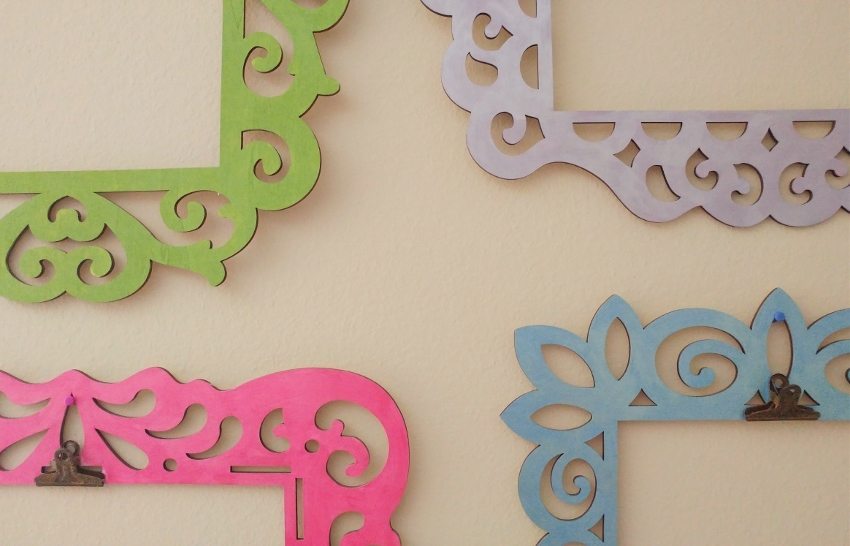
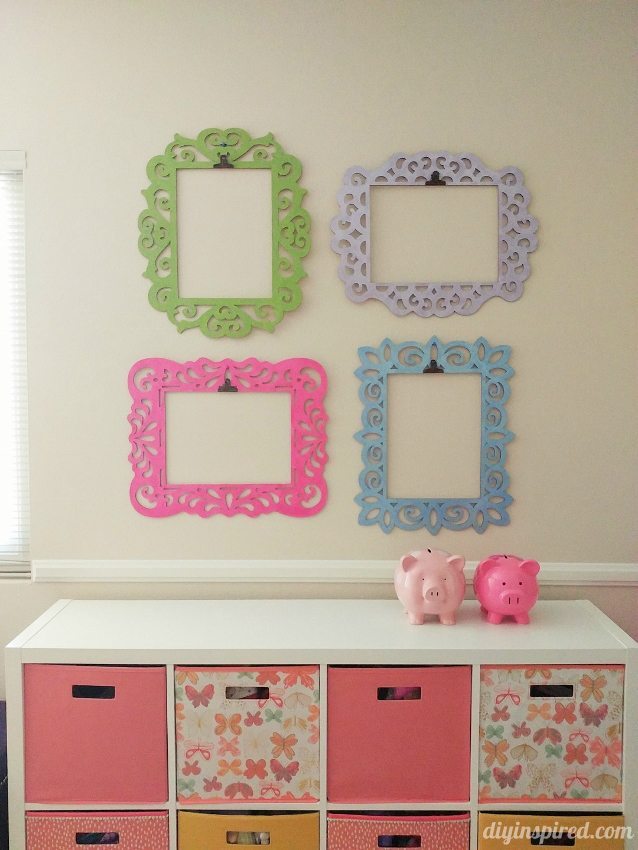
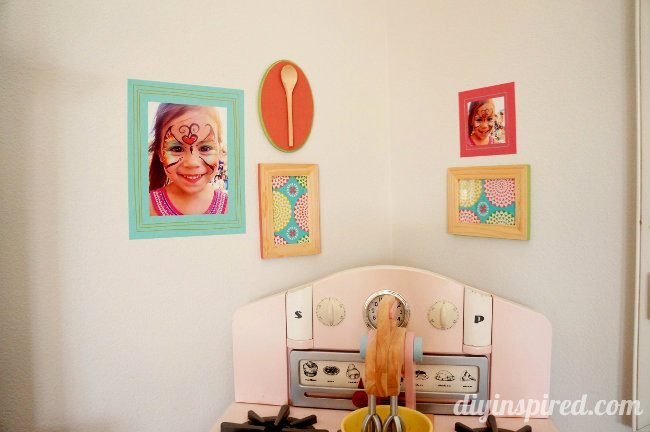
This is what it looked like before. As you can see she liked to hang her projects from preschool.

Interchangeable Frames for Kids Artwork

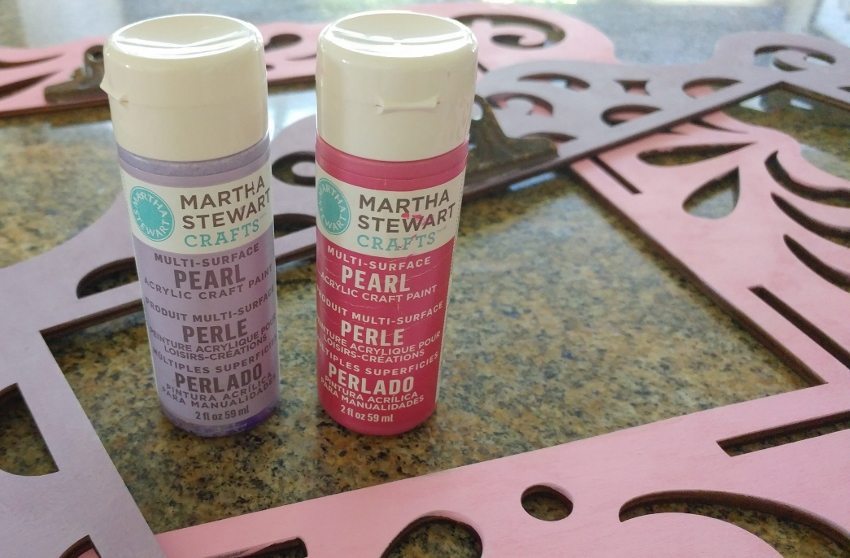
They still look great but since I reorganized her room, I wanted to mute the existing colors to match her organization cubes. I decided on painting over them with Martha Stewarts Pearl Acrylic Craft Paint.

Kids Artwork Display

This gave them a shiny pearl sheen. Here’s a photo of the difference.

Kids Artwork Display - Purple Frame

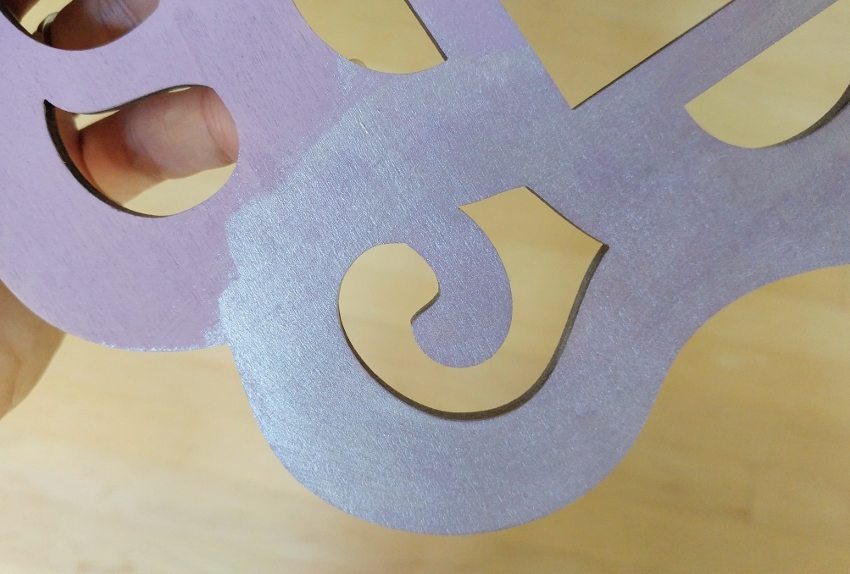
Here are a few close ups.

Kids Artwork Display with Purple Pearl Frame

Kids Artwork Display - Blue Pearl Frame

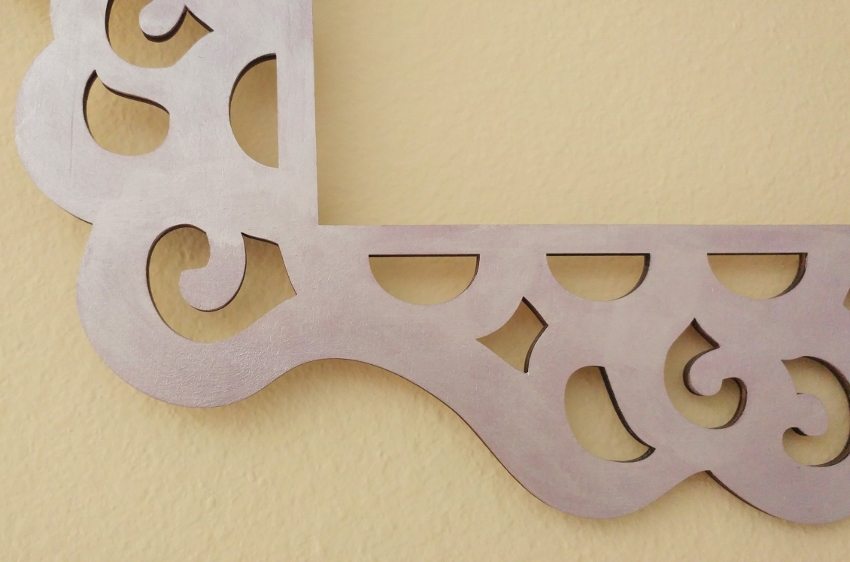
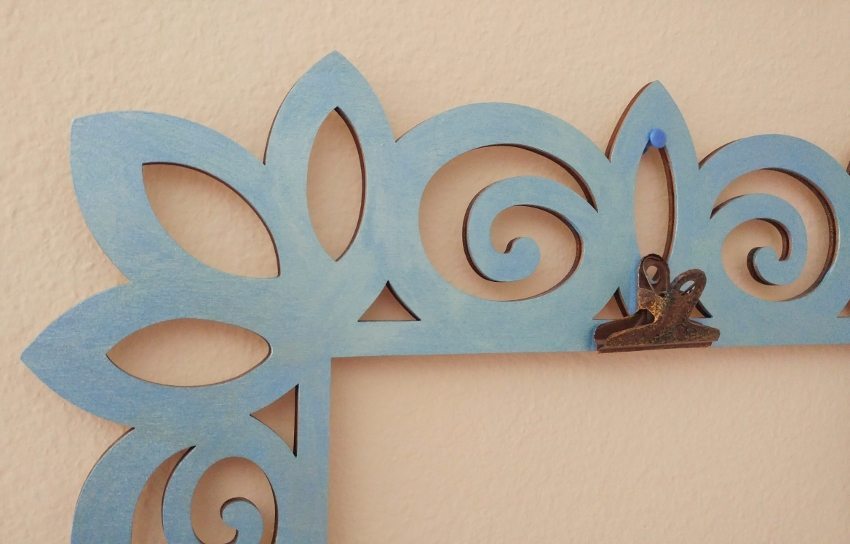
I used a foam brush and simply painted over the old matching color. I kept the green frame the same but painted over the blue (Aquarium), purple (Eclipse), and pink (Fruit Punch) frames. It dried quickly and I was able to hang them up almost immediately. Even though this was a simple change, it looks much better. Once I finish her room, I’ll share the room tour. Now I am off to paint an accent wall!

Kids Artwork Display with Clips to Change Artwork

You May Also Like:

  • 31 Kids Room Ideas You Can DIY
  • Kid’s Picnic Table Makeover
  • Stenciled DIY Coat Hanger for Kids
  • Upcycled Soccer Medal Holder DIY
  • Playhouse DIY Mini Makeover
  • Upcycled Thrift Store Bench for Kids
  • Share
  • Twitter


9 Comments

Join our Community of Crafters!

Stay updated and never miss a thing!

Disclosure and Privacy Policy
Previous Post: « DIY Laundry Room Labels
Next Post: DIY White-Washed Screen »

Reader Interactions

Comments

  1. Melanie says

    July 21, 2016 at 9:19 am

    Love the pretty pearl sheen on that purple frame!

    Reply
  2. Vanessa says

    July 26, 2016 at 10:05 am

    These are so lovely and the colors are beautiful! I am enjoyed visiting your lovely blog and I would love for you to share your creative post at a linking party I am hosting. Hope to see you there. Have a great week. http://diy180site.blogspot.com/2016/07/dishing-it-digging-it-link-party-106.html

    Reply
  3. Virginia says

    July 28, 2016 at 5:55 am

    Great idea!

    Reply
  4. Stacey says

    July 28, 2016 at 2:43 pm

    Such a cute way to display the art and make your kids feel special. I like this. 🙂

    Thanks for sharing at Thoughts of Home on Thursday.

    Reply
  5. Megan Chamberlin says

    July 28, 2016 at 8:50 pm

    This is such a great idea!! Love this for displaying all the artwork the kids’ crafts! Thanks for sharing at Merry Monday!

    Reply
    • Dinah Wulf says

      July 29, 2016 at 9:49 am

      Thanks again for having me, Megan!

      Reply
  6. Jenn @ EngineerMommy says

    July 30, 2016 at 5:07 am

    LOVE this idea! So fun and colorful. By the way, I featured this post on my blog today: http://engineermommy.com/2016/9-gorgeous-home-updates/

    Reply
    • Dinah Wulf says

      July 30, 2016 at 7:43 am

      Awesome! Thank you SO much, Jenn!!

      Reply
  7. Crystal Green says

    July 30, 2016 at 12:35 pm

    This is such a simple idea, but one worth doing. It’s also ideal for when kids take their art to the walls.

    Thank you for sharing this with us on the #HomeMattersParty. We hope to see you again when we open our doors at 12 AM EST on Friday.

    Reply

Leave a Reply Cancel reply

Your email address will not be published. Required fields are marked *

This site uses Akismet to reduce spam. Learn how your comment data is processed.

Primary Sidebar

Welcome!

DIY Inspired Profile Picture 2015Thank you for visiting! I'm Dinah and I'm honored to have had an exciting career in blogging over the last 11 years. {Read more about me here}

Join our Community of Crafters!

Stay updated and never miss a thing!

Disclosure and Privacy Policy

Stay updated and never miss a thing!

Footer

You might also love these

DIY Classroom Mobile Phone Holder

Classroom Smart Phone Drop Station

How to Make Cotton Stems

DIY Fabric Covered Switchplates

DIY White and Gold Nightstands

Over Ten Years of Do-It-Yourself Inspiration

DIY Paper Flower Party Decor

Accordion Flowers How To

Copyright © 2022 · Divine theme by Restored 316

Copyright © 2005–2022 DIY Inspired. Installed and customized by TCN Design Studio