Playhouse DIY Mini Makeover
I am proud to be a 3M- sponsored blogger, and, as part of my responsibilities, I get the opportunity to evaluate products from 3M DIY. Opinions are my own and additional product used in the project were selected by me.
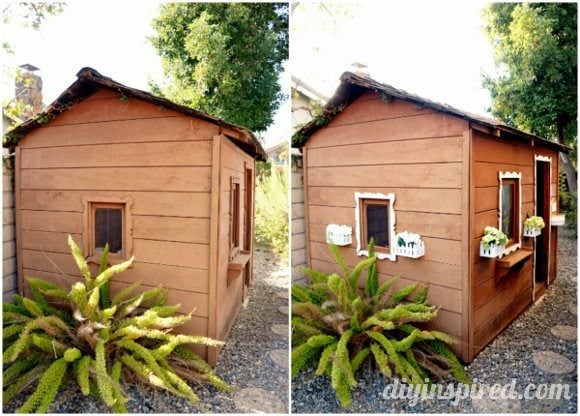
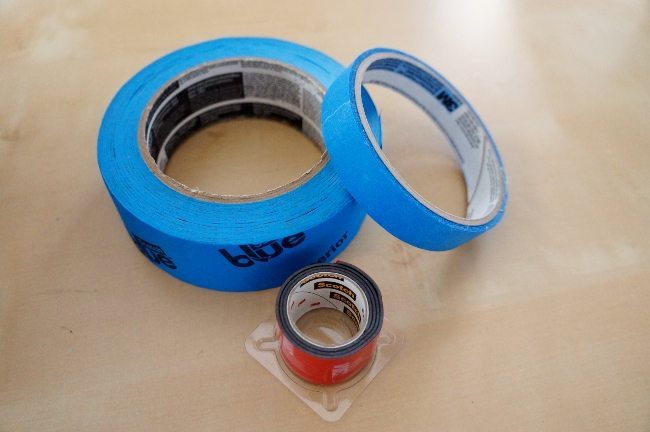
My daughter has a large playhouse on the side of our home that needed a little TLC. I didn’t want to spend too much time and money on this project, so I decided on giving it a mini makeover to make it a little more appealing and inviting. With a little imagination and some thrift store finds, I was able to complete this project over a weekend. First, here are the three key materials I used for this Playhouse DIY Mini Makeover. They were honestly lifesavers and helped make this project so quick and easy!
Materials:
- Hose, soap, and Water
- Exterior Paint
- Paint Brushes
- Small Wooden Flower Boxes
- Mailbox (reimagined)
- Thrift store find
- Wooden letters
- Paint
- Paintbrush
- Metal ribbon
- Scissors
- Glue
- ScotchBlue™ Painter’s Tape
- ScotchBlue™ Painter’s Tape Exterior Surfaces
- Scotch® Extreme Mounting Tape
The first thing I did was power wash the house. I had to scrub it down with soap and water. I cleaned it as best I could, however was unable to remove all the chalk paint that was an unfortunate mishap from a previous playdate!
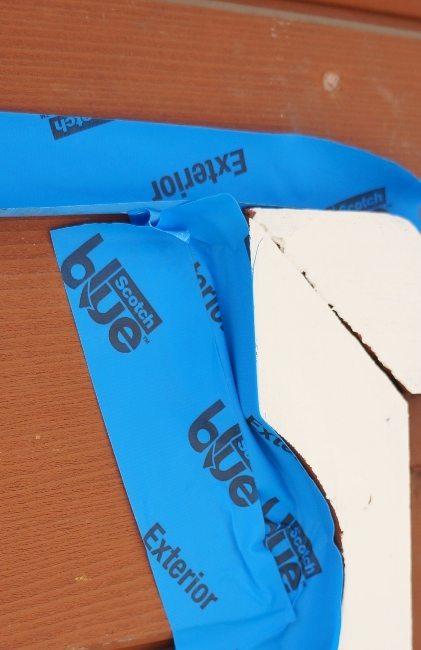
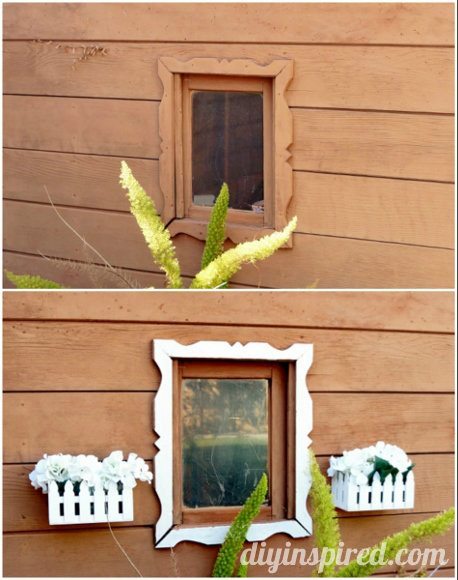
Once the playhouse was dry, I taped off the windows and trim with ScotchBlue™ Painter’s Tape Exterior Surfaces.
I hand painted all the window and door trim with white exterior paint.
For the flower boxes and mailbox, I used Scotch® Extreme Mounting Tape. This worked PERFECTLY! Let me tell you 3 main reasons why:
- It’s all weather and works for outdoor use.
- My flower boxes and mailbox are all light weight. For every two inches of tape, it holds one pound.
- The mounting tape allowed me to mount all of it without having to use nails through the very thin playhouse walls.
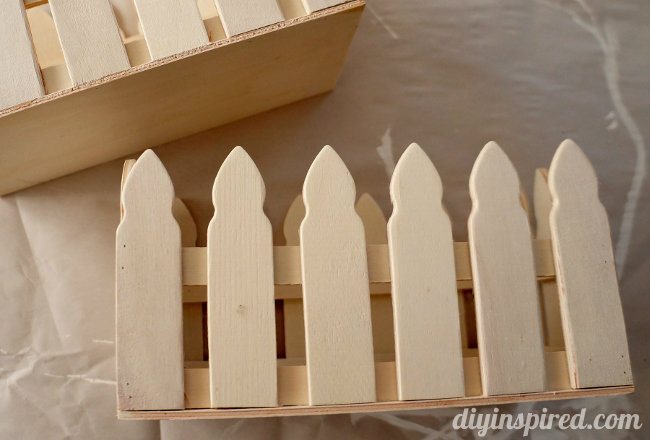
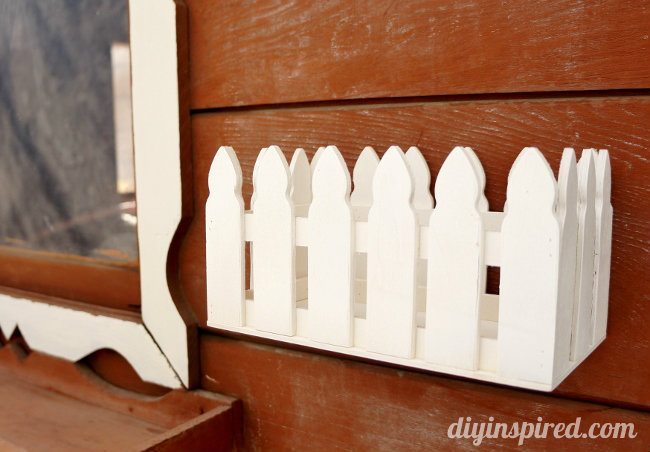
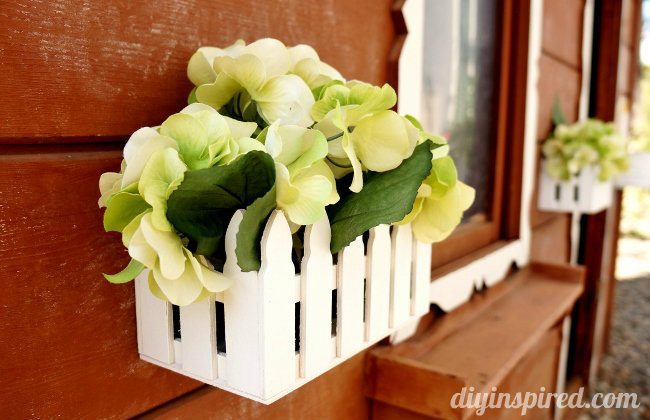
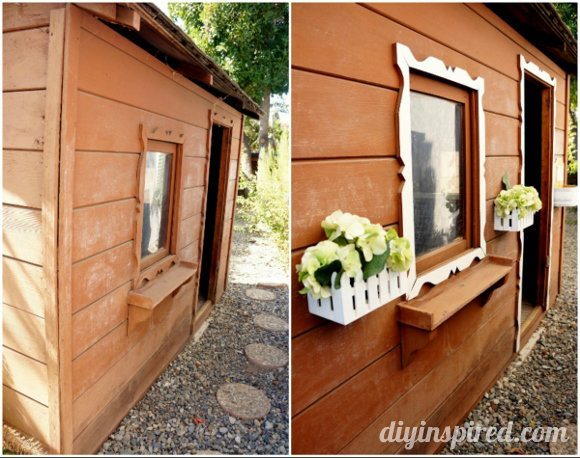
For the flower boxes, I found premade boxes at the craft store, which I painted white.
Artificial flowers worked well inside because a) the don’t weigh down the boxes, and b) they are easy to rinse off and clean…oh! AND they are pretty too!
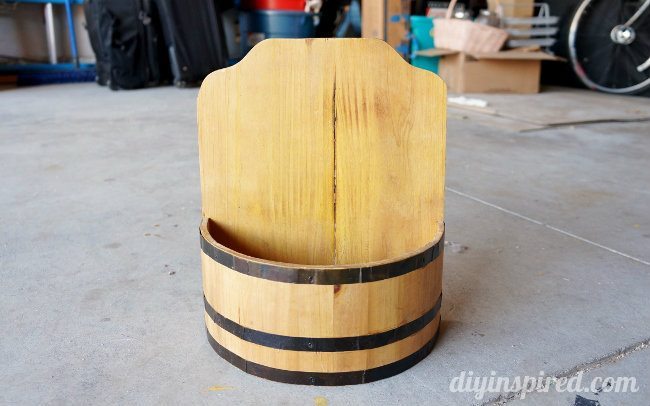
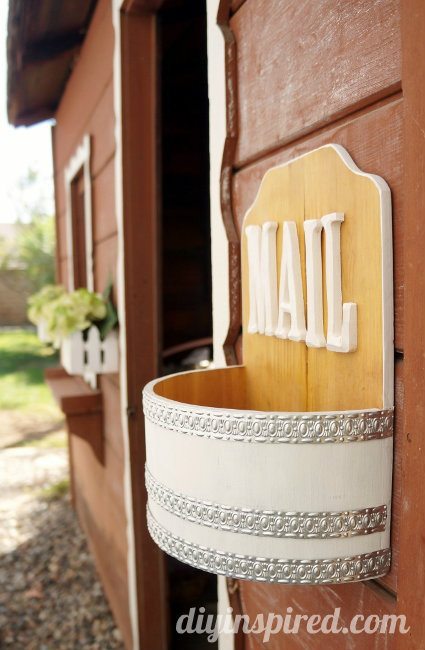
For the mailbox, I found this for a few dollars at Goodwill.
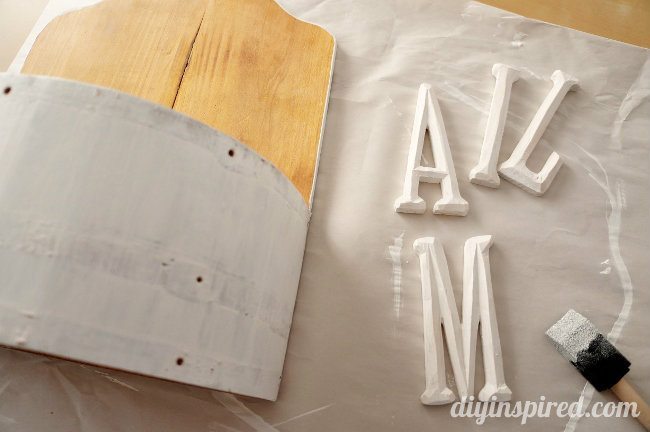
I painted part of it white, and added “MAIL” in wooden letters.
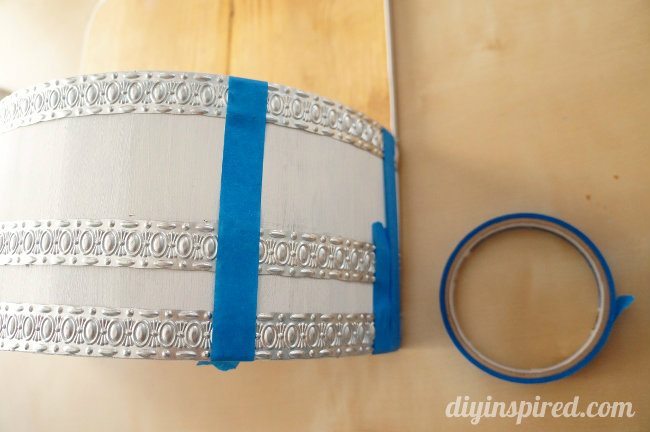
I found metal ribbon trim, removed the old trim and replaced it with the new trim. I attached it with industrial strength glue and used ScotchBlue™ Painter’s Tape to hold it in place overnight.
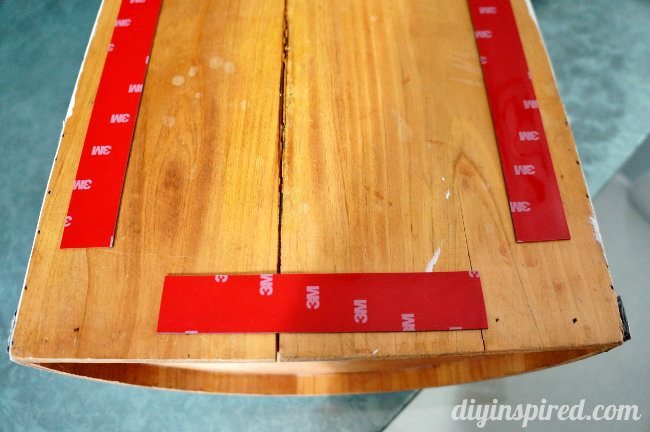
Once the glue was dry, I used Scotch® Extreme Mounting Tape.
It attached to the house with ease.
Here are a few before and after photos! I loved the way it turned out!
Thank you to 3M DIY for sponsoring this post!


Oh wow – I would go nuts with a little playhouse like that! Good job!
Ha! Thank you Heather!
That looks great! I love the mail box!
Thank you!!
Okay, this is crazy, but I’m dying to see what the inside looks like! The outside is too cute for school!
I still need to work on the inside… Ha!