DIY Pop Out Money Gift Box
Learn How to Make a DIY Pop Out Money Gift Box for any Occasion
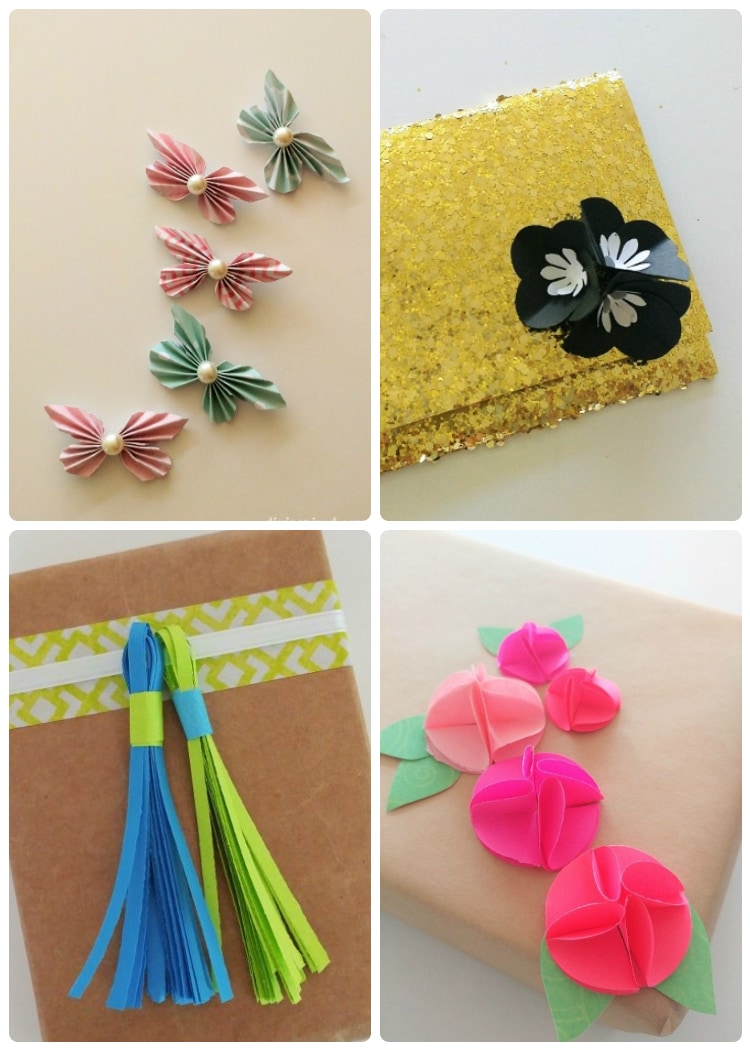
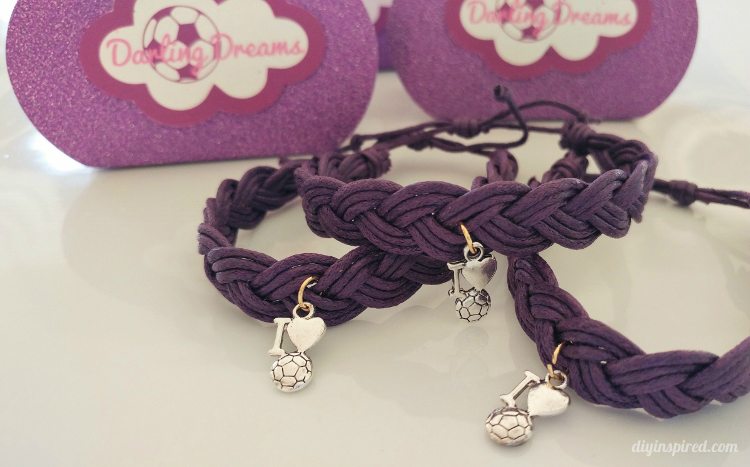
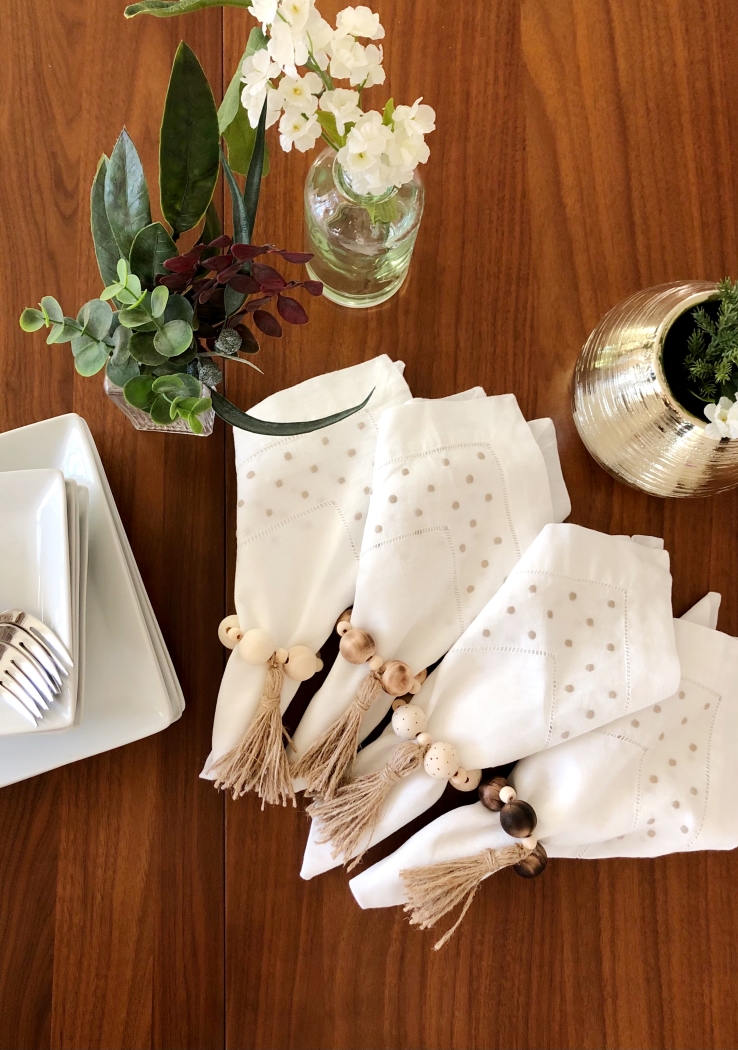
I wanted to make something special for my goddaughters this year for their birthday… the inspiration for this DIY Pop Out Money Gift Box. As they get older, it’s harder and harder to buy gifts. I do always try to get creative for them like these gifts:
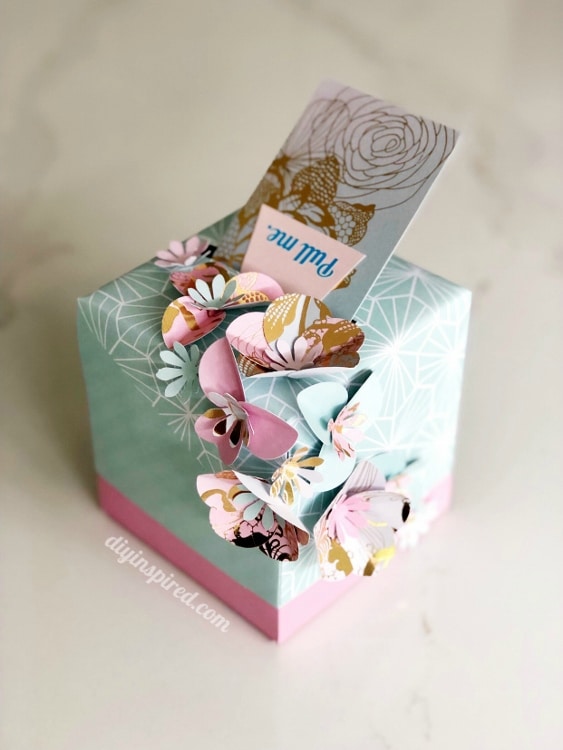
So, this time I thought I’d give them something everyone loves…money! But how boring is giving a card with money in it? I couldn’t do that! So, I made this fun and glittery pop out money gift box. I made a glittery pink one and a glittery blue one.
You can use them for:
- Birthdays
- Graduation
- Any Holiday
- A Prize for a Contest
Just change up the colors and patterns and it will fit any style and personality.
Here is What You Need
Time: About an Hour
Materials:
Materials list contains my affiliate links for recommended products.
- Free Printables (optional)
- 3 Pieces of Scrapbook Paper
- One 12”x12” Color/Pattern 1
- One 11”x11” Color/Pattern 1
- Four Boarders Color/Pattern 2
- Cutting Mat

- Paper Cutter (optional)
- Craft Knife
- Ruler
- Scissors
- Glue

 (optional)

Watch the Video Tutorial
Before You Begin
Any type of scrapbook paper will work. I decided to use a heavier weight because I loved the glitter, however I have made several of these boxes with regular scrapbook paper. I purchased this glitter paper at Michael’s.
Keep in mind that the flimsier the paper, the flimsier the box. The thicker the paper, the sturdier the box; both work.
Another option is to use photos on the inside of the flaps. Print out small photos and make a fun collage inside. You can even add a little confetti!
How to Make the Box
Making the Pop Out Bottom of the Box
- Start with the 12”x12” piece of scrapbook paper. This will be the bottom of the box. Using a 12-inch ruler, on the back of the paper, mark all four sides at 4 inches and 8 inches and connect the lines creating nine 4”x4” boxes.
- Next, cut out the four corner boxes with scissors and glue them onto the four leftover outer boxes, patterned side up. This will be the sides of your box.
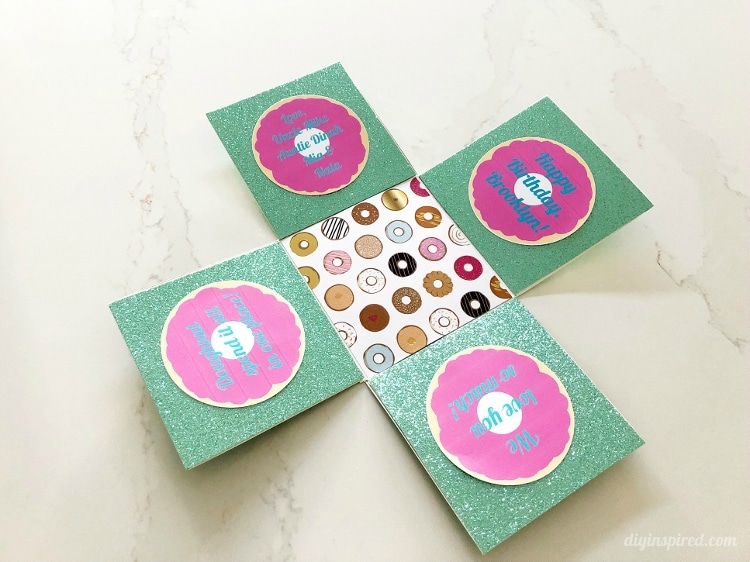
- If desired, glue a note, box, picture, or photo on the inside flaps. I included blank donuts in the free printable if you would like to use them, adding your own message.
Making the Lid of the Box
- Use the 11”x11” piece of scrapbook paper for the lid. Using a 12-inch ruler, on the back of the paper leave a half inch over hang on each side and mark at 4 inches and 8 inches. Repeat on all four sides and connect the lines. Fold at each line, using the straight edge as a guide.
- Cut the second line to the center box on all four sides. Fold and create a crease for all nine boxes.
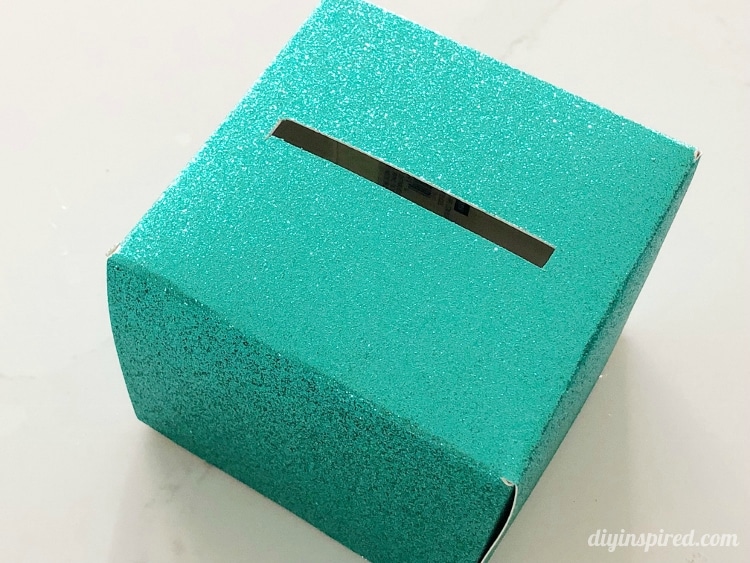
- In the center box, use a cutting mat and craft knife to cut a slit in the center.
- Fold up the sides and glue each (shorter) side to form a lid. I had to use hot glue for this step because of the thickness and finish of the glitter paper.
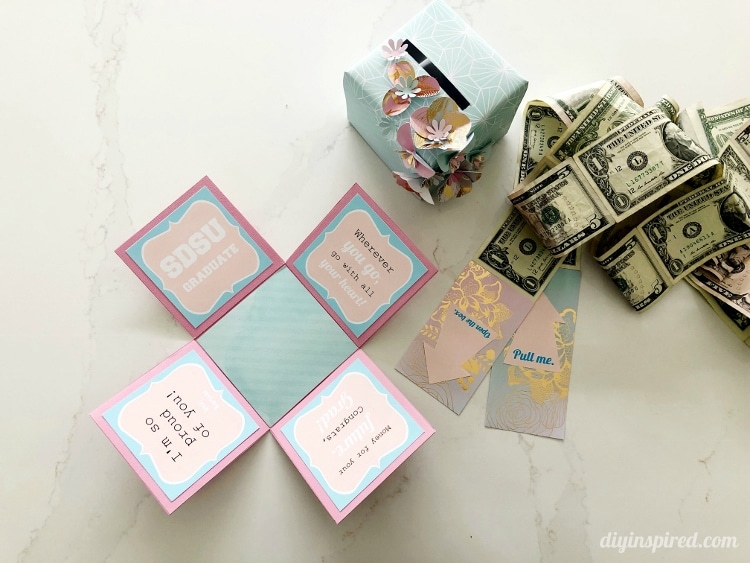
Tape the Money Together
- Using the third piece of scrapbook paper, cut out the size of a dollar. I traced the dollar and cut it out. You will need two.
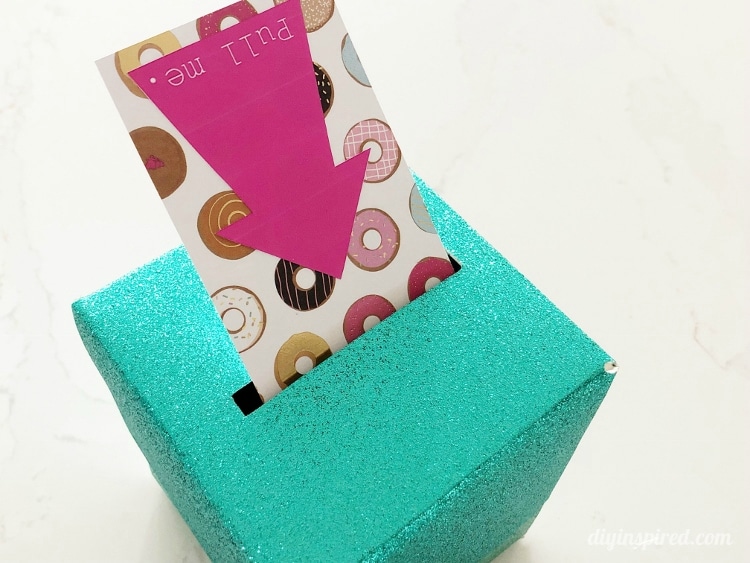
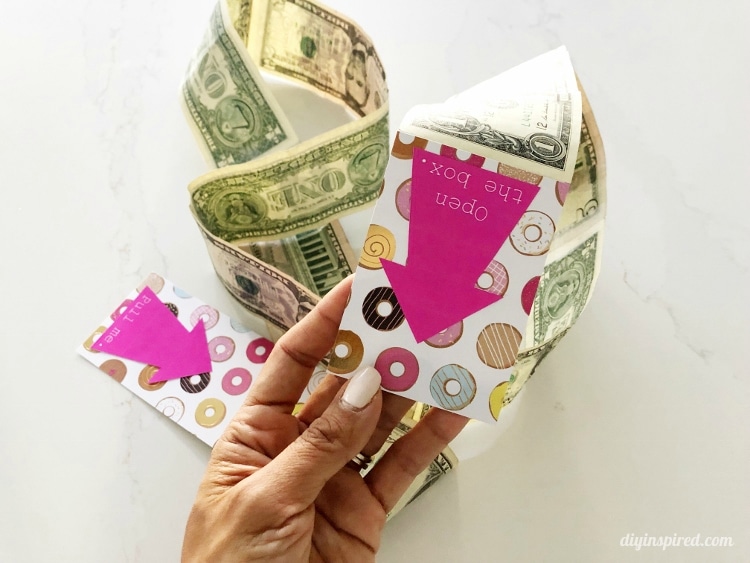
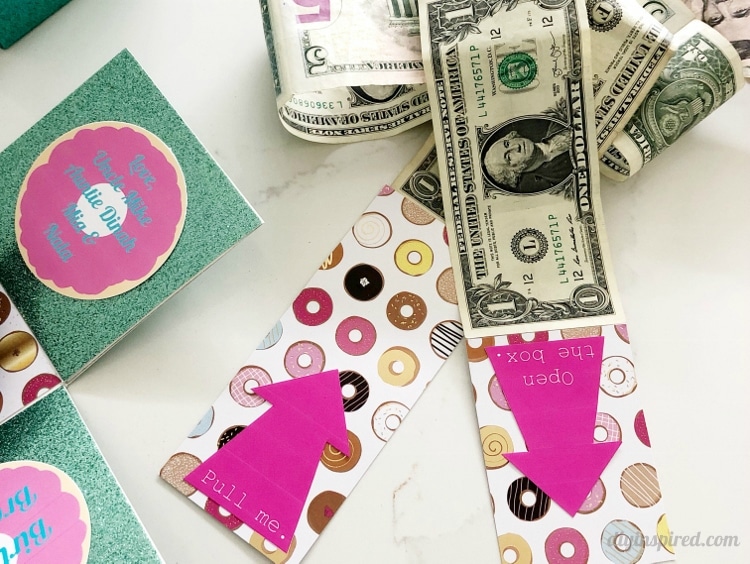
- Cut out the free printable arrows that say “pull me” and “open the box” and glue them onto the scrapbook paper.
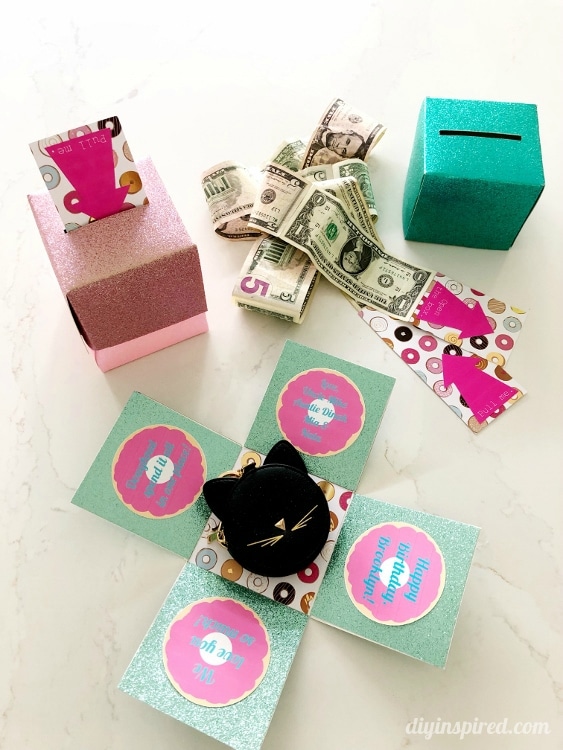
- Tape the dollars together with the “pull me” tag on one end and the “open the box” tag on the other end.
Putting the Pop Out Money Gift Box All Together
Place a small gift inside if desired and place the lid on top. I placed the top only half way so that it was tall. Fold the dollar bills and stuff them into the slit, leaving the “pull me” tag hanging out.
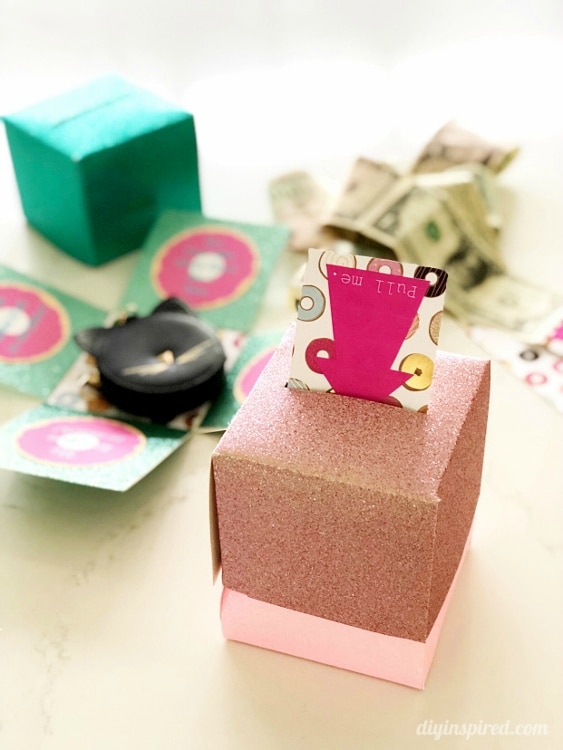
The recipient will pull the tag and a sting of cash. At the end, they will see the tag to open the box. When they open the box, the flaps will pop out showing the gift in the center and the messages or pictures on the sides.
Play with different colors and patterns, depending on the occasion!
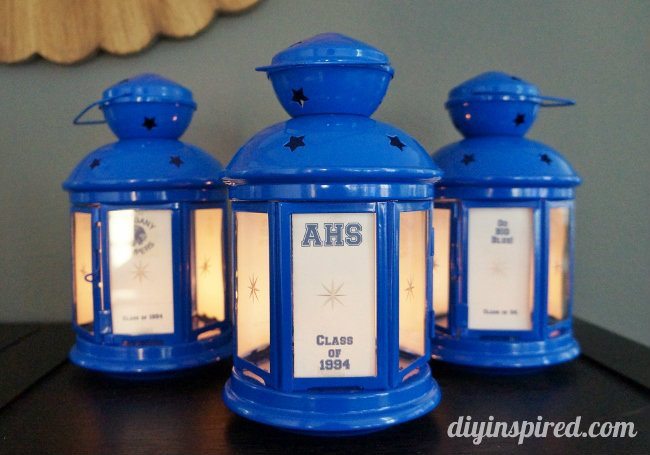
Other Possibilities
Here are some examples of other money boxes I made for graduations. As you can see, the possibilities are endless as far as colors, patterns, and occasion.