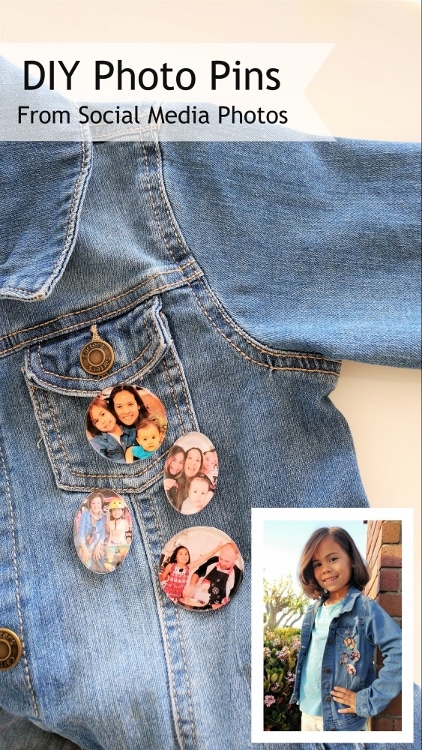
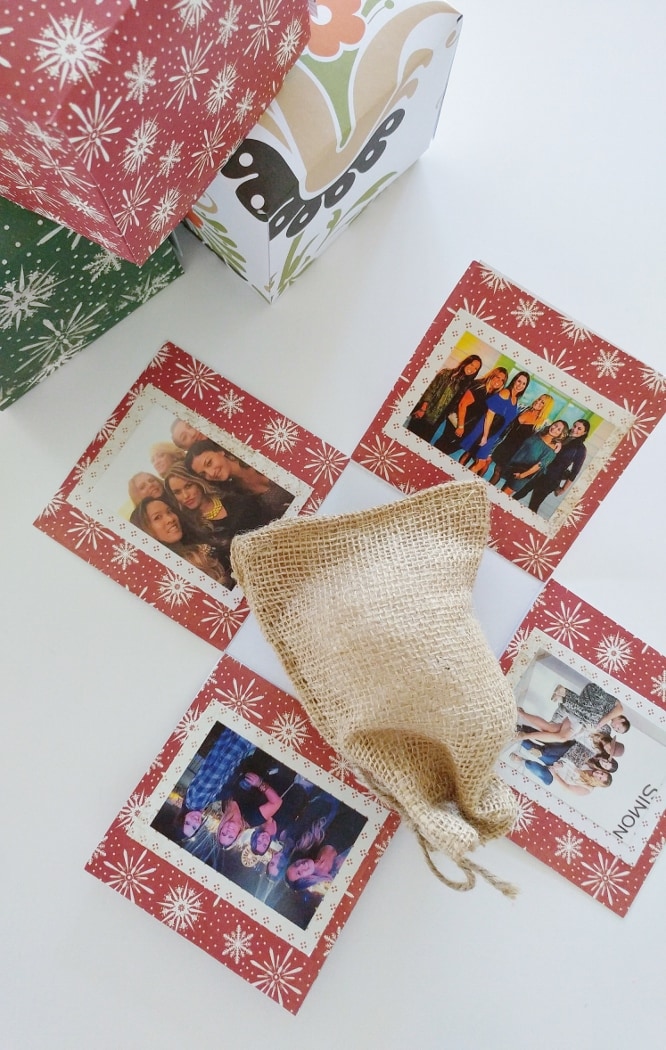
DIY Photo Pins from Social Media Pictures
Make You Own DIY Photo Pins from Facebook & Instagram Photos
I remember having a jean jacket in high school. Jean jackets are the one clothing item that never seemed to go out of style. They even look the same as they did 30 years ago. Anyway, I would put a ton of little pins on it. I actually recently started putting pins on the jean jacket that I wear now. When my daughter saw them she thought it was “cool”. So, I decided to make her her own pins for her little jacket. Since we have so many awesome memories that we post daily, I made these mini DIY photo pins from social media pictures.
Give these pins away:
- to friends or family
- to say thanks
- as a small gift for teachers or coaches
- as a personalized gift for someone you care about
All you have to do is find your favorite pictures of Facebook, Instagram, etc. and save them to your computer, crop, and resize them. Then follow these easy steps:
Here’s What You Need
Time: 20-30 Minutes
This materials list contains affiliate links to my recommended products.
- Photo Paper & Printer
- Modpodgeable Shapes

- Mod Podge
- Foam Brush
- Scissors
- Adhesive Pins


Using Social Media Photos
Select your favorite Facebook or Instagram photos, save them onto your computer, and crop them. Keep in mind the direction of the photo (vertical or horizontal) and the shape you will use.
Resize the pictures to fit the Modpodgeable shape of your choice on your computer. I did this on a Word document. You can buy Mod Podge Shapes on Amazon, or Michaels, or Joann’s. Don’t forget your coupon!
Tip: Make the picture slightly larger than the diameter of the Modpodgeable shape. For example, the circles I used are 1.5” in diameter. I made the photo for it a square at 1.75”.
Making the Pin
- Print your photos on photo paper. Since I was only making four pins, I printed extra photos for other projects so that I didn’t waste the photo paper sheet.
- Cut each photo out. Place the Modpodgeable shape on top of the photo and trim the edges.
- Use a foam brush to apply Mod Podge onto the shape, placing the photo behind the shape. The glue will appear milky underneath the acrylic shape. The glue will dry clear after a few hours.
- Place an adhesive pin on the back.
Watch the video tutorial:
With just a few supplies and about 20 minutes, you have your own custom photo pins for your jean jacket. You can also put them on purses, backpacks, lanyards, or hats. They also make cute gifts; or use them to embellish a gift by pinning one to the center of a ribbon or bow or give them to grandparents for Mother’s Day or Father’s Day.
I hope you try it out!
This post was originally created for HP in April 2017.
Like it? Pin it!
More photo craft ideas with tutorials:

Where did you get those clear plastic shapes? And what are they called? Love this idea, so cute!!
Thanks Hannah! I used Modpodgeable Shapes. You can buy them at any craft store. Here is my Amazon affiliate link for them as well: https://amzn.to/2Ifs2GE S glad you like them!