• Project Gallery
  • DIY
    • Recycled DIY
    • Upcycled DIY
    • Repurposed DIY
    • Refurbished DIY
    • DIY Furniture
    • Repurposed Furniture
    • Thrift Store Transformations
  • Crafts
    • Wood Crafts
    • Paper Crafts
    • Photo Crafts
    • Kids Craft Ideas
    • Doll Crafts
    • Felt Crafts
    • Stenciling
    • Gift Wrapping
    • Printables
  • Party
    • Birthday Party
    • Baby Shower
    • Bridal Shower
    • Wedding
    • Team Sports
    • Sweets and Treats
    • Cocktail Corner
  • Holidays
    • Valentine’s Day
    • St. Patrick’s Day
    • Easter
    • Earth Day
    • Teacher Appreciation
    • Mother’s Day
    • Father’s Day
    • Fourth of July
    • Back to School
    • Halloween
    • Halloween Costumes
    • Thanksgiving
    • Elf on the Shelf
    • Christmas
    • New Years
  • Home & Garden
    • Storage & Organization
    • Cleaning Tips
    • Gardening
    • Makeovers
    • Kid Stuff Makeovers
    • DIY Tips & Tricks
    • DIY Artwork
    • Curb Appeal
  • Health & Beauty
    • Health & Wellness
    • Bath & Body
  • Nav Social Menu

    • Facebook
    • Instagram
    • Pinterest
    • Twitter
    • YouTube

DIY Inspired

Repurpose, Reinvent

  • About
  • Contact
  • Advertising
  • Featured
  • Disclosure

Trash To Treasure

DIY Repurposed Signs for the Laundry Room

I have been known for repurposing flooring planks.  I have done a few projects including turning leftover planks into coasters, serving trays, coat hangers, and holiday signs.  I still had some left over from my friends at Bestlaminate Flooring, so I made these DIY repurposed signs for the laundry room.

Time: 45-60 Minutes

Materials:

  • Flooring Planks
  • Circular Saw
  • 120-Grit Sand Paper
  • Sand Block
  • 3” Letter Stencils
  • Paint
  • Stencil Brush

Instructions:

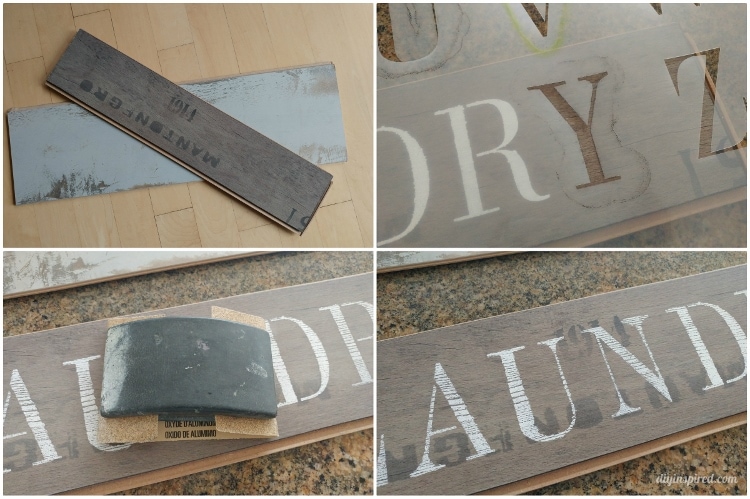
The size of your planks will depend on the words and stencil size. I had 3” stencils, so for the “laundry” sign I cut a 23” plank and for the “wash and dry” sign I cut a 26” plank with a circular saw. The “laundry” sign is a 5” wide plank and the “wash and dry” sign is an 8” wide plank.

I stenciled each letter starting from the center of the plank and worked my way out.  I found that this is the easiest way to center a word.  I stenciled each letter with acrylic craft paint and a stencil brush.  Be sure to use a direct up and down motion to prevent bleeding.  A little bleeding is ok if you are distressing the paint afterwards.

Once the paint is dry completely, lightly sand the paint with a fine grit like 120. It doesn’t take much to achieve the distressed look.  If desired, spray it with a clear sealant.

I was going to put picture hangers on the back, however the planks are very thin, so I ended up hanging them with Command strips, which ended up working out better so that I don’t put any holes in the walls.

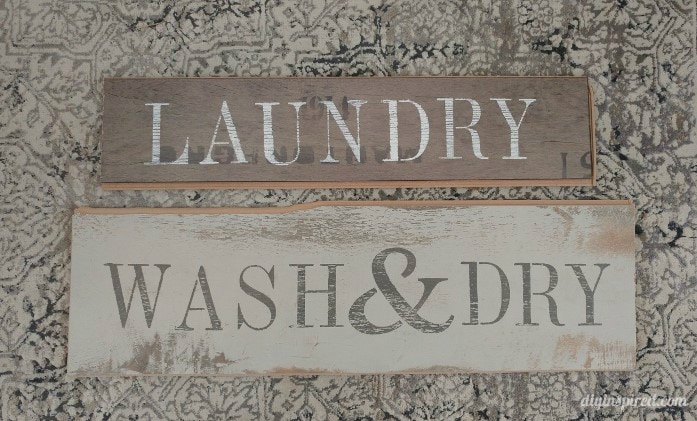
I loved the way they turned out. The laundry room is in between our garage and hallway, so we walk through that area all day long.  It was an area that was the most cluttered and least decorated.  These signs make it a little better.  Now I need to work on the rest of the laundry room!

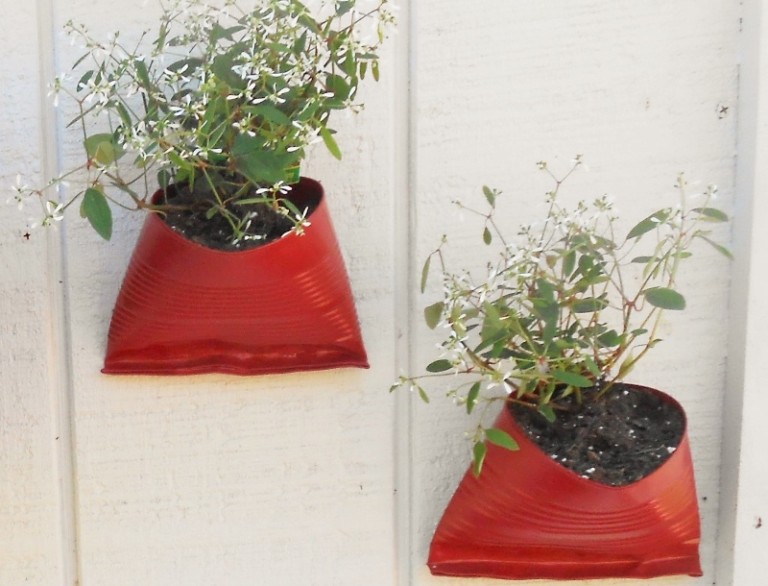
In case you missed it, check out some of my other repurposed flooring plank projects.  You may also like my stenciled laundry room trash can DIY.
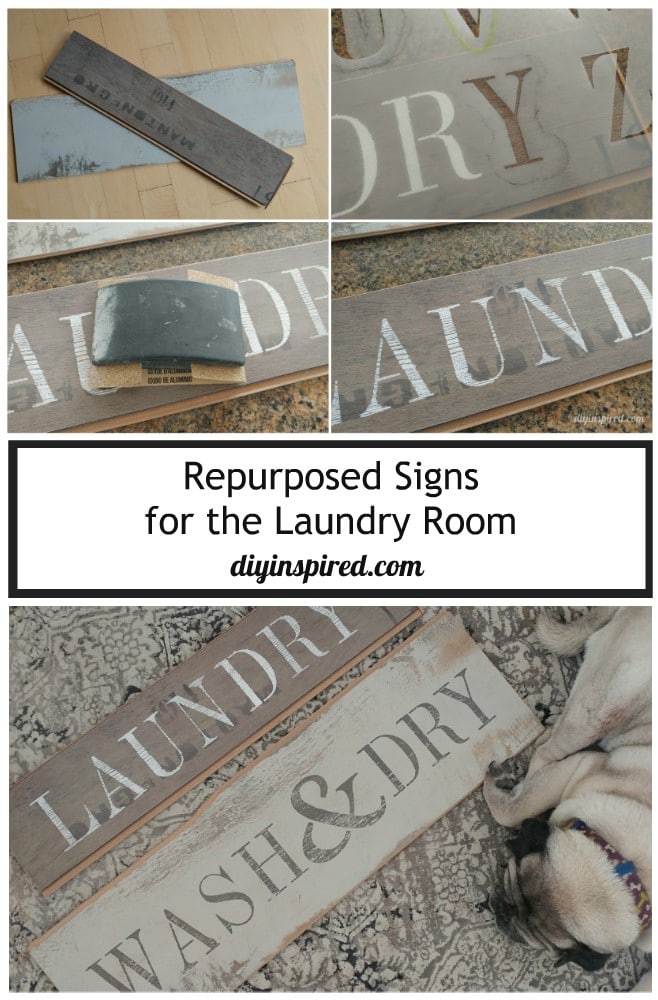
Like it? Pin it!

  • Share
  • Twitter


5 Comments

Join our Community of Crafters!

Stay updated and never miss a thing!

Disclosure and Privacy Policy
Previous Post: « “Color Your Heart Out!” Handmade Chigiri-e Card
Next Post: Easy Trash to Treasure DIY Tray Makeovers »

Reader Interactions

Comments

  1. Teija says

    February 17, 2017 at 7:23 pm

    Where did you get your stencils?

    Reply
    • Dinah Wulf says

      February 17, 2017 at 9:16 pm

      Hi Tejia! I got them at iStencils.com. They are the industrial font.

      Reply
  2. Linda at Mixed Kreations says

    March 5, 2017 at 3:52 am

    Love you signs, they turned out really nice. Never thought of using floor planks for signs, I will have to look around and see if we have any left over from our floors. Thanks for sharing your tutorial.

    Reply
    • Dinah Wulf says

      March 5, 2017 at 10:03 pm

      Anything that saves me money works for me! Ha! Thanks for stopping by, Linda!

      Reply
  3. Jen says

    March 30, 2020 at 4:57 pm

    I have three boxes of leftover flooring and I have been looking for some way to use them. Thank you!!

    Reply

Leave a Reply Cancel reply

Your email address will not be published. Required fields are marked *

This site uses Akismet to reduce spam. Learn how your comment data is processed.

Primary Sidebar

Welcome!

DIY Inspired Profile Picture 2015Thank you for visiting! I'm Dinah and I am a full time Mother, Blogger and Writer. I'm honored to be named one of Mashable's 10 Mom Blogs Full of Inspiring Advice. {Read more about me here}

Join our Community of Crafters!

Stay updated and never miss a thing!

Disclosure and Privacy Policy

Stay updated and never miss a thing!

Footer

You might also love these

Recycled Jar Utensil Holder Printables

10 Mason Jar Craft Ideas

Stenciled Coat Rack for a Kid's Room

Clever Coat Hangers

Handmade Holiday Gifts for Friends

DIY Recycled Water Bottle Beads

Easy Nursery Decor Idea

Sleep Under the Stars DIY Star Wall Art

Fall Wreath in a Basket

Hanging Fall Wreath DIY

Copyright © 2021 · Divine theme by Restored 316

Copyright © 2005–2021 DIY Inspired. Installed and customized by TCN Design Studio

We use cookies to ensure that we give you the best experience on our website. If you continue to use this site we will assume that you are happy with it.OkRead more