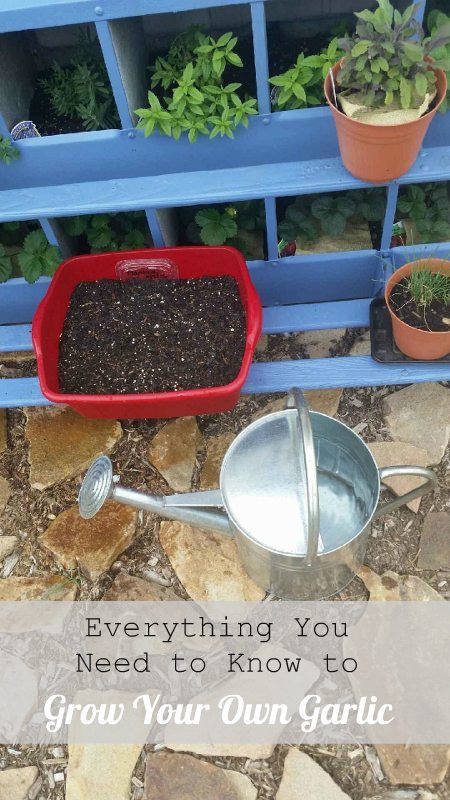
Everything You Need to Know to Grow Your Own Garlic
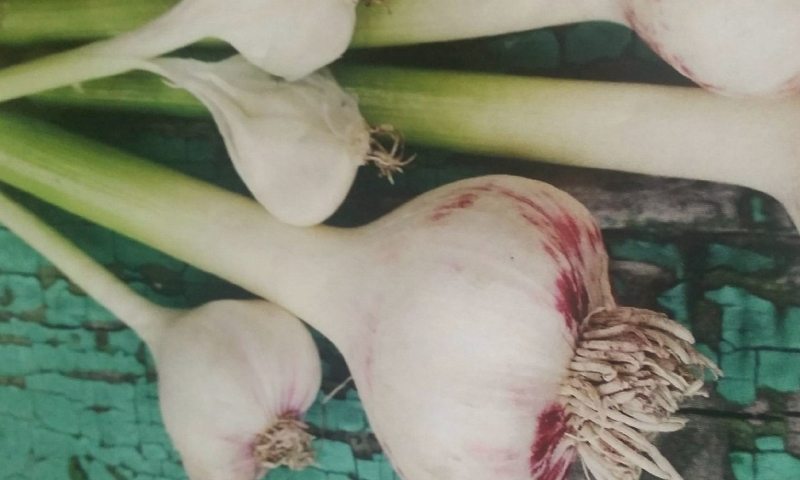
There are many The Benefits and Uses of Garlic. It’s easy to grow your own garlic and it’s pest resistant. Here’s how I’m growing garlic in a dishpan. (Make sure you buy fresh organic garlic heads so they will be pesticide free.)
What you will need:
- Garlic head – one head usually yields 12 cloves
- Container or area in your garden for planting the cloves
- Potting soil
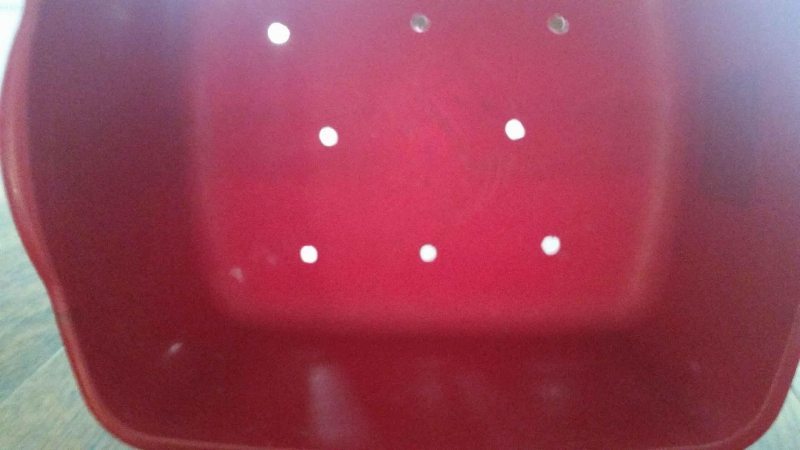
First, you will need to make sure your container has sufficient drainage holes in the bottom. For the plastic dishpan I put 8 – 3/4” holes in the bottom.
Next, you will need to put mesh or wire or coffee filters over the holes to keep your potting soil from draining out the bottom. I used some black wire mesh for this purpose.
If planting in the ground, make sure your soil is soft and rich. You may wish to mix some potting soil in with your soil as garlic likes loose soil. Clay soil is not a good medium for growing garlic.
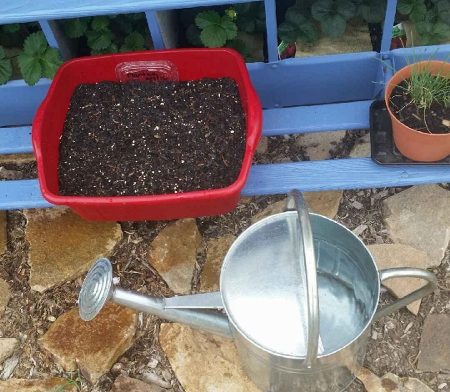
I filled the pan with potting soil about 3 ½” below the rim. Each clove of garlic is planted with the bottom of the garlic clove facing down, 2” into the soil. (The end that has the little hard brown end is the end that is planted down into the soil.) Try to plant the cloves about 6” apart so they have sufficient room to expand.
I used 12 cloves (1 full head) of garlic as shown here before I covered them with ½” of soil. Do not remove the silky skins from each clove.
Next, I placed the dishpan outside and watered well.
The cloves will begin to sprout in 4 or 5 days.
After 2 weeks the garlic will produce green sprouts called topsets.

WHEN TO PLANT AND HARVEST
Garlic can be planted in the spring or in the fall. I planted my garlic in May expecting to harvest it in late July or August. Fall planting takes place between September and November.
When the bottom leaves of the plant start turning brown it’s time to stop watering the plant. Allow the plant to stay in the ground like this for about a week. Then using a gardening fork, not spade gently dig around one plant and gently loosen it from the soil. Don’t pull the garlic as you will get a handful of dead leaves with the bulb still in the ground! The 12 cloves that you planted will yield 12 heads of garlic and each of those heads will yield 12 cloves! Use some and save one head to plant for your next harvest. If the head you pulled has cloves that are not fully developed, leave the other heads in the soil an additional week or two and try again.
TIPS ON WATERING AND SUN
The soil should be kept moist but not wet and not allowed to dry out. If the soil is too wet, the bulbs will rot; if too dry they dry up. I planted my garlic in a pan because we get so much rain here and with a pan I can easily move it under the eaves and out when needed. (We have almost 17” of rain and it’s only the beginning of the year!) If you have planted your cloves in the ground and are also in a wet area, you should be okay unless you want to cover the garlic during a heavy downpour so the garlic doesn’t get too much water.
Garlic likes sunshine, but not blazing sun. Morning sun is good. I’ve grown garlic in full sun and find that the afternoon sun is just too hot for the plants. If your garlic is in full sun, you may have success. But, if you are finding the plants seem to be struggling, you may want to consider covering them with shade cloth during the hottest part of the day.
TIPS ON ENCOURAGING GROWTH
To encourage the plant to use its energy to grow big heads of garlic instead of lots of greenery, clip off the green sprouts once they are about 4” to 6” high. These can be used in salads or in cooking.
DRYING THE GARLIC
When the heads are taken out of the ground they can be eaten fresh. But, if you plan to store the bulbs, the bulbs must be dried. You can tie the stems together and hang the bulbs in a shady dry area. It will take the bulbs 3-4 weeks to dry completely.
FINAL TIP ABOUT GARLIC
Not only is garlic easy to grow and harvest, it tastes wonderful too. Additionally, it is extremely healthy helping to lower blood pressure, aids in digestion, stimulates the immune system, helps fight cancer and helps with the aging process. If you’d like to try your hand at gardening, garlic is a good place to start!
You May Also Like:
- How to Make Garlic Oil
- The Benefits and Uses of Garlic
- Growing Your Own Herbs Successfully
- Cooking with Herbs