How to Make a Burlap Flower
I heart burlap. It’s pretty. It’s natural. It’s cheap! I made a wreath out of burlap scraps from my craft closet. I’ll show you the tutorial (and the wreath) later, but I felt like I needed to write a separate post on how to make a burlap flower like the ones for my wreath. They are quite easy to make and can be used as embellishments for several craft projects.

Warning: I think I got arthritis in my hands from making these… geesh!
Here are the materials you need:
- Approximately 3”X18” burlap strips
 (one per flower)
 - Hot glue sticks
- Hot glue gun
- Scissors
 (one per flower)


Note: I say “approximately” for the strips because any size actually works as long as they are long and narrow. I used scraps, so some were smaller than others. It also depends on the desired thickness you want.

First fold your burlap strip in half lengthwise. Begin rolling the strip in a tight roll to create the center of your flowers. This part is a little tricky to explain so hopefully the pictures help. Start turning & folding the burlap to form petals while pinching the base of the flower. It takes a little bit of practice, but as you get used to it, it’s nice to have varying sizes and shapes. No two flowers will look alike, but they will still look cohesive.
Once you have your flower, carefully turn over your flower, tightly holding it in place. I trimmed the bottom so it was neat and free of loose strands. Using your hot glue gun, “seal” the folds together. After I applied the hot glue, I used both hands to pinch the bottom and blew on it to speed up the hardening time. If you want to finish it, cut a small circle of burlap to fit the bottom and hot glue it. I bypassed this part because mine were going to be hidden for my wreath.
Also, consider using these burlap flowers as a vase filler.

More Burlap Craft Ideas:
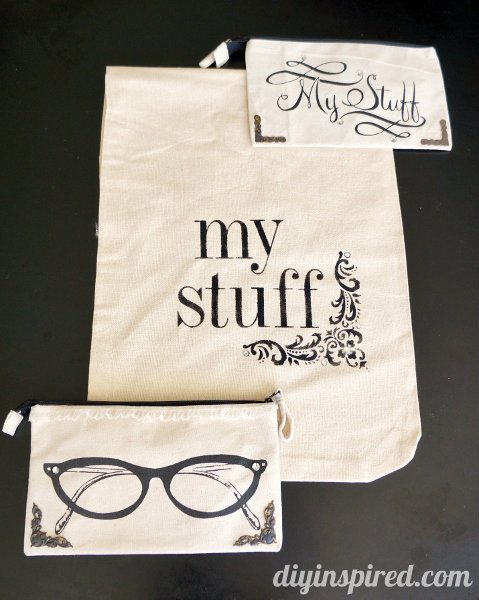
- Stenciled Burlap Sacks DIY
- Centerpiece with Stenciled Burlap
- Burlap Wire Hanger Wreath Tutorial
- Repurposed Earring Burlap and Feather Napkin Rings
- Burlap Stenciled Placemats
Burlap Accent Crafts:
Having trouble with your website. The post content is not showing on the post pages. I know there are tutorials there, but I can’t access them?
Oh shoot! OK, thanks,Liz. Let me look into it.