Burlap Wire Hanger Wreath Tutorial

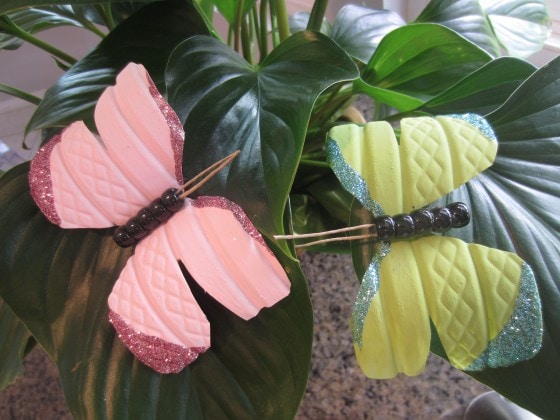
I wanted to make a small wreath to hang on the door to my guest bathroom downstairs. A friend of mine used a wire hanger for a Christmas wreath in the past, so I thought I’d give it a try. I also have made a recycled book page butterfly wreath with a wire hanger. I have to say it turned out pretty cute! Here is my burlap wire hanger wreath tutorial.
Materials:
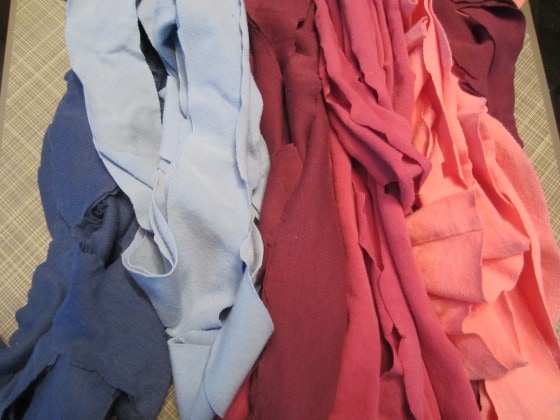
- One yard of burlap

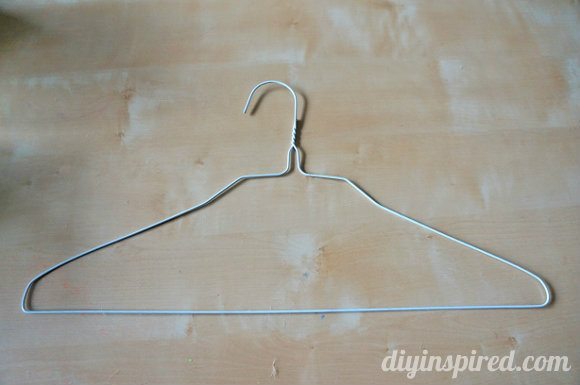
- Wire Hanger
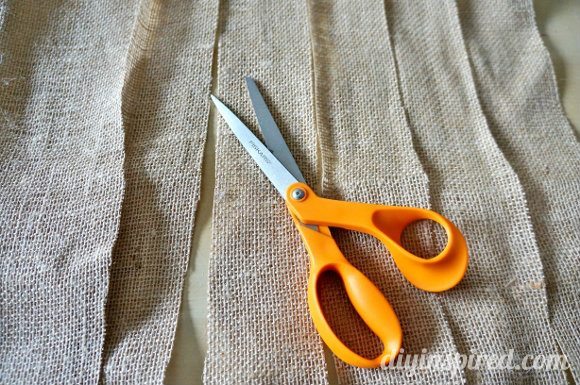
- Scissors
- Wire cutters
- Flower embellishment


WARNING: Burlap crafts are messy! Here are some more tips for working with burlap and caring for it as well.
Instructions:
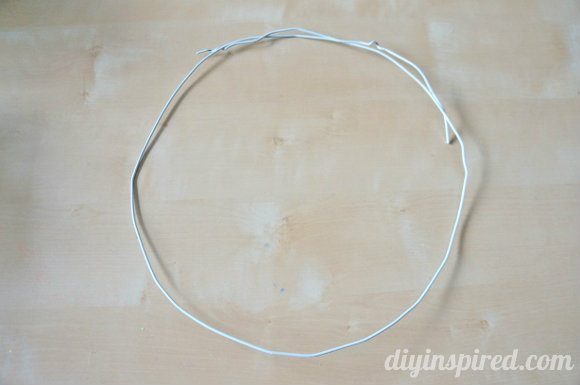
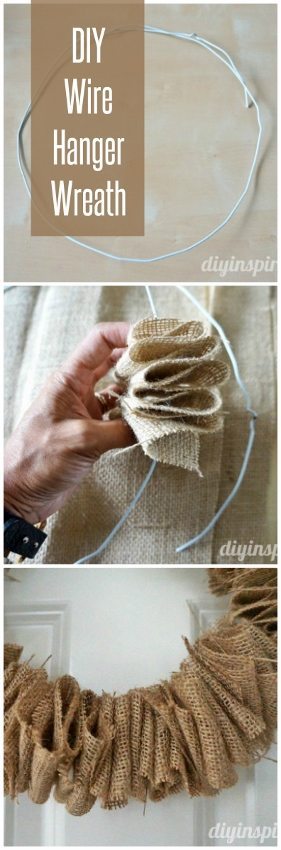
Unwind a wire hanger and maneuver and bend it to shape a circle and set it aside.
For this wreath, I cut 2” thick strips of burlap. I also used about 14 strips for this wreath. You can make the wreath as thick and as full as you like.
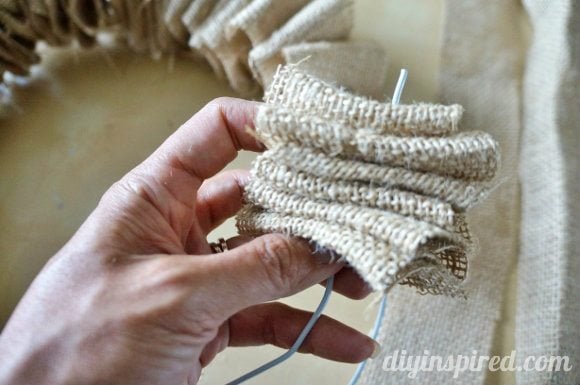
Fold each strip with two inch width as shown.
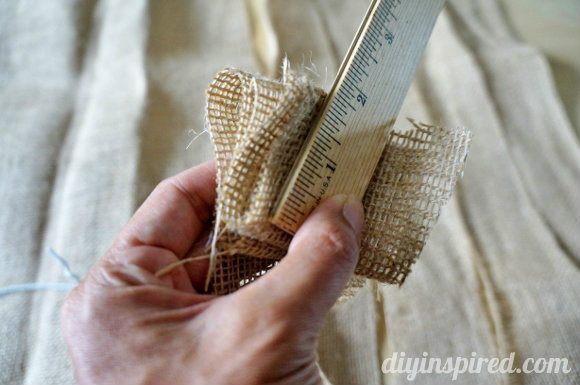

The wire hanger makes it easy to poke through the burlap with the strip completely folded. Continue to add folded strips until your wire hanger is covered.
Using wire cutters, trim off any access wire if needed.
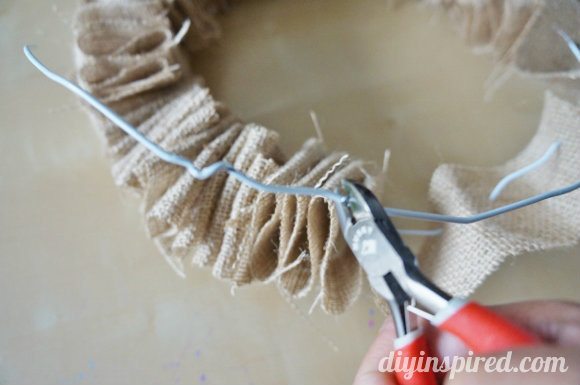
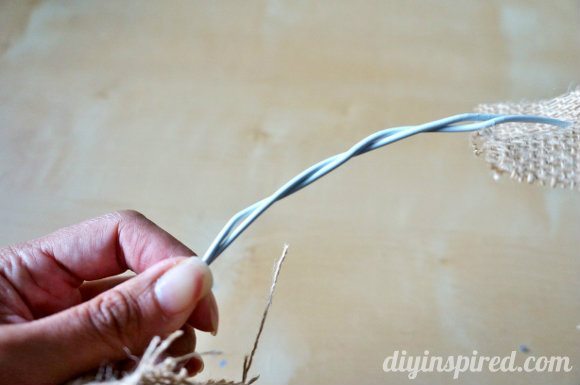
Secure the ends of the wire hanger as shown.
Spread and fluff the burlap to make a continuous ring. Cut off any access fraying.
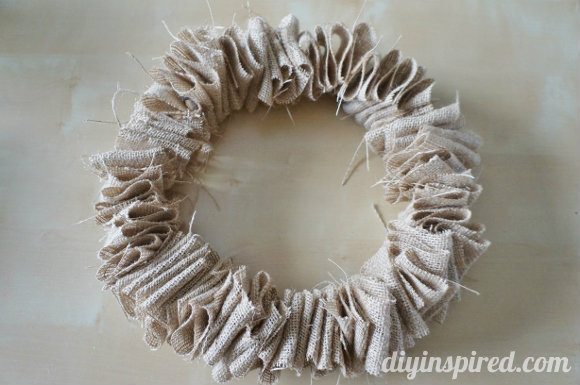
Turn and twist the burlap until you get the desired look.
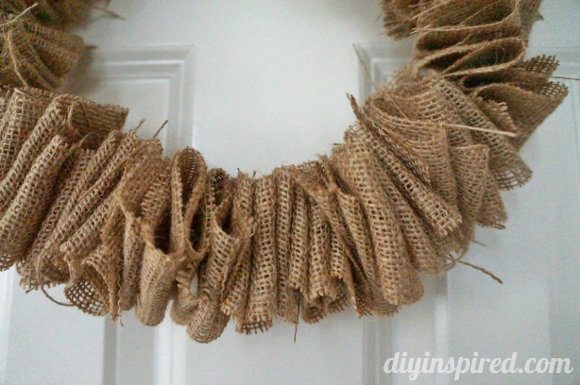
I added a pre-made burlap flower as an embellishment. Here is the finished project!
This wreath is smaller than normal; the perfect size for my bathroom. You can easily add more wire to make it larger. If you are making a larger wreath, I would also suggest making the strips wider as well.
More Burlap Craft Ideas:
- Stenciled Burlap Sacks DIY
- Centerpiece with Stenciled Burlap
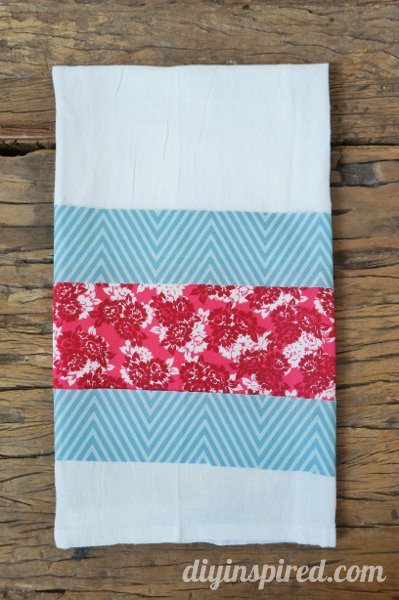
- Repurposed Earring Burlap and Feather Napkin Rings
- How to Make a Burlap Flower
- Burlap Stenciled Placemats
Burlap Accent Crafts:
I love burlap. What an easy but great thing to make…thanks for the tutorial. I am going to make this tonight.
Me too! I hope you try it, thanks Jill!
oh my gosh. I want to make this 1000K times! Thanks!!!
LOL! It’s so easy! Thanks, Pattie!
This is great! I hate wasting hangers!
Thank you Kara Noel!