Upcycled Metal Pumpkin Tutorial
Easy Upcycled Metal Pumpkin Tutorial with Metal Ribbon
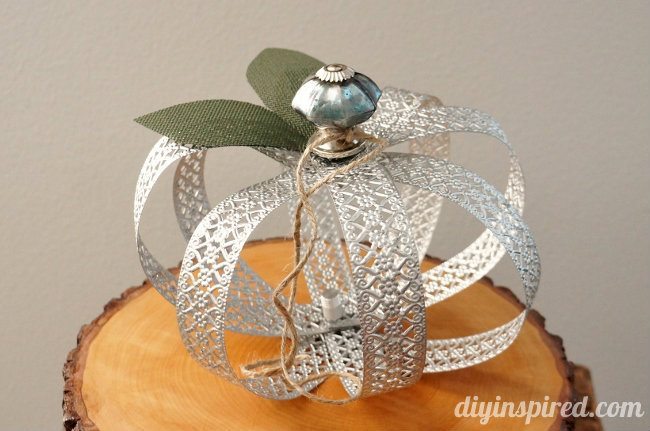
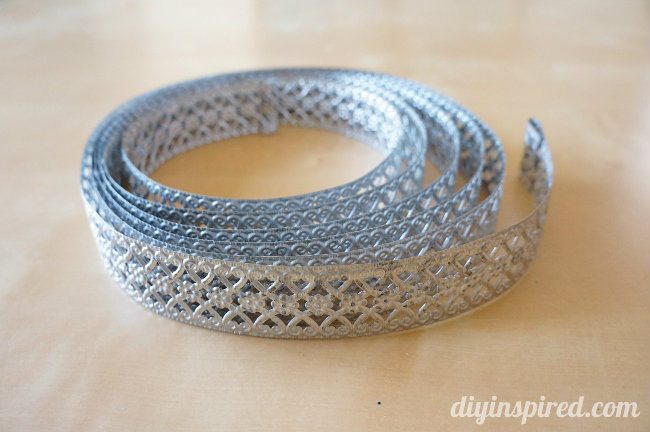
Once I saw this metal ribbon at Hobby Lobby, my first instinct was to post a photo on Instagram and Facebook. I didn’t hesitate to buy a roll and knew almost immediately that I was going to make an upcycled metal pumpkin. I already had the rest of the materials, and I was excited to get started.
Here’s What You Need
Materials:
This materials list contains affiliate links to recommended products.
- 9 Foot Roll of Metal Ribbon
- Drawer Knob
- Screw and Nut
- Scissors
- Green Burlap Ribbon
- Twine
There were a few styles, but I chose this one because I wanted the screws to be easy to punch through. I wanted to make a decent sized pumpkin so I cut the ribbon in four two foot long pieces. The ribbon is easy to cut with sharp scissors.
Instructions
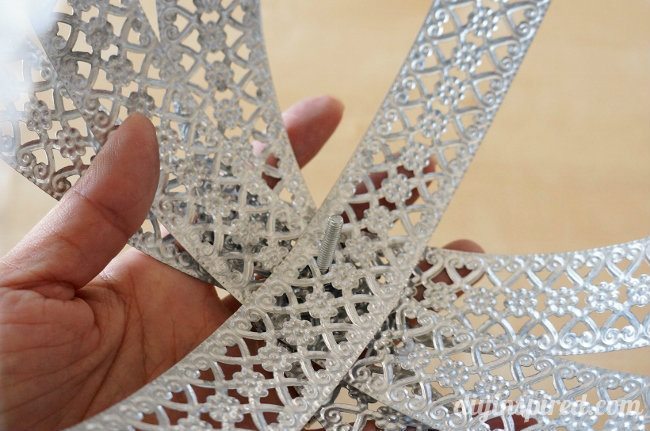
I located the center of each piece and pierced the screw through the metal and secured it with a nut.
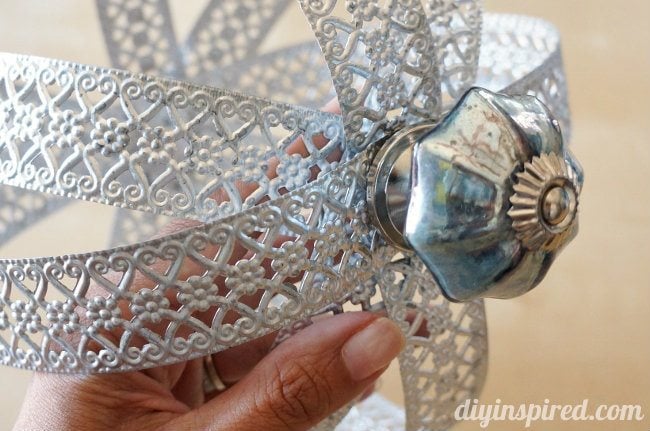
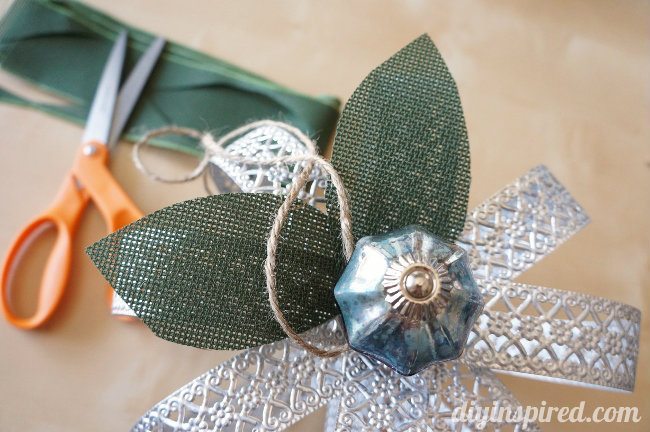
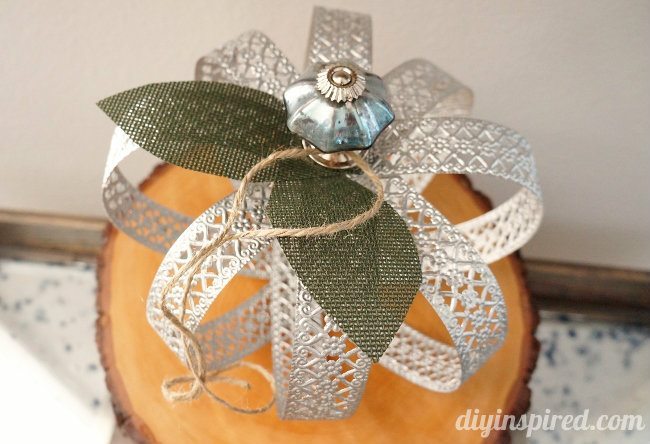
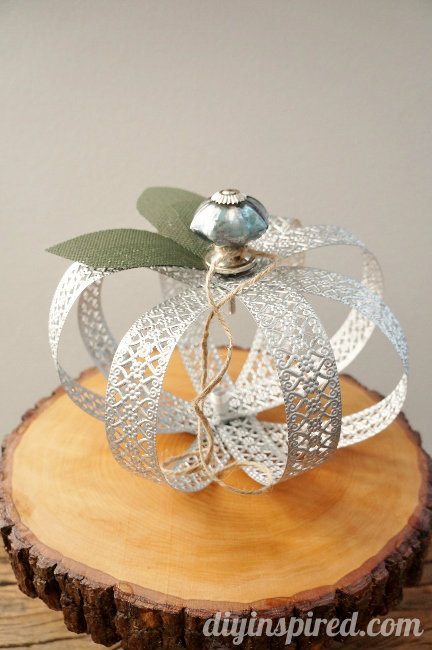
I did the same for the top, only with a drawer knob. The metal is easy to shape and maneuver so I bent the tops to shape the sphere I just made into a pumpkin.
Lastly, I cut green burlap ribbon for leaves, and added twine to represent the vines of a pumpkin.
It turned out so cute and fits my industrial décor perfectly!
Now, I want to go back and buy the different ribbon to make some more!
For more DIY Pumpkin ideas check out:
- Spooky Stagecoach Pumpkin
- Easy Gold, Black, and White Pumpkins DIY
- Fall Pumpkin Table Top Centerpiece
- Decoupage Fabric Pumpkin How To
- Boo! Easy Pumpkin Halloween Decoration
- Hello Kitty Pumpkin
This post has been updated and improved from October 2014.


Oh that came out looking so cool! I was excited to see what you were going to do with the metal ribbon! Plus, it’s so pretty, it’s not just limited to leaving it out for Fall. LOVE IT!
Thank you Tara!!
What is the width of the ribbon
It’s 1 1/4″. Here’s an Amazon affiliate link! https://amzn.to/3DmWgRa
Pretty Pumpkin! Love the knob on top! Thanks for linking up to Merry Monday! Sharing on my Pumpkin Pinterest Board! Have a great week!
Kim
Thank you so much, Kim, and thanks for having me!
I love your pumpkin. Classy and simply elegant. Metal ribbon, huh? Who knew?
My thoughts exactly when I found it! Thanks, Denise!
I love this idea and it looks so simple. I’ll have to try it. It is different and looks so refined.
Thank you so much, Kellie! It is very quick and easy!
Dinah, I just love your pretty metal pumpkins and I’m featuring them this weekend at the DIY Sunday Showcase Party!
Yay!! Thank you so much, Marie! I can’t wait to share!
This is so cute! I would’ve never thought to use these for a pumpkin. Also, the knob on the top is a great idea.
Thank you so much, Lauren!
That is too cute! I’ve got to try this one. Thanks for sharing.
Thank you, Debbie!
So pretty and I never would have thought how to make it. Great job! thanks for sharing at the #HomeMattersParty