• Project Gallery
  • DIY
    • Recycled DIY
    • Upcycled DIY
    • Repurposed DIY
    • Refurbished DIY
    • DIY Furniture
    • Repurposed Furniture
    • Thrift Store Transformations
  • Crafts
    • Wood Crafts
    • Paper Crafts
    • Photo Crafts
    • Kids Craft Ideas
    • Doll Crafts
    • Felt Crafts
    • Stenciling
    • Gift Wrapping
    • Printables
  • Party
    • Birthday Party
    • Baby Shower
    • Bridal Shower
    • Wedding
    • Team Sports
    • Sweets and Treats
    • Cocktail Corner
  • Holidays
    • Father’s Day
    • Fourth of July
    • Back to School
    • Halloween
    • Halloween Costumes
    • Thanksgiving
    • Elf on the Shelf
    • Christmas
    • New Years
    • Valentine’s Day
    • St. Patrick’s Day
    • Easter
    • Earth Day
    • Teacher Appreciation
    • Mother’s Day
  • Home & Garden
    • Storage & Organization
    • Cleaning Tips
    • Gardening
    • Makeovers
    • Kid Stuff Makeovers
    • DIY Tips & Tricks
    • DIY Artwork
    • Curb Appeal
  • Health & Beauty
    • Health & Wellness
    • Bath & Body
  • Nav Social Menu

    • Facebook
    • Instagram
    • Pinterest
    • Twitter
    • YouTube

DIY Inspired

Repurpose, Reinvent

  • About
  • Contact
  • Advertising
  • Featured
  • Disclosure

DIY Tips and Tricks Home Decor

How to Paint a Chalkboard Wall

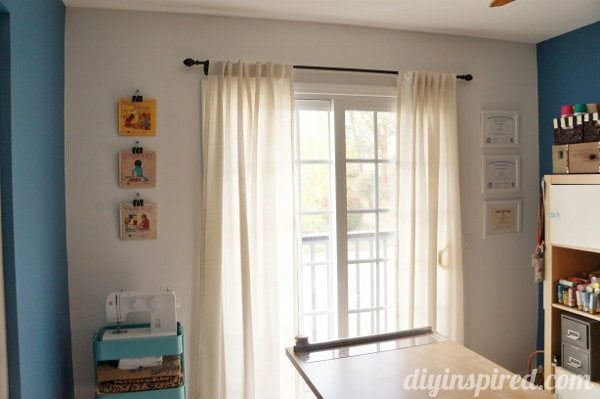
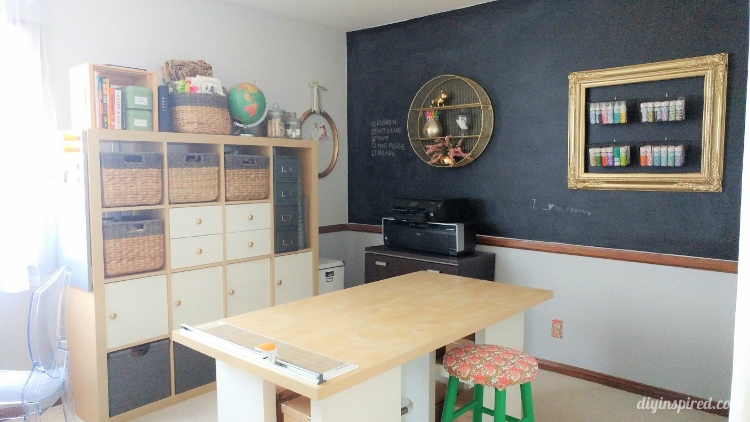
I decided to add a chalkboard accent wall when I made over my craft room.  I’m so glad I did, because I don’t think the room would have turned out as nicely without it. It was actually pretty easy to do. The hardest part was waiting for it to dry.  Here’s how to paint a chalkboard wall.

Time: Weekend Project

Materials:

  • Rust-oleum Chalkboard Paint
  • Synthetic Paint Brush
  • Paint Roller
  • Paint Tray
  • Tarp
  • Painter’s Tape
  • Acrylic Latex Sealant (optional)
  • Chalk
  • Paper Towel

Preparing the Work Area

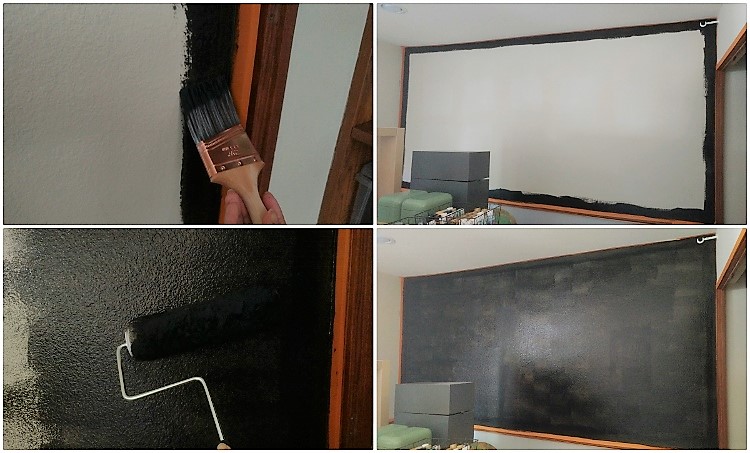
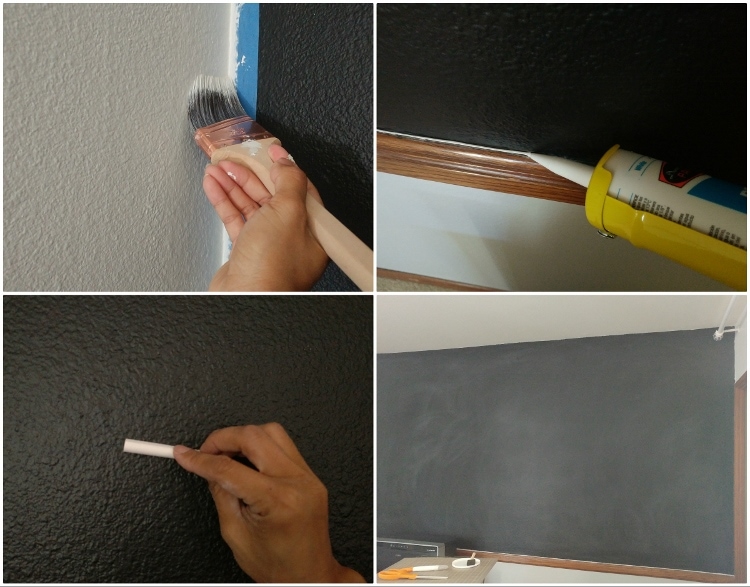
Be sure to cover the work area with a tarp.  Some paint may splatter and you do not want black specks on your carpet or floor.  Use Painter’s tape to tape off the area. Use a credit card (or something similar) to smooth down the painter’s tape to avoid bleeding. Make sure you stir the paint well. Consider priming the surface before-hand, especially if you are painting on bare wood. Check out my painting process for the rest of the room.

Watch the video tutorial:

Instructions:

Once the Painter’s tape is up, use a good quality synthetic brush to paint the edges.  Next, use a paint roller to paint the rest of surface.  Paint a light coat.  Wait four hours before painting the second coat. Once you are finished painting, wait three days before you use the chalkboard.  I used an acrylic latex sealant around the trim for a finished look.

After three days, use the side of a piece of chalk to condition the wall. Then, erase the chalk. The chalkboard is ready to use!

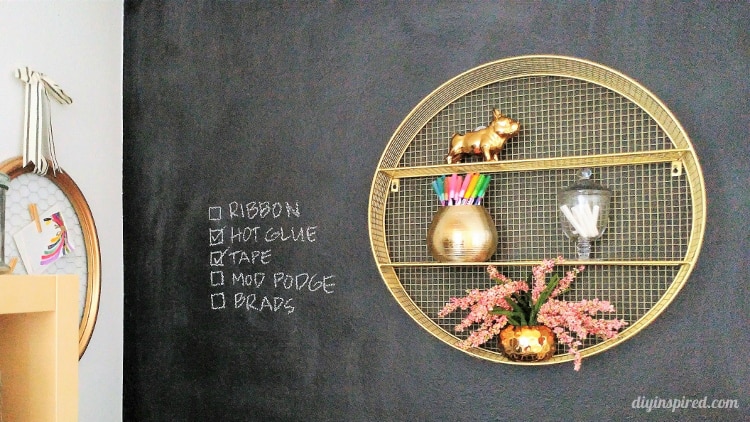
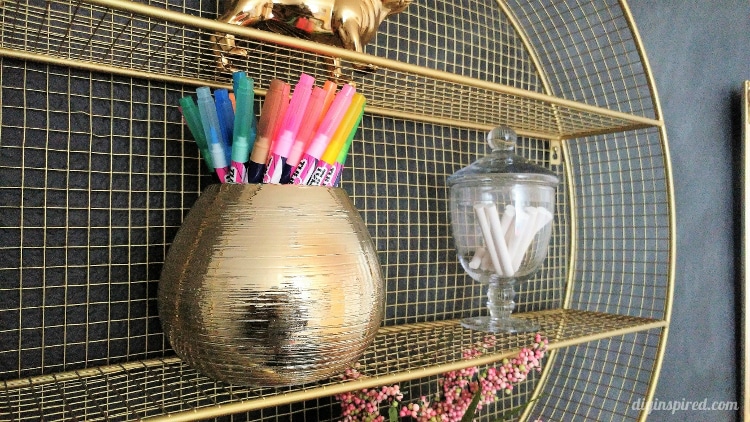
Here are a few pictures in my craft room.

Like it? Pin it?

  • Share
  • Twitter


Leave a Comment

Join our Community of Crafters!

Stay updated and never miss a thing!

Disclosure and Privacy Policy
Previous Post: « The Easiest Way to Spray Paint Knobs
Next Post: Easy Carrot Patch Pudding Cups »

Reader Interactions

Leave a Reply Cancel reply

Your email address will not be published. Required fields are marked *

This site uses Akismet to reduce spam. Learn how your comment data is processed.

Primary Sidebar

Welcome!

DIY Inspired Profile Picture 2015Thank you for visiting! I'm Dinah and I'm honored to have had an exciting career in blogging over the last 11 years. {Read more about me here}

Join our Community of Crafters!

Stay updated and never miss a thing!

Disclosure and Privacy Policy

Stay updated and never miss a thing!

Footer

You might also love these

DIY Classroom Mobile Phone Holder

Classroom Smart Phone Drop Station

How to Make Cotton Stems

DIY Fabric Covered Switchplates

DIY White and Gold Nightstands

Over Ten Years of Do-It-Yourself Inspiration

DIY Paper Flower Party Decor

Accordion Flowers How To

Copyright © 2022 · Divine theme by Restored 316

Copyright © 2005–2022 DIY Inspired. Installed and customized by TCN Design Studio