Painting A Room
DIY Weekend Project: Painting A Room
We painted our first room in our new house and I want to share it! Woo hoo! I thought I’d share some simple tips and tricks on how to paint a room along the way.
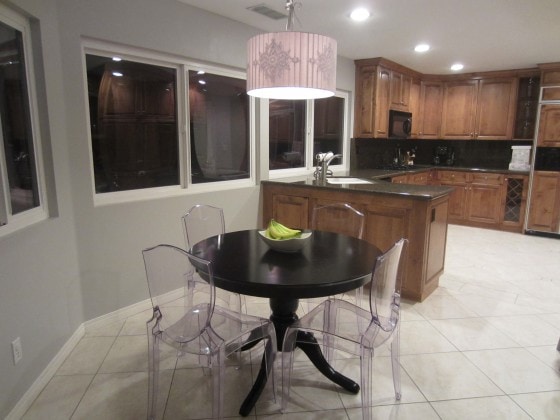
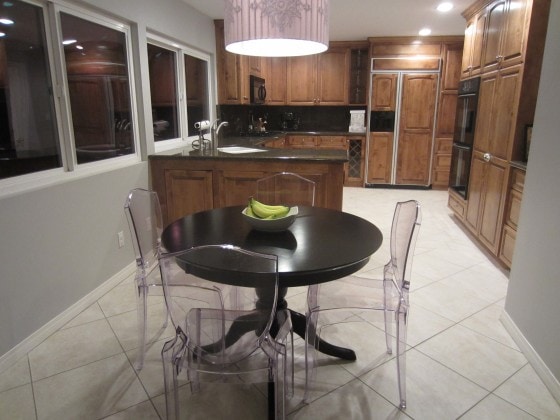
Although our kitchen is remodeled and beautiful (and actually the best room in the house), we thought it could use a little update. Painting a room is the easiest and probably the most cost effective way to update or freshen up a room. That’s exactly what it did. Practically every room in this house is painted the same tannish color. Painting it a light gray (or Gentle Rain according to the paint sample) made my traditional kitchen feel younger and more updated.
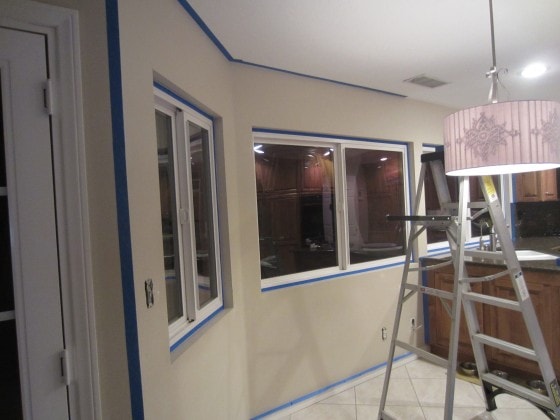
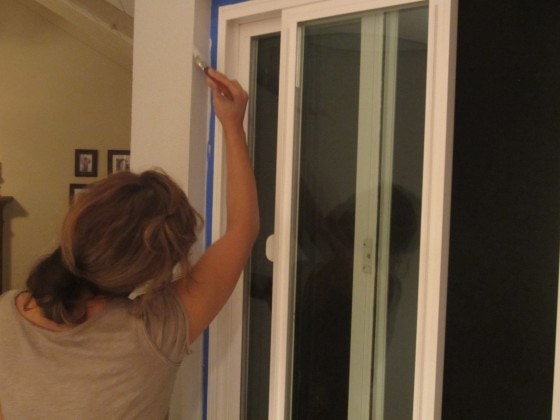
We started off by removing all the furniture, switch plates and outlet plates, and taping off the edges with blue painter’s tape. By the way, I used the ScotchBlue brand and it worked beautifully.
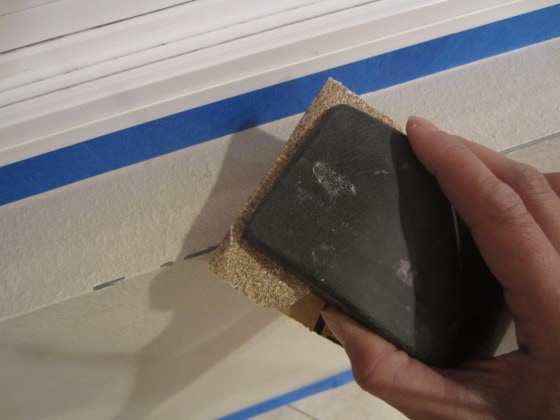
Next, I used a block hand sander and lightly sanded any bumps or cracks.
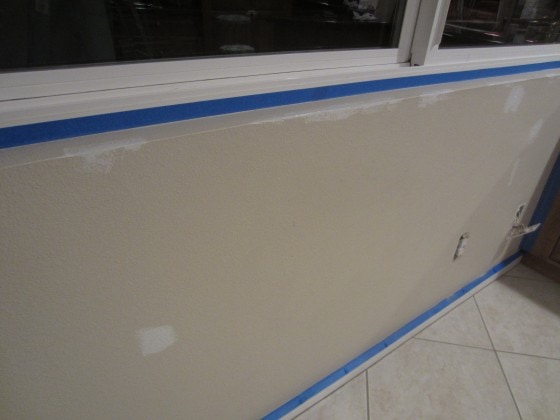
I applied primer only to cover and smooth out and cracks. Primer helps to correct flaws and smooth surfaces. We did not use primer for the entire wall because we were using the same type of paint, and both are light colors. For more tips on how to and when to use primer click this link.
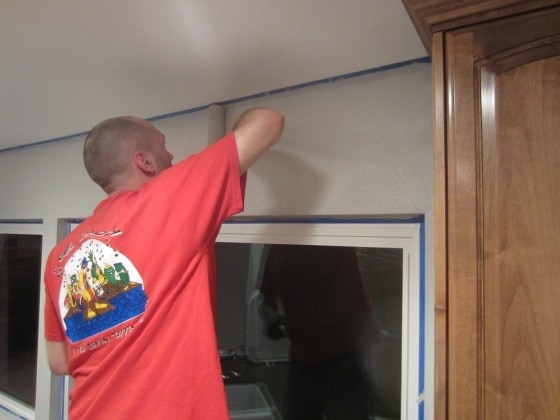
We placed a tarp on the floor in case of paint drips and had a few damp paper towels handy to quickly wipe off any mistakes. My husband used a roller for the large sections of the wall.
I used a small paint brush and a paper bowl with paint for the edges.
We watched a movie in between coats (don’t rent In Time with Justin Timberlake it was horrible). After the second coat, pull off the painter’s tape before the paint is completely dry for clean lines and edges.
Here are the AFTER pictures!
Do you have any painting tips and tricks? Leave a comment!




It looks great! I love the color!
Thank you!!! It’s subtle, but we like it! 🙂
are there any sites where you can ask for help – I need some ideas on how to ‘reinvent’ a black metal headboard! My ex wanted everything black, metal, etc. I tried selling the headboard – nobody wants it – (I sense soething here :)). I know I could just repaint it but it still says ‘him’ – anybody have any easy ideas as I’m a newbie DIY’r
Hi Terri!
Can you email me a picture of it? dwulf@diyinspired.com
Also, my Facebook page has a lot of creative people and we are always getting advice from one another. Send me a picture and I’ll post it and ask for ideas 🙂 http://www.facebook.com/diyinspired